9-28. INSPECTION AND TIGHTENING OF FUEL LINE UNION FITTINGS.
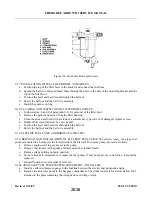
a. Remove the aft inboard inspection panel from the lower surface of the right and left wing.
b. Remove the pilot’s seat and left cabin side panel. Fold back the carpeting that covers the forward side
of the spar box and remove the cover from the fuel line(s). On the PA - 2 8 R - 2 0 1 T, pull back the
carpeting from the side of the cabin at the lower aft comer of the door to gain access to the 1/4” fuel
vent tubing.
c. Inspect all union fittings used in the fuel system for signs of leakage. Note any leaking fittings for later
recheck.
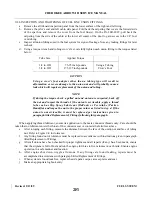
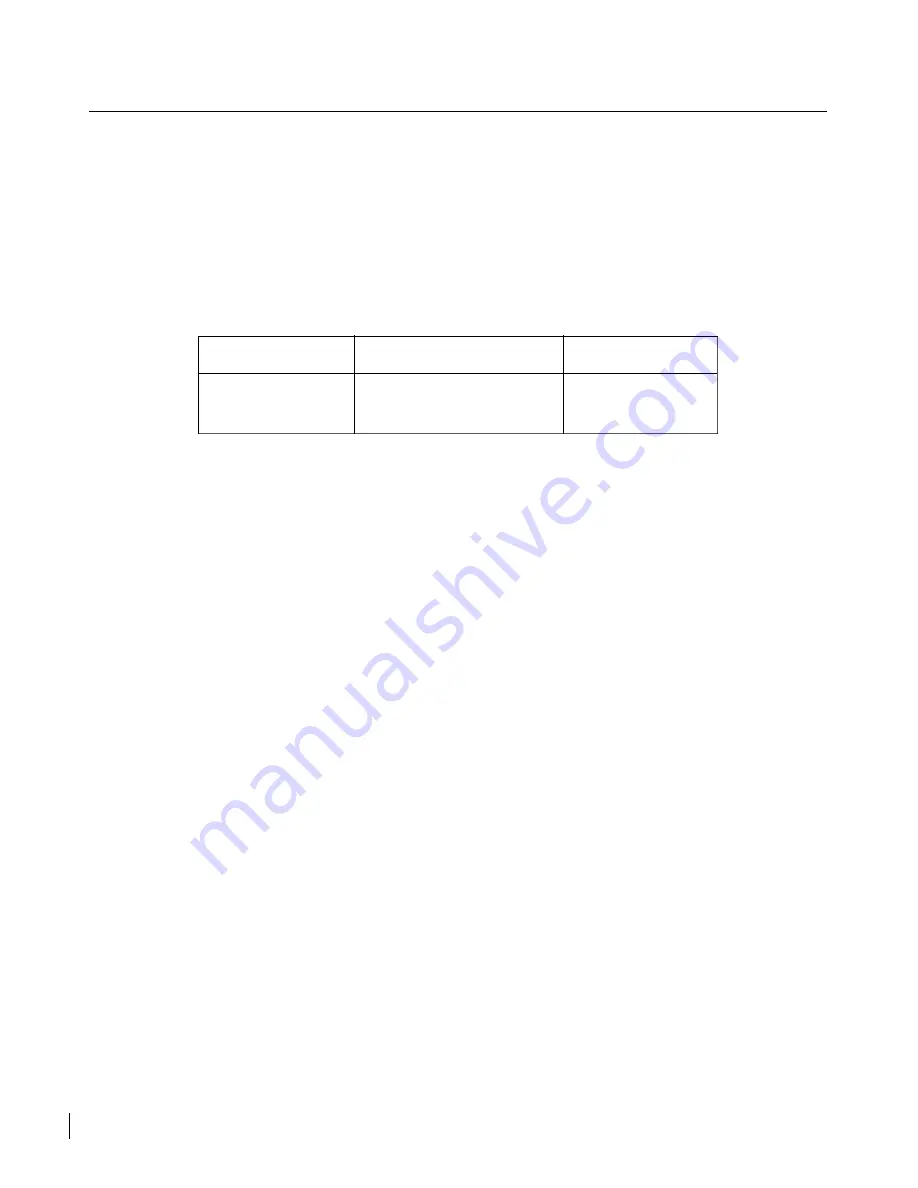
d. Using a torque wrench and tubing crow’s feet, carefully tighten each union fitting to the torques listed
below:
Tube Size
Applied Torque
1/4 in. OD
75-95 inch-pounds
Using a Tubing
3/8 in. OD
175-195 inch-pounds
Crow’s Foot
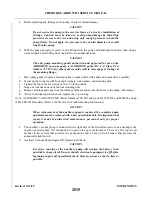
CAUTION
Using a crow’s foot adapter other than a tubing type will result in
deformation or severe damage to the union nut and will probably cause a
leak which will require replacement of the union and tubing.
NOTE
If during the torque check a galled nut and union are suspected, back off
the nut and inspect the threads. If the union is serviceable, apply a thread
lube such as Slip Spray Lubricant (DuPont) or Ferrulube (Parker-
Hannifin) and torque the nut to the proper values as listed in step d. If the
union is unserviceable, it must be replaced per instructions given in
paragraph titled Replacement of Fittings following this paragraph.
When applying thread lubricant, ensure its application to the male connector threads only. Care should be
taken that no lubricant enters the throat of the connector seat or contacts the ferrule seat face.
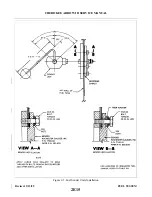
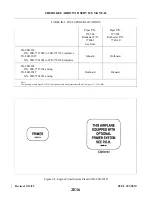
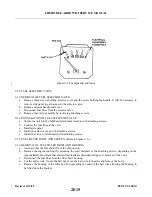
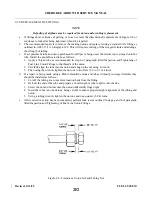
e. After torquing each fitting, measure the distance between the face of the union nut and face of tubing
nut. Refer to Figure 9-8 for tolerance.
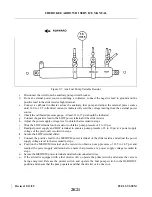
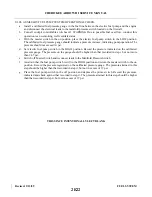
f. Any fitting found out of tolerance must be replaced in accordance with instructions given in paragraph
titled Replacement of Fittings.
g. After all unions have been checked for proper tightness and all repairs (if any) have been made, ensure
that the airplane is full of fuel and run the engine for three to five minutes on each tank. Ensure engine
operation in a safe manner and location.
h. After engine shut down, wiggle all unions. If any fittings are found leaking, repairs must be
accomplished in accordance with paragraph titled Replacement of Fittings.
i. When system is found leak free, replace the side panel, carpet, access plates and seat.
j. Make an appropriate logbook entry.
Revised: 2/13/89
2F1
CHEROKEE ARROW III SERVICE MANUAL
FUEL SYSTEM
Summary of Contents for ARROW III
Page 4: ...THIS PAGE INTENTIONALLY LEFT BLANK 1A4...
Page 12: ...THIS PAGE INTENTIONALLY LEFT BLANK 1A12...
Page 94: ...Figure 4 2 Wing Installation Revised 2 13 89 1D22 CHEROKEE ARROW III SERVICE MANUAL STRUCTURES...
Page 171: ...lH3 INTENTIONALLY LEFT BLANK...
Page 172: ...lH4 INTENTIONALLY LEFT BLANK...
Page 286: ...THIS PAGE INTENTIONALLY LEFT BLANK Revised 2 13 89 2A8...
Page 528: ...INTENTIONALLY LEFT BLANK 2K10 THRU 2L24 2K10...

