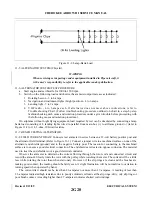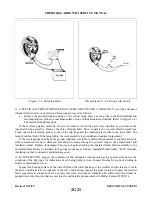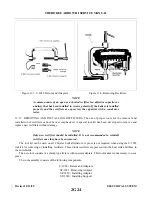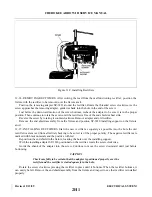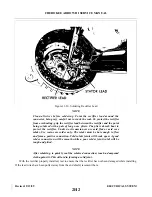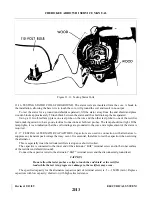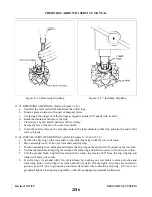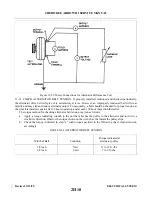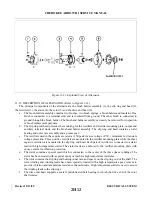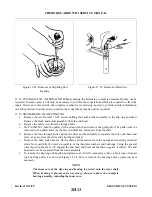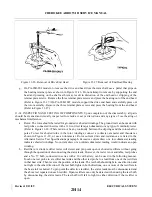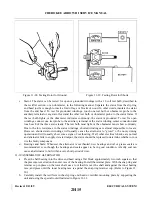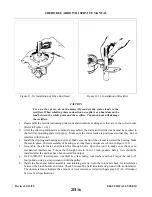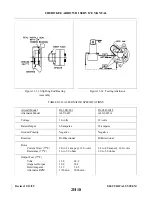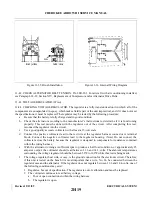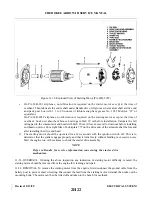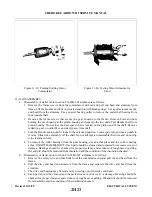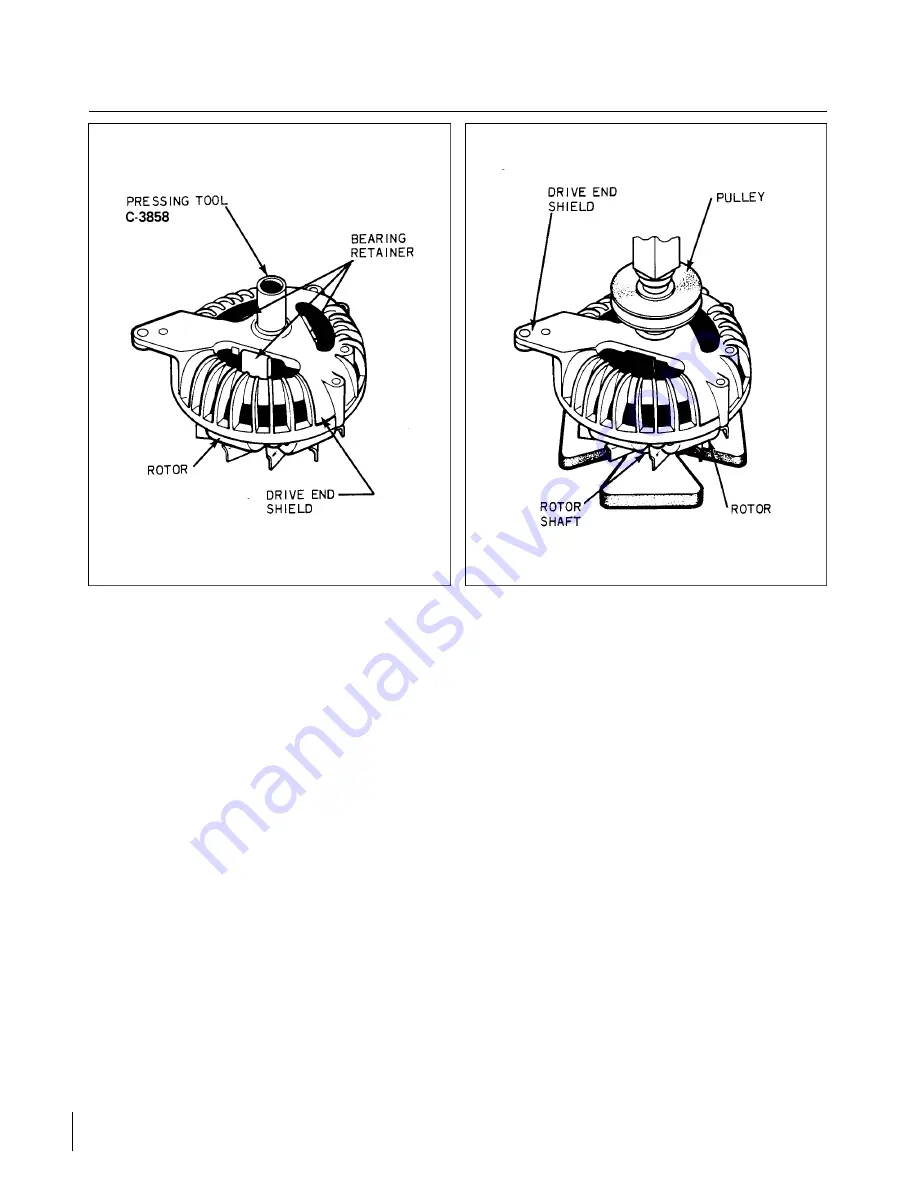
Figure 11-20. Installing Drive End Shield and
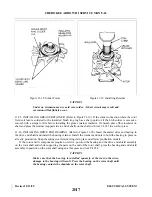
Figure 11-21. Installing Pulley
Bearing (Typical)
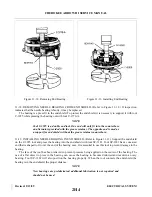
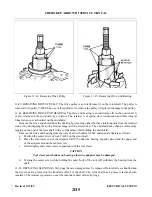
11-27. INSTALLING PULLEY. (Refer to Figure 11-21.) Install pulley on the rotor shaft using an arbor press
before the rectifier end shield is assembled to the drive end shield.
WARNING
Do not press pulley on with a vise. Use a press.
The shaft must be the support while the pulley is pressed on with the pressure being applied to the pulley
hub.
NOTE
Do not exceed 6800 pounds pressure. Press the pulley on the rotor shaft
until the pulley contacts the inner face of the drive end bearing.
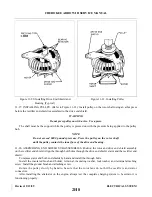
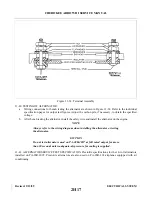
11-28. ASSEMBLING END SHIELD SUB-ASSEMBLIES. Position the rotor and drive end shield assembly
on the rectifier end shield. Align the through bolt holes through the drive end shield, stator and the rectifier end
shield.
Compress stator and both end shields by hand and install the through bolts.
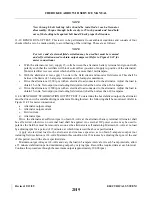
Install the insulated brush and holder, terminal, insulating washer, lockwasher and terminal attaching
screw. Install the ground brush and attaching screw.
Rotate the pulley slowly by hand to be sure that the rotor fans do not hit the rectifiers and stator
connectors.
After installing the alternator on the engine, always test the complete charging system to be certain it is
functioning properly.
Revised: 2/13/89
2H8
CHEROKEE ARROW III SERVICE MANUAL
ELECTRICAL SYSTEM
Summary of Contents for ARROW III
Page 4: ...THIS PAGE INTENTIONALLY LEFT BLANK 1A4...
Page 12: ...THIS PAGE INTENTIONALLY LEFT BLANK 1A12...
Page 94: ...Figure 4 2 Wing Installation Revised 2 13 89 1D22 CHEROKEE ARROW III SERVICE MANUAL STRUCTURES...
Page 171: ...lH3 INTENTIONALLY LEFT BLANK...
Page 172: ...lH4 INTENTIONALLY LEFT BLANK...
Page 286: ...THIS PAGE INTENTIONALLY LEFT BLANK Revised 2 13 89 2A8...
Page 528: ...INTENTIONALLY LEFT BLANK 2K10 THRU 2L24 2K10...

