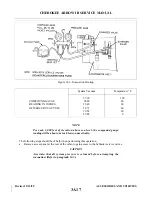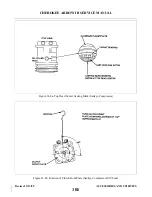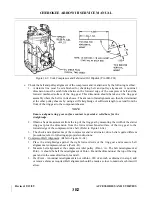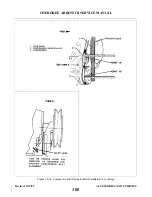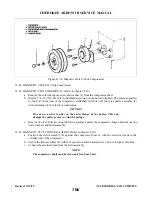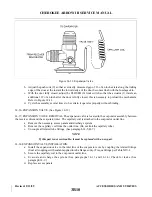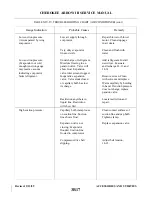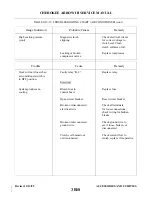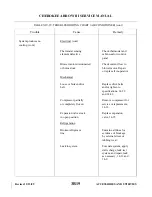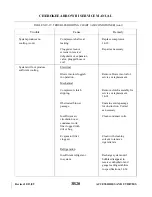
d. Slide the pulley assembly (2) over the field assembly and onto the crankshaft, now torque the field
assembly 85 to 120 inch pounds. Then secure pulley assembly with washer and new self-locking
capscrew (1). Torque the capscrew to 180 to 240 inch-pounds.
NOTE
If the clutch is not engaged while tightening the capscrew, insert a spanner
into the holes provided in the armature face.
e.
Spin the pulley by hand to check for any interference between the field (4) and rotor pulley
assemblies (2). A rubbing noise can be heard as the pulley rotates if there is interference. The rotor
pulley assembly must be removed and the mounting of the field assembly adjusted until the
interference is eliminated.
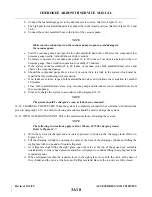
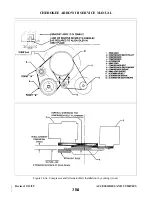
14-27. REFRIGERANT LINES AND ROUTING. The refrigerant lines in this aircraft are flexible high
pressure hoses and should be handled accordingly. The hoses in the power plant area are routed so as to
provide maximum protection from heat and abrasion. They couple at the firewall to hose routed through the
two inboard, external hat section on the bottom of the fuselage, up thru the floor to the condenser and
evaporator in the tail cone. The discharge is in the right hat section and the suction in the left.
NOTE
Before any of the hose couplings are uncoupled, the system must be
completely discharged. (See paragraph 14-12.)
14-28. RECEIVER-DEHYDRATOR.
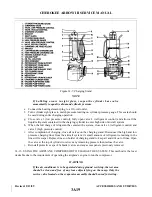
14-29. RECEIVER-DEHYDRATOR REMOVAL. This unit is mounted on the inboard side of the evaporator
assembly housing.
a.
Discharge the system of all refrigerant. (See paragraph 14-12.)
b. Uncouple the refrigerant lines at the receiver-dehydrator. (See paragraph 14-5, B-7.)
c.
Remove the clamp attaching the unit to the evaporator housing.
NOTE
This part is not serviceable, it must be replaced. The receiver dehydrator
should be replaced when the system has been operated without a charge or
is left open.
14-30. RECEIVER-DEHYDRATOR INSTALLATION.
a.
Slip the mounting bracket around the receiver and put it in place on the evaporator housing with
the tube fitting on top. Align the fittings to the proper line before securing the mounting bracket.
NOTE
Torque the fittings (see Table XIV-I).
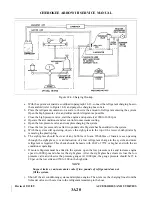
b. Evacuate and recharge the system in accordance with paragraphs 14-13 and 14-14.
Revised: 2/13/89
3B7
CHEROKEE ARROW III SERVICE MANUAL
ACCESSORIES AND UTILITIES
Summary of Contents for ARROW III
Page 4: ...THIS PAGE INTENTIONALLY LEFT BLANK 1A4...
Page 12: ...THIS PAGE INTENTIONALLY LEFT BLANK 1A12...
Page 94: ...Figure 4 2 Wing Installation Revised 2 13 89 1D22 CHEROKEE ARROW III SERVICE MANUAL STRUCTURES...
Page 171: ...lH3 INTENTIONALLY LEFT BLANK...
Page 172: ...lH4 INTENTIONALLY LEFT BLANK...
Page 286: ...THIS PAGE INTENTIONALLY LEFT BLANK Revised 2 13 89 2A8...
Page 528: ...INTENTIONALLY LEFT BLANK 2K10 THRU 2L24 2K10...

