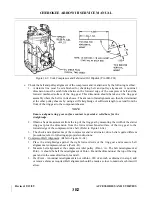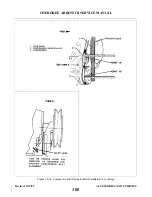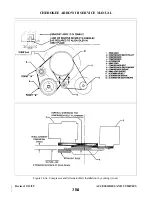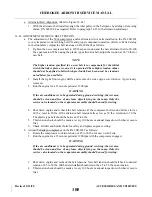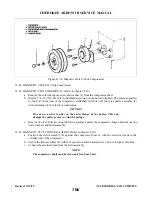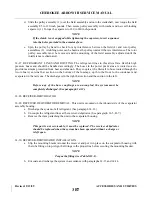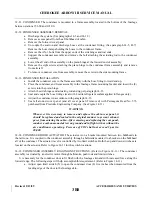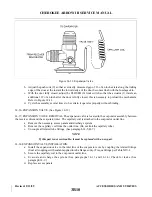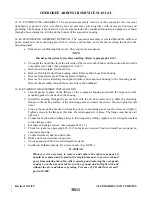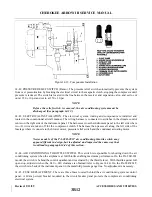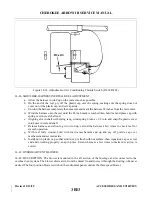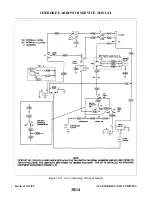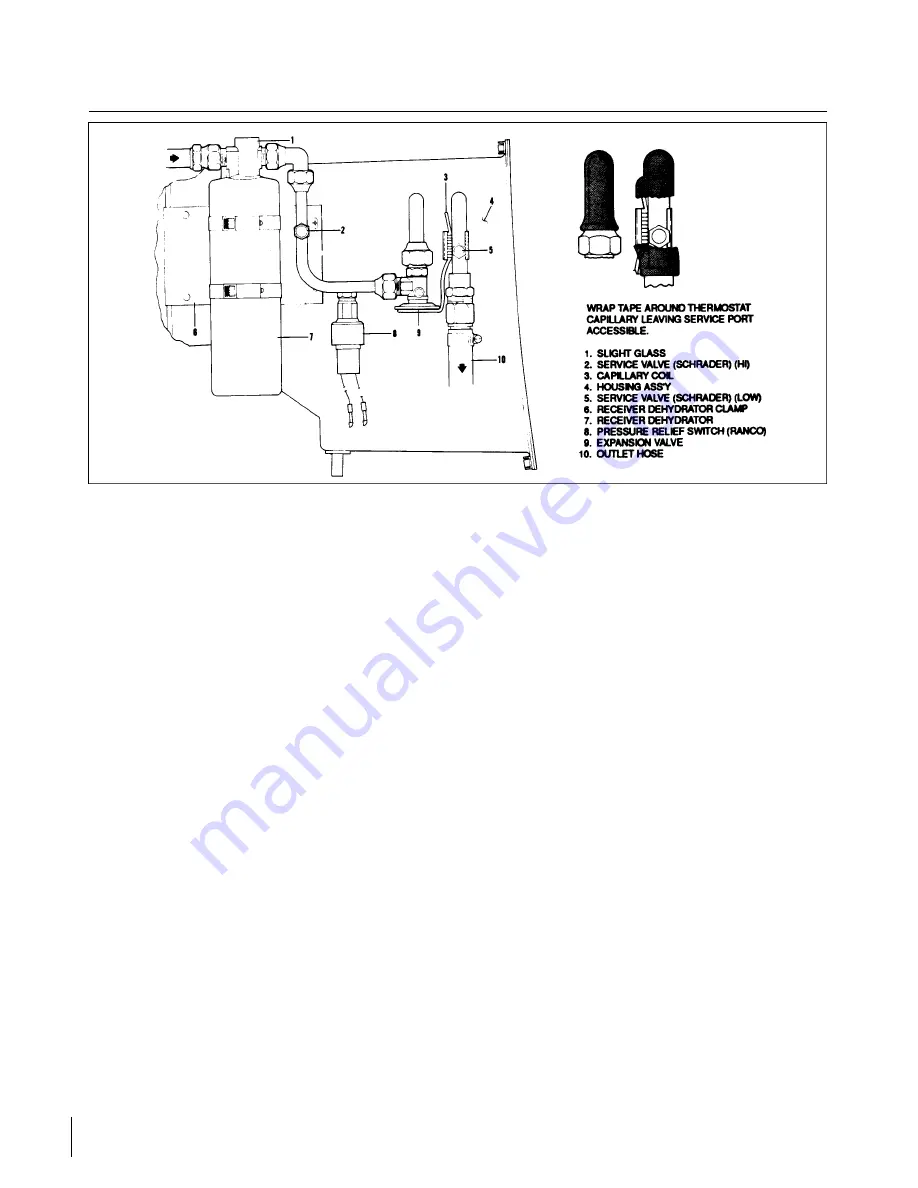
Figure 14-13. Components Installation
14-42. PRESSURE RELIEF SWITCH (Ranco). The pressure relief switch automatically prevents the system
from over pressurization by breaking the electrical circuit to the magnetic clutch, stopping the compressor until
pressure is reduced. The switch is located in the line between the receiver and expansion valve, and set to cut
out at 350 ± 10 psi and cut in at 250 ± 10 psi.
NOTE
Before the relief switch is removed, the air conditioning system must be
discharged. (See paragraph 14-12.)
14-43. ELECTRICAL INSTA L L ATION. The electrical system, routing and component are installed and
routed in the conventional aircraft manner. The wiring harness is connected to switches in the climate control
center on the right side of the instrument panel. The harnesses cross the instrument panel to the left side where
two (2) wires are taken off for the compressor clutch. The harness then passes aft along the left side of the
fuselage where it connects to the blower motor, pressure relief switch and the condenser actuating motor.
NOTE
Newer models of the PA-28R-201T air conditioning throttle switch may
appear different in design, but is adjusted and inspected the same way that
is outlined in paragraph 14-44 of this section.
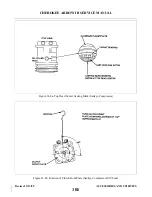
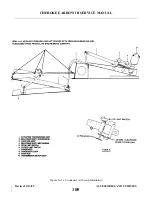
14-44. AIR CONDITIONING THROTTLE SWITCH. This switch is responsible for shutting down the air
conditioning system when the airplane is at full throttle enabling maximum performance. On the PA-28R-201
model, the switch is behind the control quadrant and is actuated by the throttle lever. With throttle against full
open stop, adjust switch so the .040 ± .010 clearance is obtained (refer to Figure 14-14). On the PA-28R-201T,
the switch is in back of the instrument panel in the manifold pressure gauge line. No adjustment is necessary.
14-45. FUSE REPLACEMENT. There are three fuses located behind the air conditioning system control
panel. A 20 amp circuit breaker mounted in the circuit breaker panel protects the complete air conditioning
electrical system.
Revised: 2/13/89
3B12
CHEROKEE ARROW III SERVICE MANUAL
ACCESSORIES AND UTILITIES
Summary of Contents for ARROW III
Page 4: ...THIS PAGE INTENTIONALLY LEFT BLANK 1A4...
Page 12: ...THIS PAGE INTENTIONALLY LEFT BLANK 1A12...
Page 94: ...Figure 4 2 Wing Installation Revised 2 13 89 1D22 CHEROKEE ARROW III SERVICE MANUAL STRUCTURES...
Page 171: ...lH3 INTENTIONALLY LEFT BLANK...
Page 172: ...lH4 INTENTIONALLY LEFT BLANK...
Page 286: ...THIS PAGE INTENTIONALLY LEFT BLANK Revised 2 13 89 2A8...
Page 528: ...INTENTIONALLY LEFT BLANK 2K10 THRU 2L24 2K10...

