OPERATIONS
Sept-2018
78
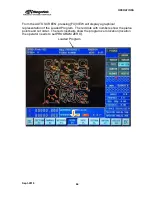
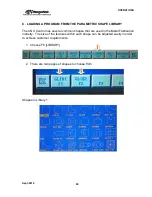
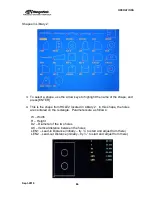
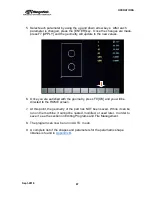
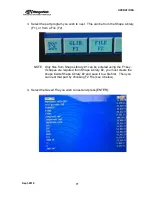
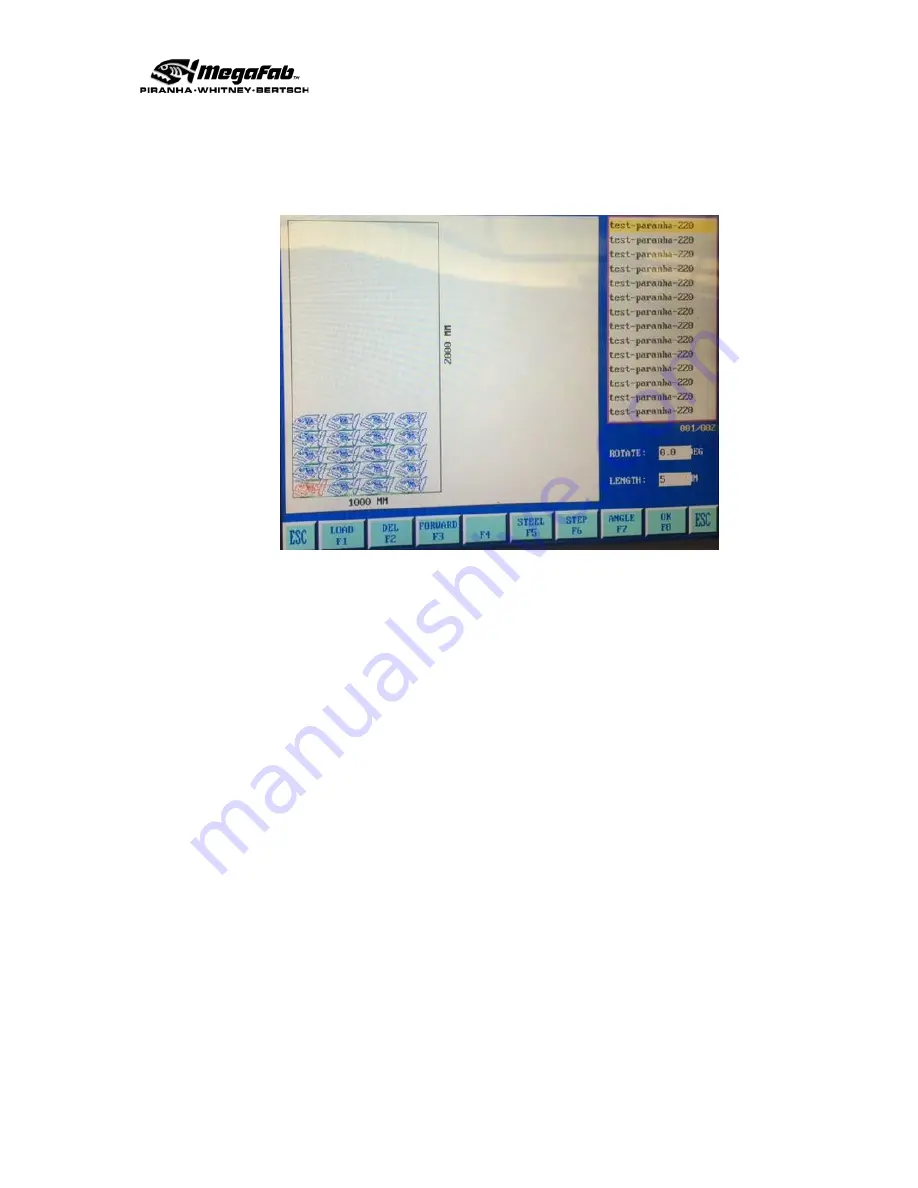
5. You will be prompted to input the number of parts. Type in the number of
parts you wish to cut and press [ENTER]. The screen will then populate the
parts onto the raw material:
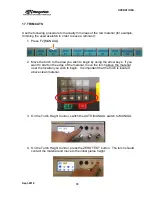
6. Individual parts can be modified by selecting the part with the up and down
arrow keys to select the part (on the right-hand side of the screen) and edit as
follows:
a. F2 [DEL]
– Deletes a part
b. F3 [FORWARD]
– Moves the part in the cut order
c. F7 [ANGLE]
– Rotates the part
7. Additional (different) parts can be added by loading more parts. Use the F1
[LOAD] key to add more parts.
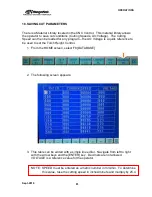
8. Once you are satisfied with the nest, press F8 [OK]. You will be prompted for
a file name to save the nest.
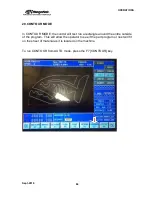
9. You can now run the nest in AUTO mode.
NOTE: Nesting has the following limitations:
1. A maximum of 100 pieces / parts can be placed in a single nest
2.
Summary of Contents for CNC Plasma Cutting Table
Page 2: ......
Page 4: ...TABLE OF CONTENTS Sept 2018 4...
Page 22: ...SAFETY Sept 2018 22...
Page 24: ...INSTALLATION Sept 2018 24...
Page 88: ...PROGRAMMING Sept 2018 88...
Page 117: ...PIPE CUTTING ATTACHMENT Sept 2018 117 Pipe Supports Pipe Cutter Base...
Page 124: ...PIPE CUTTING ATTACHMENT Sept 2018 124...
Page 128: ...PIPE CUTTING ATTACHMENT Sept 2018 128 j Then press F2 SYSTEM to see the following...
Page 136: ...PIPE CUTTING ATTACHMENT Sept 2018 136...
Page 140: ...WATER MIST CHILLER Sept 2018 140...
Page 144: ...APPENDIX A FastCAM SETUP Sept 2018 144 4 Choose the functions you need and Enter...
Page 154: ...APPENDIX A FastCAM SETUP Sept 2018 154...
Page 159: ...APPENDIX A FastCAM SETUP Sept 2018 159...
Page 164: ...APPENDIX A FastCAM SETUP Sept 2018 164...
Page 170: ...APPENDIX B Parametric Shape Library Sept 2018 170 9 Fla X 10 Lad 11 Rec 12 Rec8...
Page 172: ...APPENDIX B Parametric Shape Library Sept 2018 172 19 Rec 20 Rec c 21 Circle4 22 Rec...
Page 174: ...APPENDIX B Parametric Shape Library Sept 2018 174...

