No Diving or Jumping. Observe all Safety Rules
3-1
GENERAL INSTRUCTIONS - BRACELESS OVAL POOLS
ASSEMBLING THE POOL WALL
Section
3
1. Preparing for the wall installation
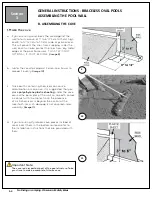
a. Bring the following items into the middle of the
pool foundation before you start uncoiling the pool
wall: plywood, some extra sand or fine dirt to make
the cove and a ladder to climb out after the wall is
assembled.
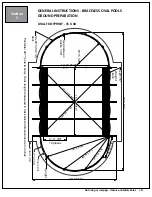
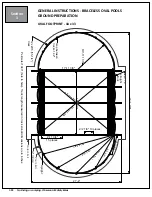
b. Make sure the skimmer and water return holes are
located where you need them to be. The skimmer
and water return holes are positioned towards the
end of the wall,
(the section before where the wall
started)
.
2. Set the pool wall in place.
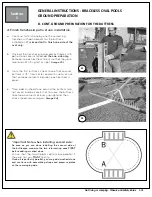
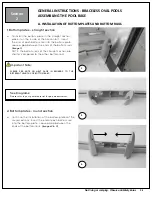
a. Unpackage the coiled pool wall and stand it on the
plywood at the place close to where you need to
install the skimmer.
(Image 1)
(Remember the skimmer and water return holes
will be placed at the section just before where you
started the wall installation).
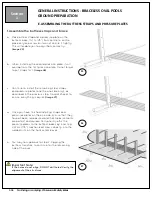
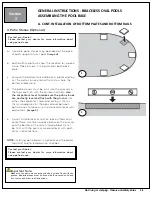
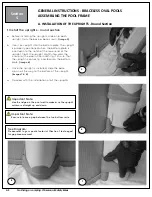
b. Start uncoiling the wall, guiding the bottom edge
into the curved bottom rail. The starting end of the
wall must be positioned in the centre of a bottom
plate, and the skimmer and return holes should be
positioned where the pump and filter will be.
(Image 2)
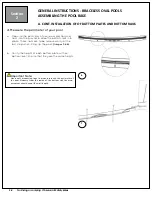
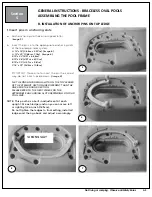
c. As you erect the wall, install the stabilizers
temporarily to obtain greater stability. You should
also use heavy vinyl-covered hooks and rope to
hold the wall steady. Ideally, however, you should
work with several people.
(Image 3)
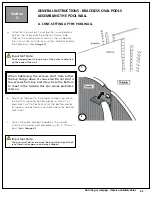
d. When uncoiling the wall, the skimmer and return
holes are positioned toward the end of the wall.
A. SETTING UP THE POOL WALL
Do not attempt to install the pool wall in the wind, wait for a calm day.
It takes at least 3 people to install the pool wall.
1
2
3
Important Note:
It is preferable to use very fine sand that is easily
compacted. Be careful not to spill sand on the bottom
rails.

