No Diving or Jumping. Observe all Safety Rules
3-3
GENERAL INSTRUCTIONS - BRACELESS OVAL POOLS
ASSEMBLING THE POOL WALL
Section
3
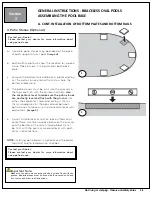
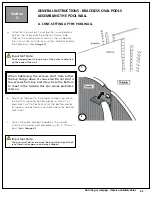
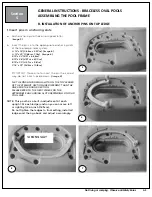
d. To fasten the wall joint, overlap the two steel bars,
one on the inside and the other on the outside.
Tighten the mechanical screws on the inside and
the nuts on the outside. Ensure that all bolts and all
the holes are used.
(Image 7)
e. Adjusting the pool to the proper shape may cause
the bottom rails and bottom plates to slip out of
alignment a little. Recheck all of the bottom plates
to make sure each one is centred where the bottom
rails meet.
f.
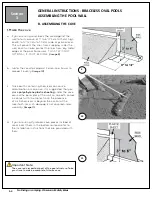
Cover the seam and bolt heads on the inside/
interior of the pool wall completely with 2” (50mm)
duct tape.
(Image 8)
A. CONT. SETTING UP THE POOL WALL
7
Important Note:
Stick a screwdriver through two of the holes to help line
up the ends of the wall.
When tightening the screws start from either
the top and go down or vice versa. Do not start a
few screws from top and a few from the bottom
to meet in the middle, this can cause problems
later on.
Important Note:
The pool must be level across the perimeter. A pool that
is not level is dangerous and may collapse.
8


