4
Structures Testing Instrument User Guide 59921 V0217
5. Find the 5-1/2" threaded rod; note how the
threads on one end have been stripped. With this
end up, screw the threaded rod into the center of
the tester until it stops (Figure 4).
6. Turn the tester’s turn force wheel clockwise
until it stops. The load cell indicator should be at
the top. Do not force the wheel any farther. Set
the bridge back on the tester between the two
structure supports.
7. Select a roadbed load block that is the closest to
being two inches shorter than the total length
of the bridge’s roadbed. Slide the block into the
bridge and on top of its roadbed; the load block
will have a hole to fit over the top of the threaded
rod (Figure 5).
8. Place the flat washer over the rod, followed by
either the wing nut or hex nut (the hex nut is
best for tight spaces). Tighten the nut until it is approximately 1/16" above the load block (Figure 6).
9. Above the digital display, push the Zero button.
The display will show both the force and peak
loads, indicated here by “Force Lbf” and “Peak Lbf.”
(“Lbf” means “force pound.”)
10. Select which unit of measurement you wish to
use: pound or kilogram. To do this, press the Select
button to see the options alternate on the screen.
When you see the measurement you want, press
Select. The tester will return to the force and peak
load display.
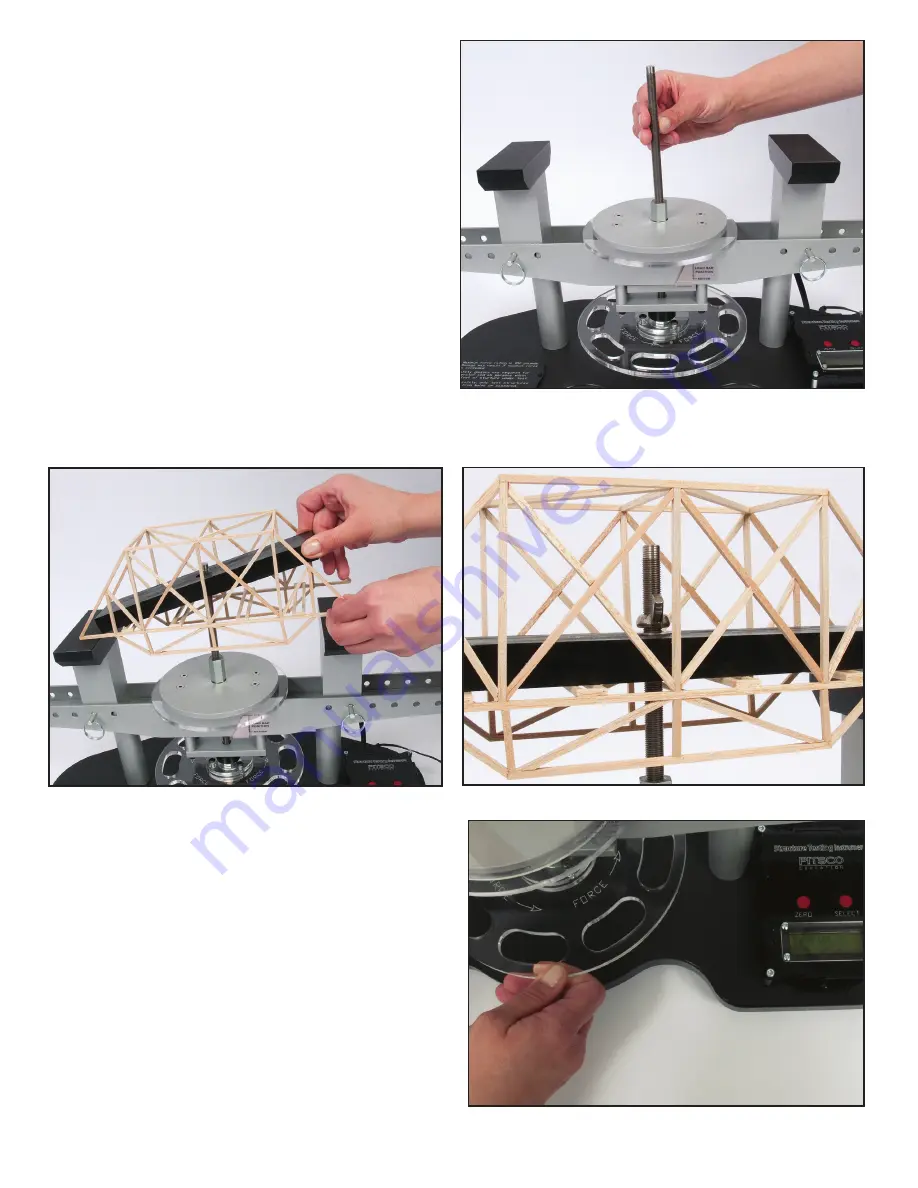
11. To apply force to the structure, slowly turn the
force wheel counterclockwise (Figure 7). Continue
to apply pressure appropriate to your testing type.
Choose from the following (on next page):
Figure 4
Figure 5
Figure 6
Figure 7


