PIR Walk-Test Mode
On boot up of the DigitalEye this setting will put the unit into a PIR Walk-Test mode. Here you
can check out the PIR detection area without having the unit take photos. When booting the
DigitalEye into this mode the RED Control LED and Green PIR LED will stay on for about 30
seconds. This is when the PIR is warming up. After this period of time has expired you are free
to walk and test the PIR area.
Note: To put the DigitalEye back into “Photo Taking Mode” change the switch settings of switch
4 and 5 to one of the three options above under the Day/Night Operation Setting, and power the
DigitalEye unit Off and On from the external power switch.
PIR Walk-Test Mode
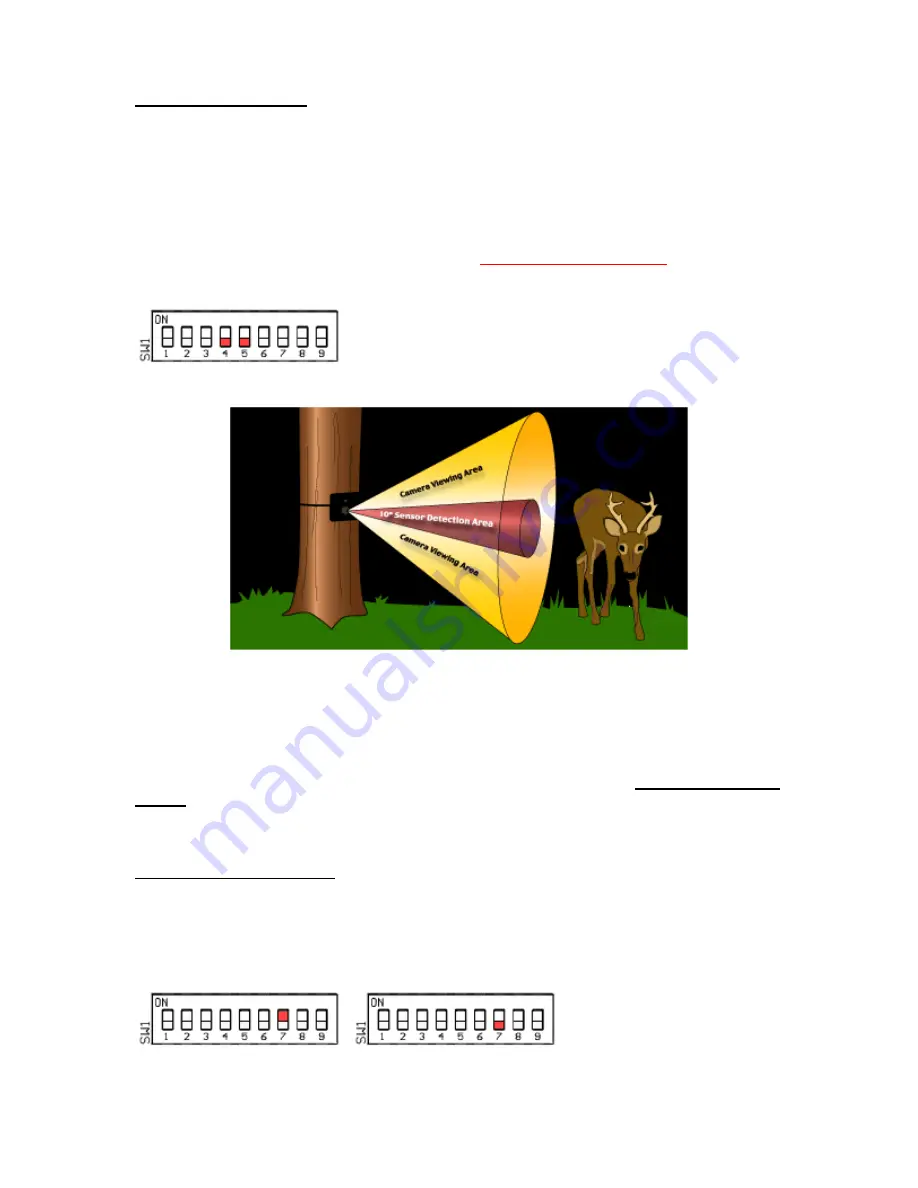
PIR Sensor Detection Area View
The PIR sensor detection area is an invisible cone shaped area. See the photo above. If you
walk slowly through this zone the LED’s will light. Using this simple technique you can determine
the detection area.
Note: To put the DigitalEye Unit back into “Photo Taking Mode” change the switch
settings of switch 4 and 5 to one of the three options above under the Day/Night Operation
Setting, and power the DigitalEye Unit Off and On from the unit power switch.
Picture Capture Setting
Switch 6 will allow the user to adjust how the camera shutter will function. The normal “Still
Picture Setting” this will shutter the camera once to take a still photo. In the “Movie/Double Photo
Mode” the shutter will be held open for 15-20 seconds for movie taking, or taking another still
photo seconds after the first photo.
Still Picture Setting Movie/Double Photo Mode Setting


