background image


Installation 

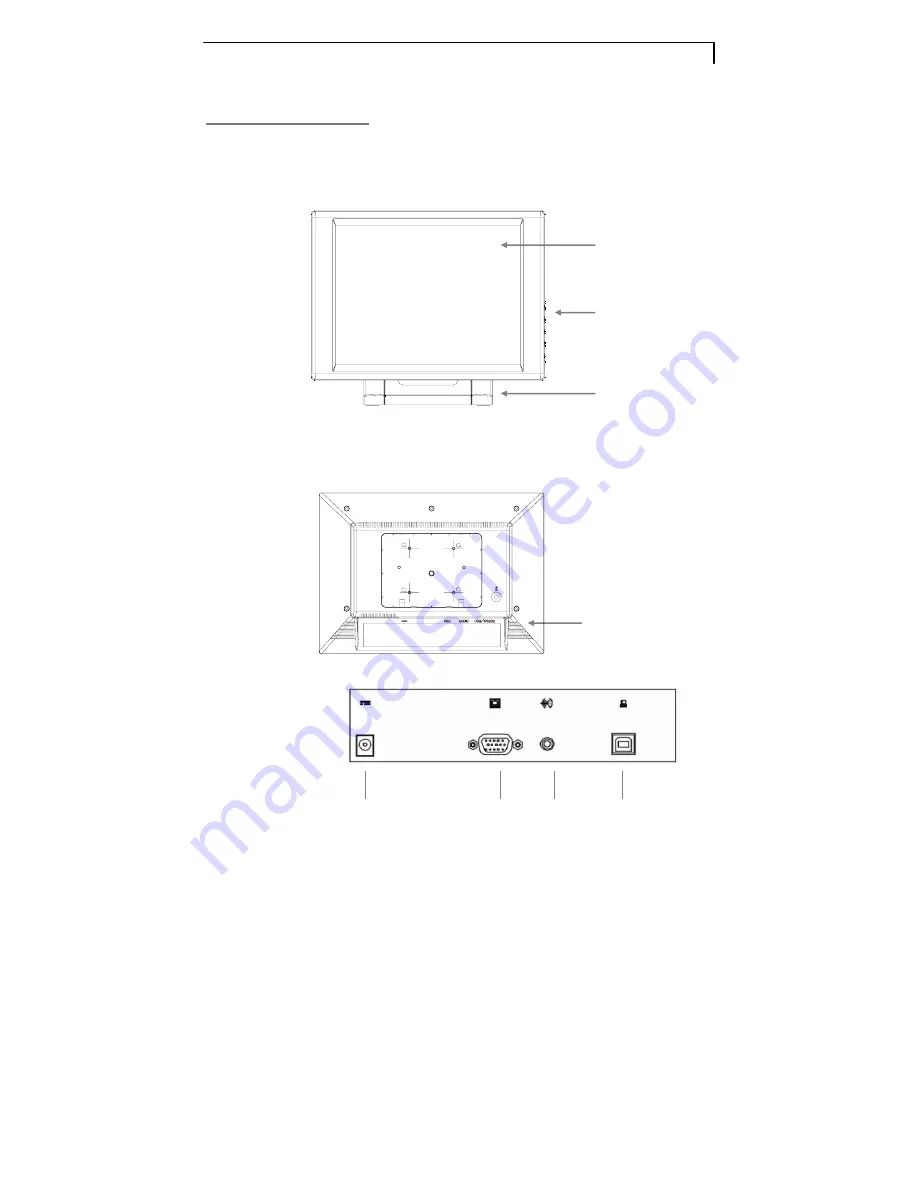
Product Overview 

‹


Front View 


‹


Back View 


Connector Ports 
as shown below 


VGA
input


Panel Controls 

Stand


Liquid Crystal 
Display (LCD   
Display)


Audio-in 

DC 

Power-In

 USB 


Summary of Contents for PT1520MU

Page 1: ...PT1520MU Touchscreen LCD Monitor USER S GUIDE www planar com...

Page 2: ......

Page 3: ...y contain other electronic waste that can be hazardous if not disposed of properly Recycle or dispose in accordance with local state or federal Laws For more information contact the Electronic Industr...

Page 4: ......

Page 5: ...stallation Product Overview 6 VESA Mount 8 Removing the Deskstand 8 Cable Management 9 Start Your Installation 10 User Controls Front Panel Controls 12 How to Use the OSD Menus 13 On Screen Display Me...

Page 6: ...ers or 50 50 mixture of water and isopropyl alcohol Use a soft cloth moistened with mild detergent to clean the display housing Use only high quality safety approved AC DC power adapter that comes wit...

Page 7: ...al input Active matrix TFT LCD technology 1024x768 XGA resolution 15 viewable display area 31 5 60 kHz horizontal scan 56 75 Hz refresh rate Auto adjustment function Multilingual OSD user controls VES...

Page 8: ...input Surface Anti glare treatment Interface USB Durability 35 million touches at a single point Hardness of surface 4H per ASTM D3363 92 Operating force Stylus 25 g average Finger 50 g average Trans...

Page 9: ...5 Package Overview LCD Display Power Adapter Power Cord VGA Signal Cable Audio in Cable USB Cable User s Guide Landing Strip Touchscreen Driver Installation CD ROM...

Page 10: ...6 Installation Product Overview Front View Back View Connector Ports as shown below VGA input Panel Controls Stand Liquid Crystal Display LCD Display Audio in DC Power In USB...

Page 11: ...ilt as desired Tighten the knob once the display is in the desired location Kensington Security Slot The monitor can be secured to your desk or any other fixed object with Kensington lock security pro...

Page 12: ...hown in the following figure To mount the monitor on a swing arm or other mounting fixture follow the instructions included with the mounting fixture to be used Y Y Removing the Deskstand 1 Push clips...

Page 13: ...9 Cable Management 1 Pull all the cables backward while the tilt angle is 0 2 Pull all the cables forward while the tilt angle is 90...

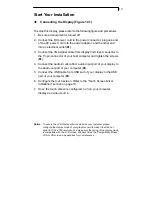
Page 14: ...from audio input port of your display to the Audio out port of your computer Z 5 Connect the USB cable from USB port of your display to the USB port of your computer 6 Configure the touch screen Refer...

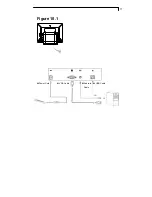
Page 15: ...11 Figure 10 1 X Power Cord Y VGA Cable Z Audio In Cable USB Cable...

Page 16: ...aving mode Z S Select Auto Select To select the adjustment items from OSD menus Auto To activate the Auto Adjustment function to obtain an optimum image Plus Brightness 1 Increases the brightness of t...

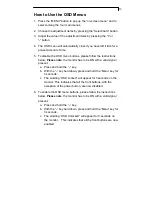
Page 17: ...to be ON with a valid signal present a Press and hold the key b With the key held down press and hold the Menu key for 3 seconds c The wording OSD Locked will appear for 3 seconds on the monitor This...

Page 18: ...justment Display Mode Select this function to show the display resolution vertical refresh and horizontal scan of the current mode OSD Off Time Adjusts how long the OSD menu will be displayed after in...

Page 19: ...than that of the LCD display Reconfigure the resolution of your computer to make it less than or equal to 1024 x 768 Problem Image has vertical flickering line bars Use Clock to make an adjustment Ch...

Page 20: ...ceive any signal from the computer graphics card Check all the power switches power cables and VGA signal cable Going to Sleep This message means that the LCD display is under the power saving mode In...

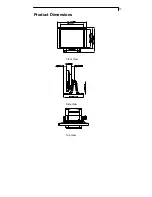
Page 21: ...17 Product Dimensions Front View Side View Top View...

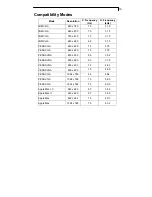
Page 22: ...5 VESA VGA 640 x 480 72 37 9 VESA VGA 640 x 480 75 37 5 VESA SVGA 800 x 600 56 35 2 VESA SVGA 800 x 600 60 37 9 VESA SVGA 800 x 600 72 48 1 VESA SVGA 800 x 600 75 46 9 VESA XGA 1024 x 768 60 48 4 VES...

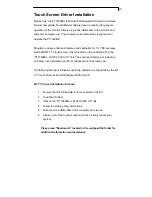
Page 23: ...e PT1520MU LX1200 2000 XP link The enhanced features include drag and drop touch activation on lift off enhanced touch accuracy etc The following Microsoft Windows operating systems are supported by t...

Page 24: ...P N 36 64501G011 Rev A 020 0410 00A...

Reviews: