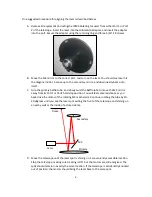
3
E.
Securely tape a piece of paper to the wall or dome so that the spot is shining on the
paper.
F.
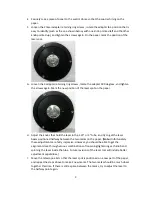
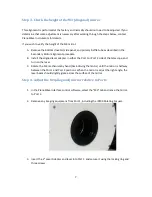
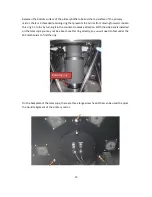
Loosen the 3 laser adapter retaining ring screws , rotate the adapter to a position that is
easy to identify (such as the one shown below, with one knob pointed left and the other
knob pointed up), and tighten the screws again. On the paper, mark the position of the
laser spot.
G.
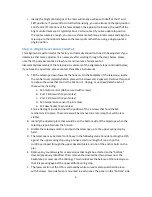
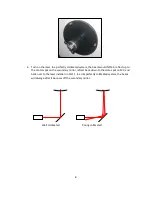
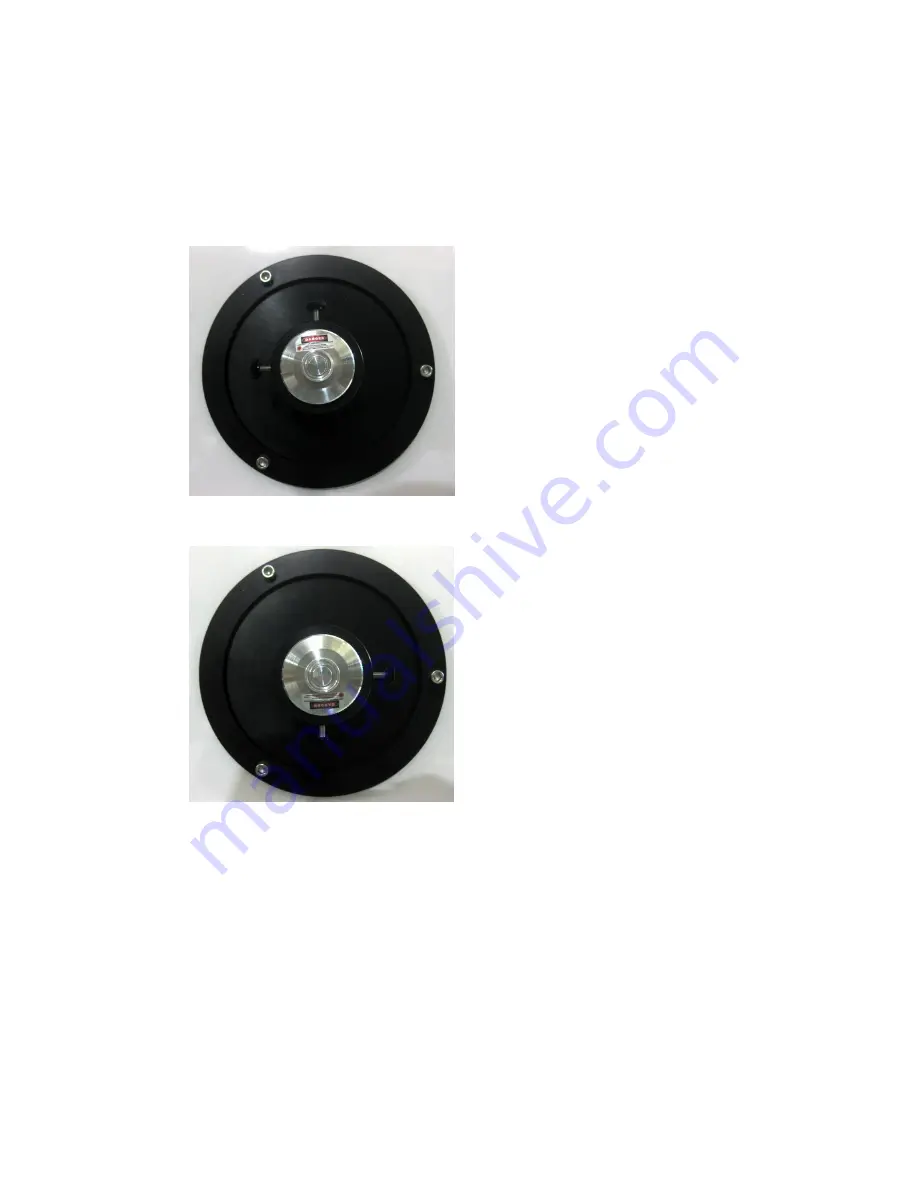
Loosen the 3 adapter retaining ring screws, rotate the adapter 180 degrees, and tighten
the screws again. Mark the new position of the laser spot on the paper.
H.
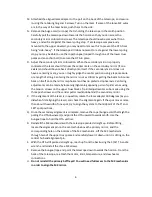
Adjust the knobs that hold the
laser in the 1.25” or 2” tube, and try to get the laser
beam positioned halfway between the two marks on the paper. (
Note:
Unfortunately
these adjustments are fairly imprecise. However, you should be able to get the
alignment close through various combinations of loosening/tightening each knob and
spinning the laser inside the tube. Future revisions of the laser tool will include better
adjustment capabilities.)
I.
Move the telescope a bit so that the laser spot is positioned on a new part of the paper,
and repeat the steps above to make 2 new marks. The two marks should be much closer
together this time. If there is still a space between the marks, try to adjust the laser to
the halfway point again.


