Mini300plus
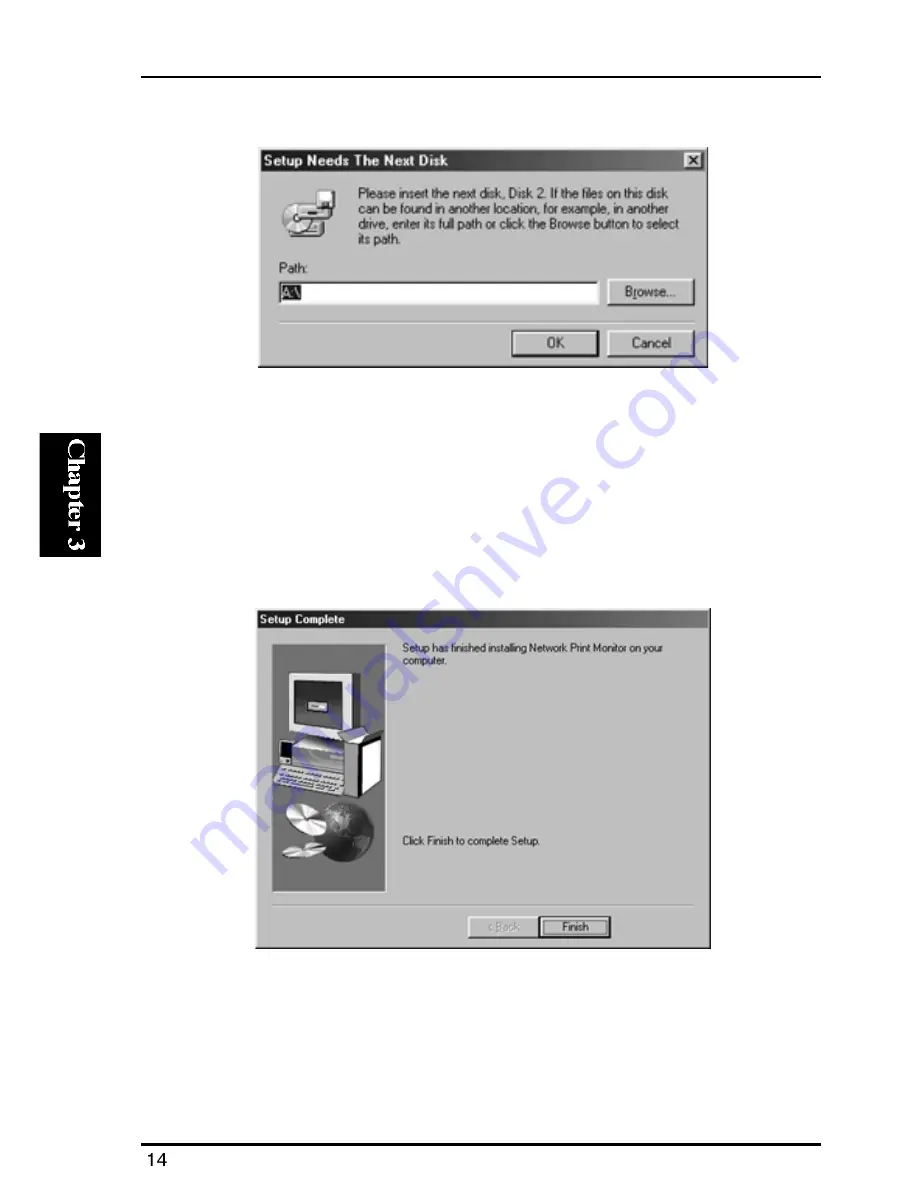
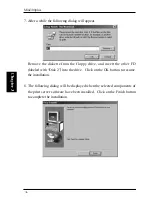
7. After a while the following dialog will appear.
Remove the diskette from the floppy drive, and insert the other FD
(labeled with “Disk 2”) into the drive. Click on the OK button to resume
the installation.
8. The following dialog will be displayed when the selected components of
the print server software have been installed. Click on the Finish button
to complete the installation.
Summary of Contents for Mini300Plus
Page 1: ......
Page 2: ......
Page 13: ......
Page 42: ......
Page 87: ...Mini300plus 5 Select the Protocol item and click on the Add button ...
Page 103: ...Mini300plus 3 Now select Local Printer and click on the Next button ...
Page 121: ...Mini300plus 3 In the next window select Network Printer and click on the Next button ...
Page 130: ......
Page 134: ......


