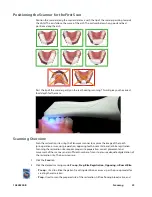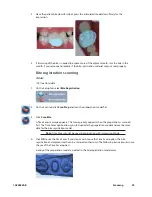
residue should be removed from the preparation site before scanning.
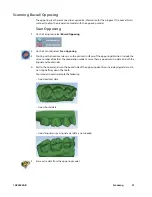
• Opposing - Used to scan the teeth on the opposite arch of the preposition. Scan the same
number of teeth as the preparation model to ensure good alignment.
• Buccal - Scan the buccal view of the preparation, adjacent teeth, and opposing teeth.
• Bite - Used if you have produced a bite registration for use in defining the occlusal anatomy.
This button is active when Bite Registration is selected on the Setup tab.
3
Shield the site from strong extraneous light sources (dental lights, sunlight, etc.).
4
Click the button on the scanner to activate the laser.
5
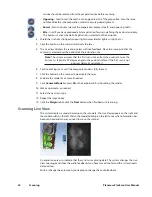
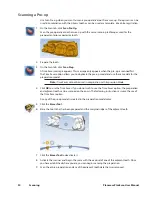
The Live View displays the scanning view with live feedback. Place the scanner so that the
camera is centered over the occlusal of the restoration site.
Note: The system assumes that the first scan is taken from the occlusal. Ensure the
first scan is taken at a 90 degree angle to the occlusal surface. If the first scan is not
optimal, delete it and retake it.
6
Continue taking scans until the composite model is fully formed.
7
Click the button on the scanner to deactivate the laser.
8
Evaluate the model. Scan more if needed.
9
Click Generate Model or press M on the keyboard to finish building the model.
10
Make adjustments as needed.
11
Select the next scan type.
12
Repeat the steps above.
13
Click the Margin tab or click the Next button when finished with scanning.
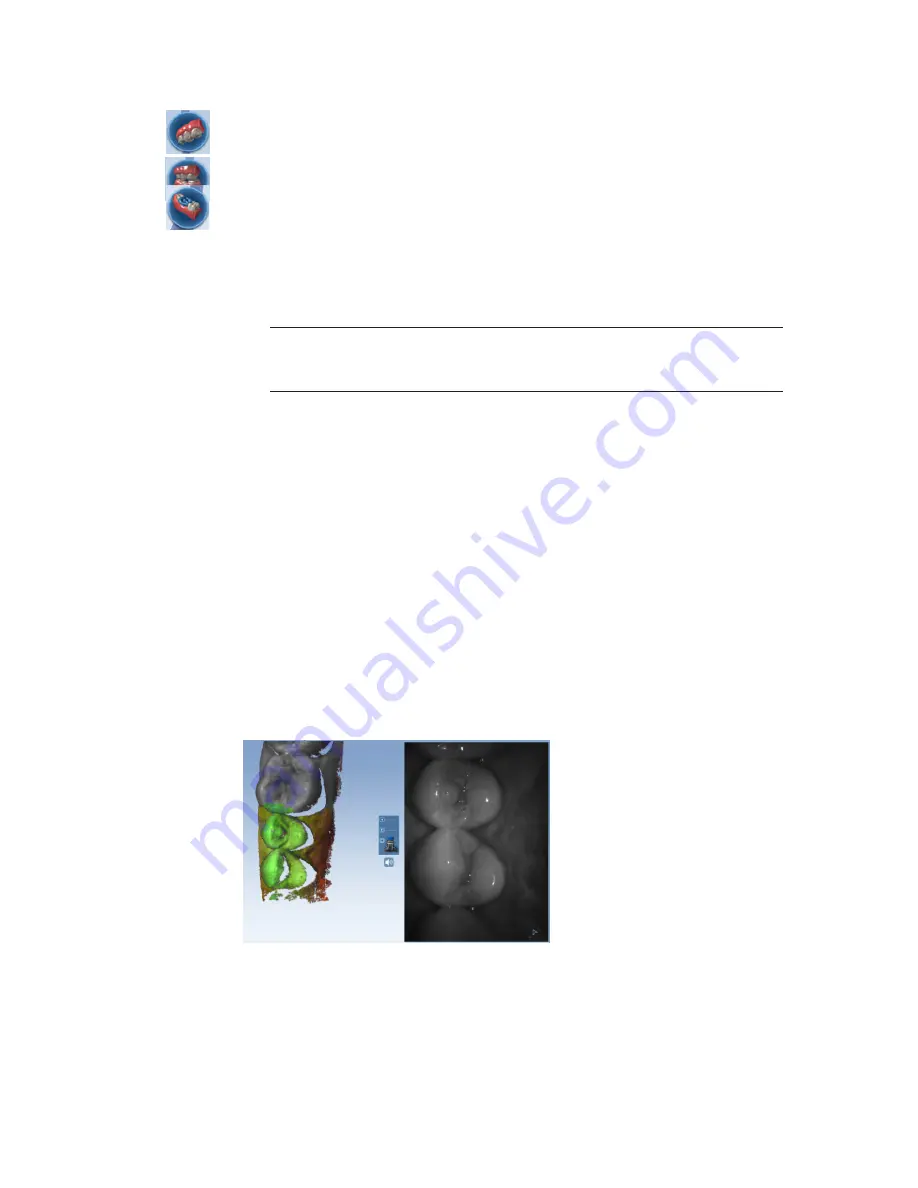
Scanning Live View
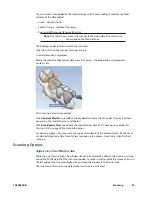
The system displays a model based upon the scan data. The Live View appears on the right and
the model builds on the left. Watch the model building on the left to see what information has
been captured and where you need to move the scanner.
An audio tone plays to indicate that the system is capturing data. The system changes the Live
View to orange and stops the audio feedback if you have moved too far and the system needs
data overlap.
Mute or change the volume on your laptop to change the audio feedback.
24
Scanning
Planmeca PlanScan User Manual
Summary of Contents for PlanScan
Page 1: ...Planmeca PlanScan User Manual ...
Page 2: ......


