PLASMON LMS - LD 8100 USER MANUAL
Page 42
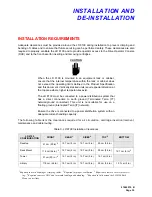
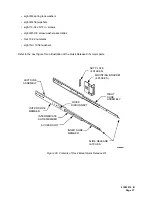
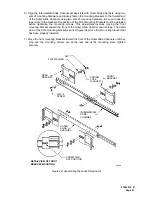
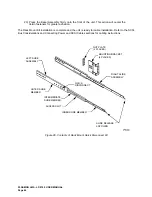
The mounting hardware consists of eight 10-32 x 5/16 in. screws, eight M5 x 8 screw/washer assemblies
and four nut plates.
NOTE
The 10-32 and M5 screws are used with racks that have the
corresponding threaded mounting holes in the rails. If the cabinet rails
have clearance holes, the 10-32 screws are used with the nut plates.
The next figure illustrates how this portion of the kit is installed into a rack.
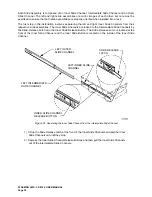
8) Select the appropriate mounting hardware to install the left and right slide assemblies.
Both the left and right slide assemblies must be installed at the same height on the rack rails. Failure to
install the left and right slide assemblies at the same height will create a misalignment between the left and
right slide assemblies and prevent the LD 8100 Rack Mount chassis from being installed into the rack.
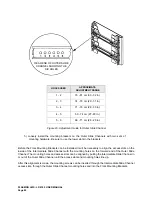
9) Select an appropriate mounting height for the left and right slide assemblies.
10) Tighten the rear brackets to the slide assembly just enough for the bracket to hold its
position yet still permitting sliding adjustment.
11) Hold the slide assembly in position on the cabinet rails with the front bracket held firmly
against its rail. Slide the rear bracket until it also is flush with the rear rail. Remove the
slide assembly and securely tighten the rear bracket in that position.
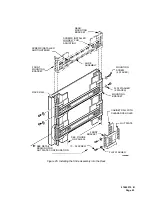
12) Replace the slide assemblies in their cabinet positions and secure with the preselected
hardware. Each bracket should receive two screws. The lower of the two screws should
be placed in the bottom bracket hole if possible for maximum stability.
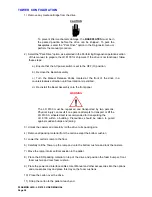
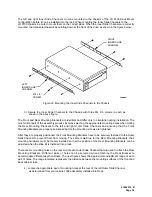
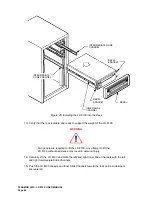
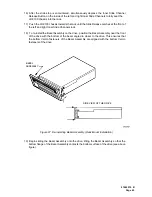
The left and right Intermediate Slide Channels should have already been extended and locked when the
left and right Inner Slide Channels were removed earlier in the procedure; however, it is advisable to
ensure that they are both fully extended from the rack and locked in place before attempting to install the
LD 8100 chassis with the attached left and right Inner Slide Channels.
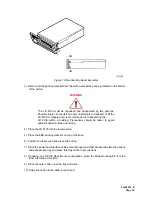
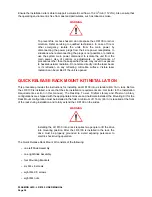
WARNING
Due to the weight of the LD 8100, rack stability must be considered
during and after installation. The rack may become unstable and fall
over when the LD 8100 is fully extended on the slides. Exercise
caution when installing the LD 8100 or extending it from the rack.
Also, if rack support legs are available, they must be pulled out before
the installation is attempted.
Summary of Contents for LD 8100
Page 1: ...THE PLASMON 8000 SERIES LD 8100 OPTICAL DISK DRIVE P N 9662915 B USER MANUAL ...
Page 6: ......
Page 26: ...PLASMON LMS LD 8100 USER MANUAL Page 26 ...
Page 86: ...PLASMON LMS LD 8100 USER MANUAL Page 86 ...
Page 105: ......

