5
• Refer to the laminated Pool Layout drawing
suitable for your sized pool.
• Decide where you would like the pool ladders.
Choose a convenient side to have your ladders
that will suit your long term pool usage.
• Decide which end of the pool you would like the
skimmer, low suction and return flow fittings.
Please refer to Section D: Filtration Equipment
and Pipes which will help you decide. The skimmer
is best fitted facing into the prevailing wind so that
floating debris is blown into the skimmer. These
fittings can not go on the same sides as the
internal and external ladders.
• If you are planning to use an underwater light
decide which side to install it on. A light would
usually be sited in the middle of one side, not
behind the ladder and where the external wires will
not appear unsightly.
• You may find it useful to sketch your equipment
positions onto the laminated Pool Layout drawing.
SECTION B: Assembly of the Shell
Decide on the Layout of your Pool
• Carefully unpack the pallet of wooden planks and
stack them in the middle of your pool area.
Assembly will be faster if you sort the planks into
their different types at this stage.
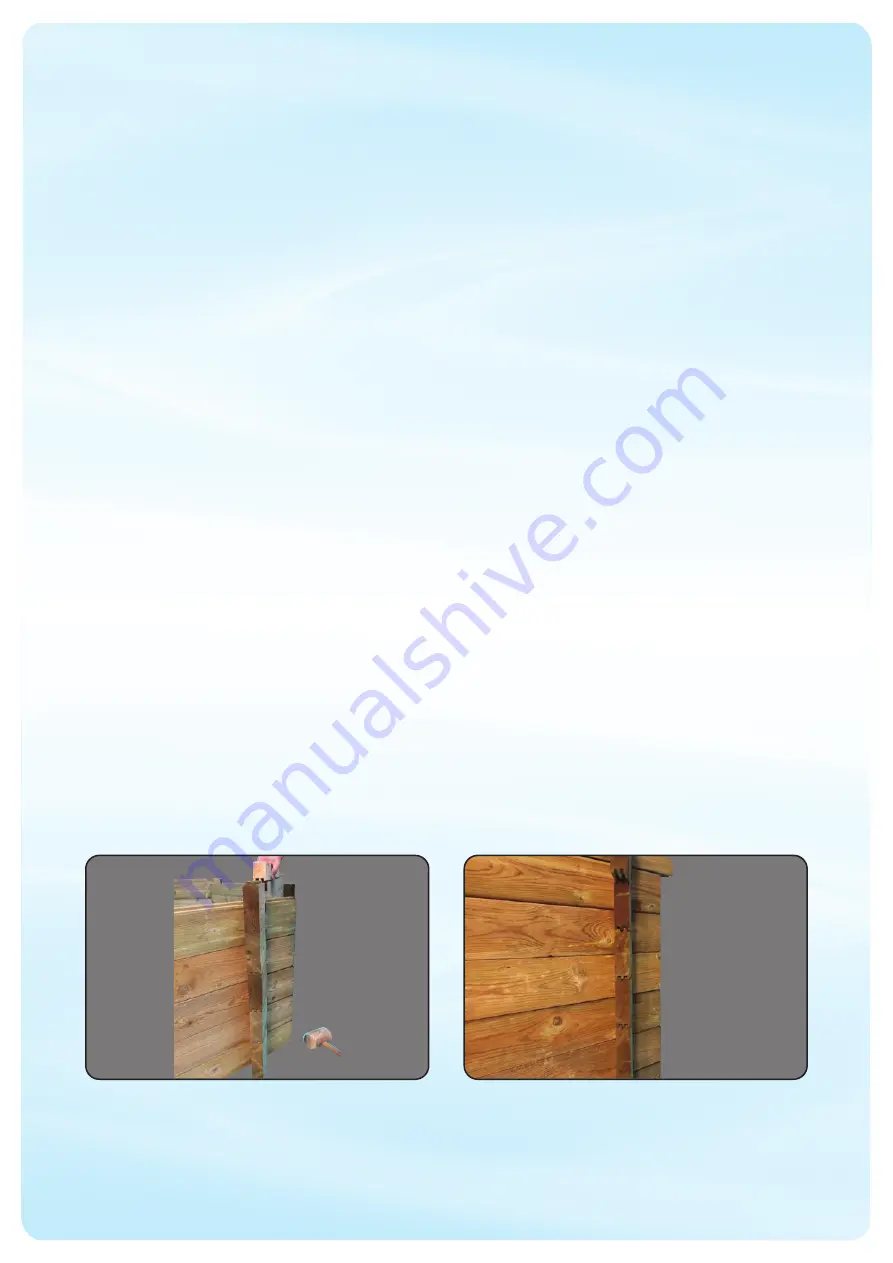
• Wooden knocking blocks are provided; these are
small untreated blocks of wood which protect the
pool wall planks as they are knocked together.
Place the knocking block so its grooves align with
the tongues of the plank being hit. Never hit a
plank with mallet or hammer but always use the
grooved blocks provided.
• Each plank must have 2 tongues facing upwards
and 2 grooves facing downwards.
• Each plank must be fully tapped home along its
entire length.
[See Figure B01 & B02]
• If a plank is difficult to fit first make sure no object
like a small stone has become lodged in any
groove.
• If a plank is still difficult to fit try it in another
location.
• If a plank is warped start fitting from one end and
using the tongue and groove as rails “zip” the
plank down by gradually working along the length
striking firmly with a mallet and the wooden
knocking block. Using a clamp may be helpful.
• Do not start a new layer of planks without making
sure every preceding plank is full interlinked.
Assemble the Pool Walls
Figure B01
Figure B02


