13
• Thoroughly clean the inside of the pool and ensure
no objects can fall into the pool. Any objects or dirt
that remain in the pool when the liner is fitted can
either damage the liner or be unsightly for years to
come.
• While climbing in and out of the pool make sure no
dirt or debris is brought in.
• Locate the roll of underlay foam, the spray
adhesive and underlay tape. Never use any other
type of tape where it will come into contact with the
liner. Unwrap the foam and stand it on its end.
• Start in the middle of one wall (not the skimmer
wall) and gradually unroll the foam underlay about
2 or 3m at a time, spraying both the foam and the
wall with adhesive.
• Press the foam against the pool wall making sure
it is tight against the floor and pressed in hard
against the linerlock.
• Pay particular attention to spraying plenty of glue
into the corners and pressing the foam firmly into
each corner.
• Ensure that the areas around the skimmer, low
suction, return and optional light have plenty of
spray glue on the wood but avoid getting it on the
fittings themselves. Position the underlay right
over these fittings at this point.
• Continue all around the pool until each wall is
covered with foam underlay.
• When you get to the point where you started the
foam in the middle of the wall, slightly overlap the
the start point, doubling the layer of foam, you can
then cut a vertical line through both layers to
acheive a good join, Cover this join with a single
layer of underlay tape.
• Ensure that the foam is not overlapped at any
point as the double thickness will show through the
liner.
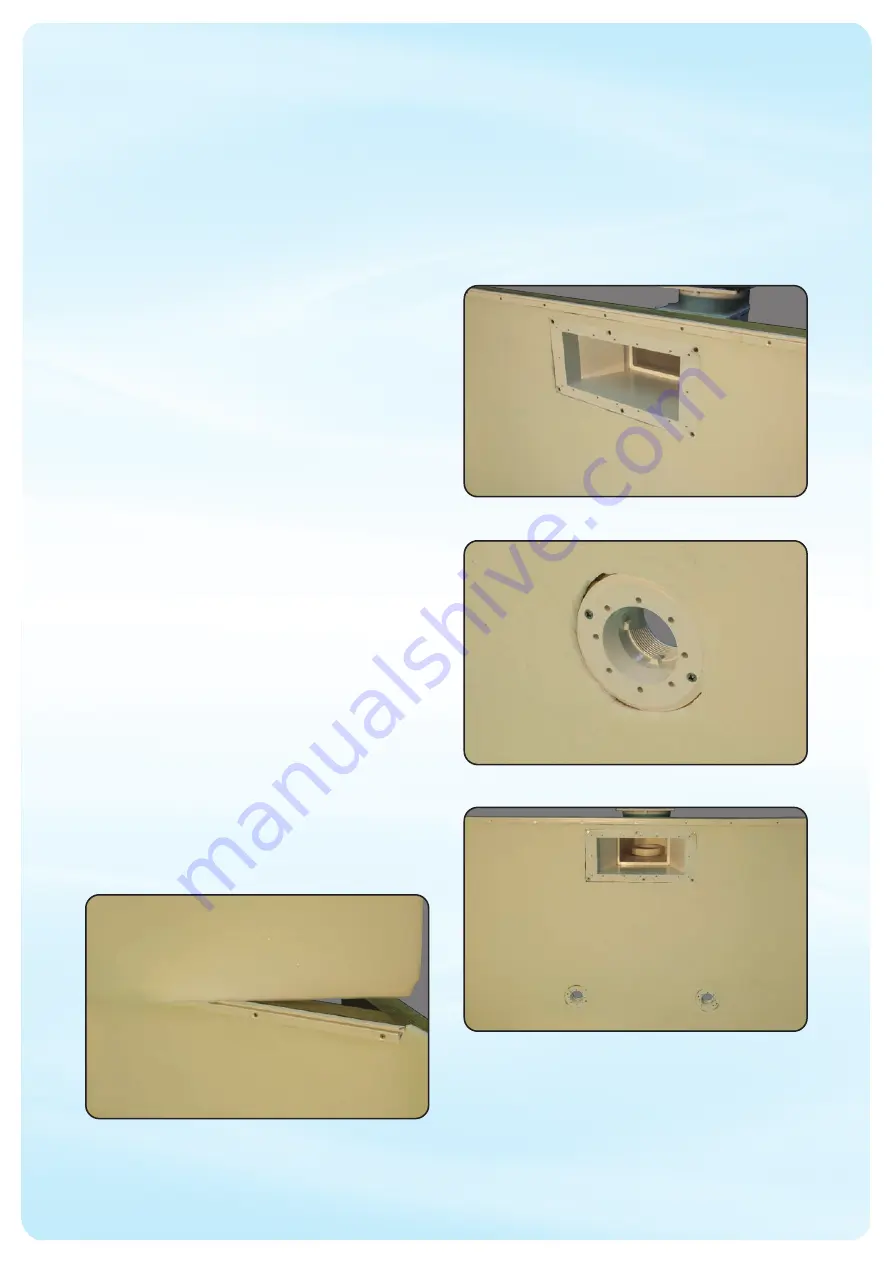
• With a Sta
nley trimming knife or similar, cut th
e
excess height of foam away by running the knife
tight against the bottom of the linerlock.
[See
Figure C03]
•
Cut the foam away from the skimmer, low suction,
return and optional light.
[See Figures C05 & C04]
•
Around each fitting the foam should be against
the white fitting (so no wood is visible) but not
overlapping it.
[See Figure C06]
• If a mistake is made with the foam underlay, areas
can be filled in with foam off cuts, stuck in with
spray adhesive and any joins covered with a single
layer of underlay tape.
Fixing the Wall Foam Underlay
Figure C03
Figure C04
Figure C05
Figure C06


