English
24
CAUTION
•
Place the equipment on a firm, level surface.
•
Place the equipment on a protective base
to prevent damage to the floor surface.
•
Allow at least 100 cm of clearance around
the equipment.
•
Refer to the illustrations for the correct
assembly of the equipment.
Assembly note (FIG. D-3A)
•
Position mounting brackets (3 & 4) all the way
to the back of the console, then tighten the
screws.
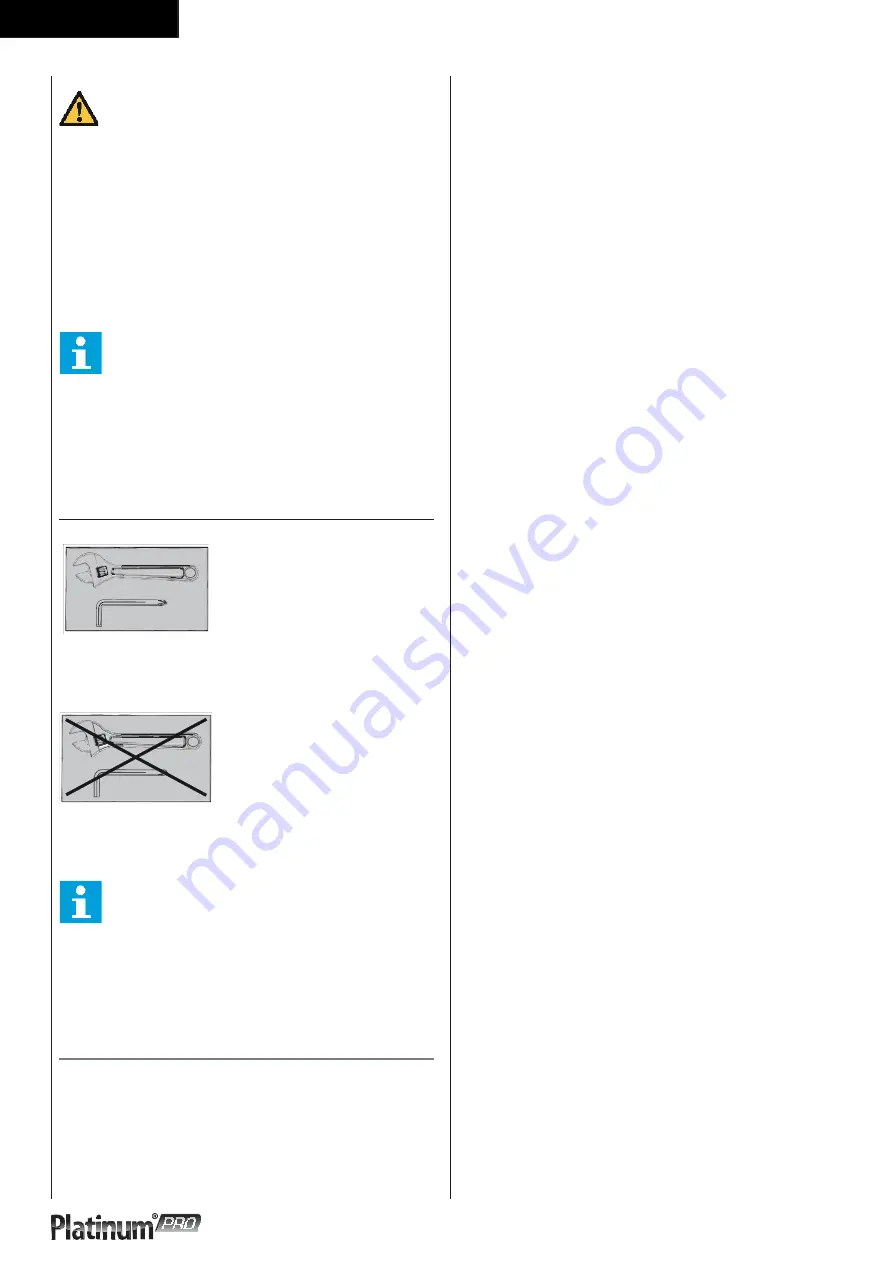
Fasten Nuts and Bolts
Securely tighten all Nuts and
Bolts after all components
have been assembled in
current and previous steps.
Do not tighten all Nuts and
Bolts in this step.
NOTE
•
Save the tools provided with this product,
after you completed the product assemly,
for future service purposses.
Workouts
The workout must be suitably light, but of long
duration. Aerobic exercise is based on improving
the body’s maximum oxygen uptake, which in turn
improves endurance and fitness. You should perspire,
but you should not get out of breath during the
workout.
To reach and maintain a basic fitness level, exercise at least
three times a week, 30 minutes at a time. Increase the number
of exercise sessions to improve your fitness level. It is
worthwhile to combine regular exercise with a healthy diet. A
person committed to dieting should exercise daily, at first 30
minutes or less at a time, gradually increasing the daily
workout time to one hour.
Start your workout at low speed and low resistance to prevent
the cardiovascular system from being subjected to excessive
strain.
As the fitness level improves, speed and resistance can be
increased gradually. The efficiency of your exercise can be
measured by monitoring your heart rate and your pulse rate.
Summary of Contents for PRO Treadmill 3.0
Page 2: ......
Page 3: ...Treadmill 3 A...
Page 4: ...Treadmill 4 B 1 1 1 1 1 1 1 1 1 1 1 STEP 3 TOOLS STEP 2 STEP 1 STEP 4 1 User manual 1...
Page 5: ...Treadmill 5 C STEP 3 STEP 2 STEP 1 STEP 4 TOOLS D 0...
Page 7: ...Treadmill 7 D 2 117 3 5 x 12L 7pcs Sheet metal screw STEP 3 STEP 2 STEP 1 STEP 4 B C F D G E...
Page 8: ...Treadmill STEP 4 TOOLS 8 TOOLS...
Page 9: ...Treadmill 9 D 3A D 3A 4 3 108 108 M8x12L Socket head cap bolt 6pcs STEP 3 STEP 2 STEP 1...
Page 11: ...Treadmill 11 D 4 73 32 73 73 M5x12L Phillips head screw 4pcs STEP 3 STEP 2 STEP 1...
Page 12: ......
Page 13: ...Treadmill 11 E 01 E 02...
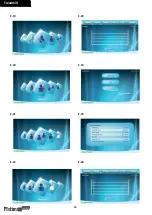
Page 14: ...Treadmill 12 E 3 E 07 E 4 E 08 E 5 E 09 E 6 E 10...
Page 15: ...Treadmill 13 E 11 E 15 E 12 E 16 E 13 E 17 E 14 E 18...
Page 16: ...Treadmill 14 E 19 E 23 E 20 E 24 E 21 E 25 E 22 E 26...
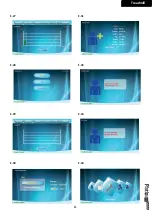
Page 17: ...15 Treadmill E 27 E 31 E 28 E 32 E 29 E 33 E 30 E 34...
Page 18: ...16 Treadmill E 35 E 39 E 36 E 40 E 37 E 41 E 38 E 42...
Page 19: ...17 Treadmill E 43 E 47 E 44 E 48 E 45 E 49 E 46 E 50...
Page 20: ...Treadmill 18 E 51 E 55 E 52 E 56 E 53 E 57 E 54 E 58...
Page 49: ......
Page 52: ...Treadmill 36...
Page 53: ......
Page 54: ......
Page 55: ......


