GB
O w n e r ’ s m a n u a l
•
P L A T I N U M P R O
25
you should not adjust unless the running
belt does not centre itself during normal
condition usage.
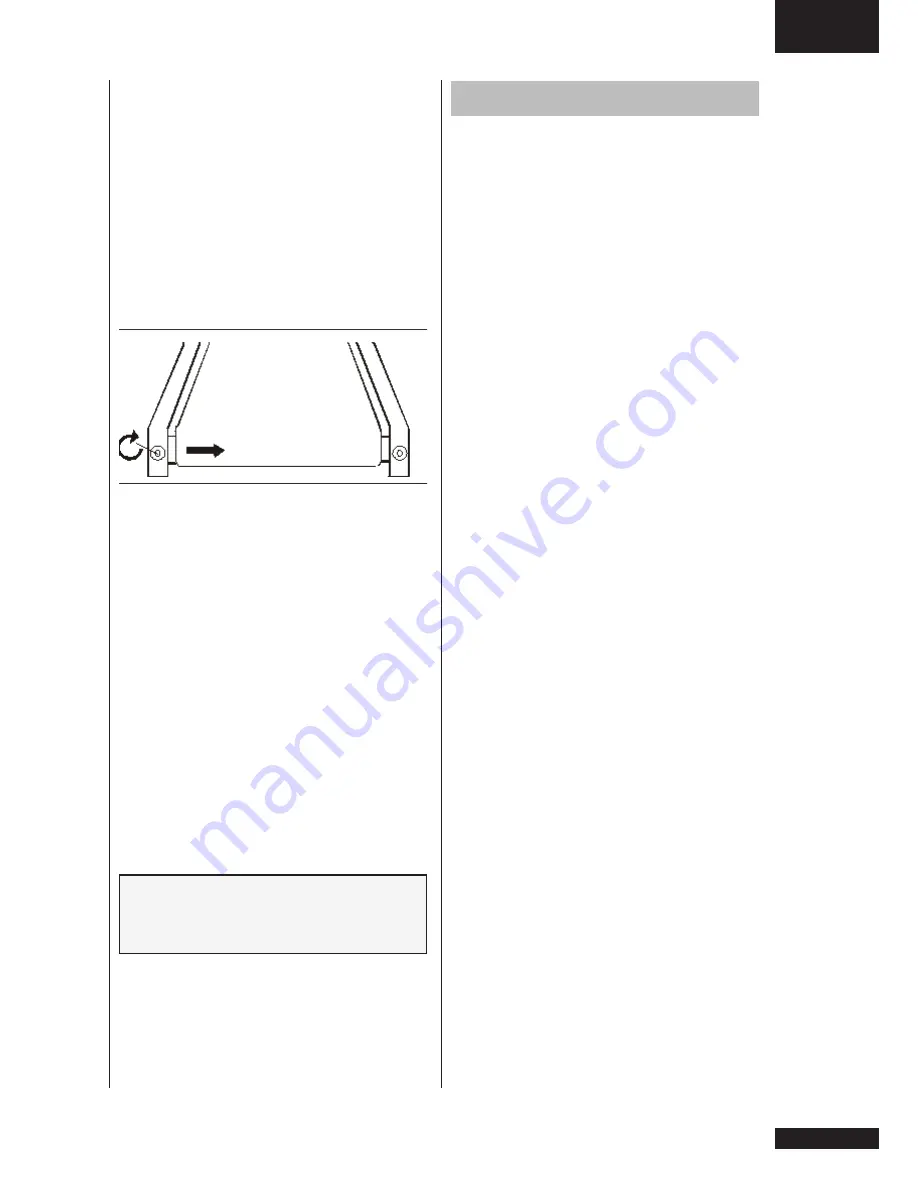
To set running belt tracking:
A 10 mm Allen wrench is provided to
adjust the rear roller. Make tracking
adjustments from the left side only. Set
belt speed at approximately 3 to 5 kph.
Remember, a small adjustment can
make a dramatic difference!
Turn the bolt clockwise to move the belt
to the right. Counterclockwise to move to
the left.Turn the bolt only a 1/4 turn and
wait a few minutes for the belt to adjust
itself. Continue to make 1/4 rotation
turns until the belt stabilizes in the center
of the running deck.
The belt may require periodic tracking
adjustment depending on use and
walking/running characteristics. Some
users will affect tracking differently.
Expect to make adjustments as required
to center the tread-belt. Adjustments will
become less of a maintenance concern
as the belt is used. Proper belt tracking
is an owner responsibility common with
all treadmills.
NOTE:
Damage to the running belt resulting
from improper tracking /tension
adjustments is not covered under the
warranty.
Troubleshooting
Despite continuous quality control,
defects and malfunctions caused by
individual components may occur
in the equipment. In most cases it’s
unnecessary to take the whole device
in for repair, as it’s usually sufficient to
replace the defective part.
If the equipment does not function
properly during use, or shows an error
code, stop your workout immediately.
Unplug the power cord and wait a few
minutes. Plug the power cord in and
check if the problem persists.
Mostly this will reset your treadmill and
eliminates error code.
If the problem still persists contact your
Tunturi dealer immediately. Always give
the model and serial number of your
equipment. Please state also the nature
of the problem, conditions of use and
purchase date.
If you require spare parts, always
give the model, serial number of your
equipment and the spare part number
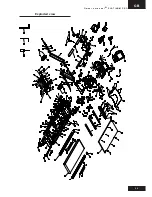
for the part you need. The spare part list
is at the back of this manual. Use only
spare parts mentioned in the spare part
list.
Summary of Contents for Tunturi
Page 1: ...www tunturi com TREADMILL PRO USER MANUAL SERIAL NUMBER...
Page 2: ......
Page 30: ...GB O w n e r s m a n u a l P L A T I N U M P R O 29 Exploded view...
Page 31: ......


