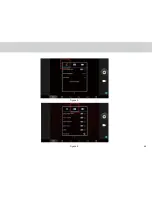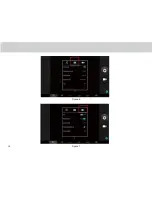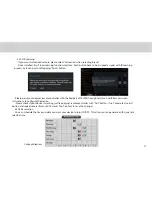
3.20.2 Adding and Deleting E-mail Accounts
Adding an e-mail account
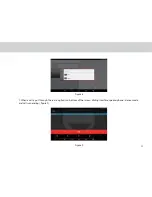
1. Touch New account.
2. Enter your e-mail address and password, and touch Next.
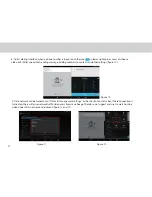
3. Within Account settings, type in the name that will represent
the account that you would like to be displayed when you send
e-mails.
4. Touch Next to inish setting up your new e-mail address on
your device.
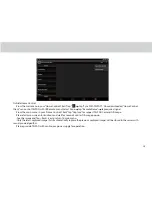
Manual setup
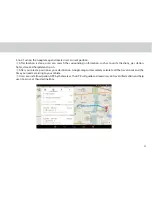
1. Touch New account.
2. Type in your e-mail address and password, and touch
Manual set up.
3. Select the type of e-mail account. (Check your e-mail provider for more information if necessary.)
4. Enter the correct account details, and touch Next when done.
The irst time you open E-mail, you are prompted to set up an e-mail account. If you have an existing e-mail account,
you can add this by touching Add account.
Automatic setup:
Deleting an e-mail account
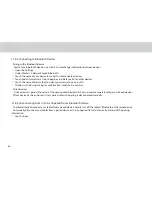
1. Open the E-mail screen.
2. Touch Menu at the upper right corner. Touch Settings.
3. Scroll down and touch Remove Account.
4. Touch OK in the dialog to conirm your delete action.
44
Summary of Contents for TELPAD MT7
Page 1: ......
Page 2: ......
Page 7: ...1 GETTING STARTED...
Page 9: ...2 TELPAD INTRODUCTION...
Page 18: ...3 TABLET FUNCTIONS...
Page 55: ...49 Figure 4 Figure 5...
Page 56: ...50 Figure 6 Figure 7...
Page 81: ...75 4 And then press Cast screen same as Figure 2 below Figure 2...
Page 82: ...76 5 Select Enable wireless display in menu of top right corner Figure 3 Figure 3...
Page 83: ...77 Figure 4 6 Tablet will search the accessible signal sources in range automatically Figure 4...
Page 99: ...4 THE CONNECTION BETWEEN DOCK PHONE AND TABLET...
Page 105: ...5 BASIC TROUBLESHOOTING FOR THE TELPAD...
Page 107: ...6 FAQs...
Page 113: ...7 WARNINGS AND PRECAUTIONS...
Page 118: ...8 PERSONAL INFORMATION AND DATA SECURITY...
Page 120: ...9 LEGAL NOTICE...
Page 122: ...10 DISCLAIMER OF WARRANTIES...
Page 124: ...11 INDEX...
Page 127: ...Warranty card NAME TEL NO ADDRESS DATE OF PURCHASE VERSION SERIAL NO...
Page 128: ......
Page 129: ......


