6.
Return to your computer. Wait until the tick appears next to the , before proceeding. This may
take a few minutes.
Insert and Check
•
-
Repeat the same procedure, placing the next Circle, attaching the sticker to the list, until all of the
Circles have been placed.
You may place the other Circles one after the other without having to return to your computer, in
between.
-
Return to your computer when all of the plugs have been placed and the installation list is completed.
The wizard will show a tick each time contact has been established with one or more of the Circles. When
the icon appears you may click on ‘Next’.
In the screen ‘Select modules’ your network is displayed. There are two (2) lists: (1) ‘Found Modules’ en
•
(2) ‘Your Plugwise Network’.
The plug-ID’s displayed in the (2) list are already part of your network. The plug-ID’s in the list (1)
‘Found Modules’ not yet.
Select only the plug-ID’s from the list (1) ‘Found Modules’ that correspond with the plug-ID’s of your
already-placed Circles. Then click on the green arrow to incorporate those plugs into your network.
Continue installation
Stick
•
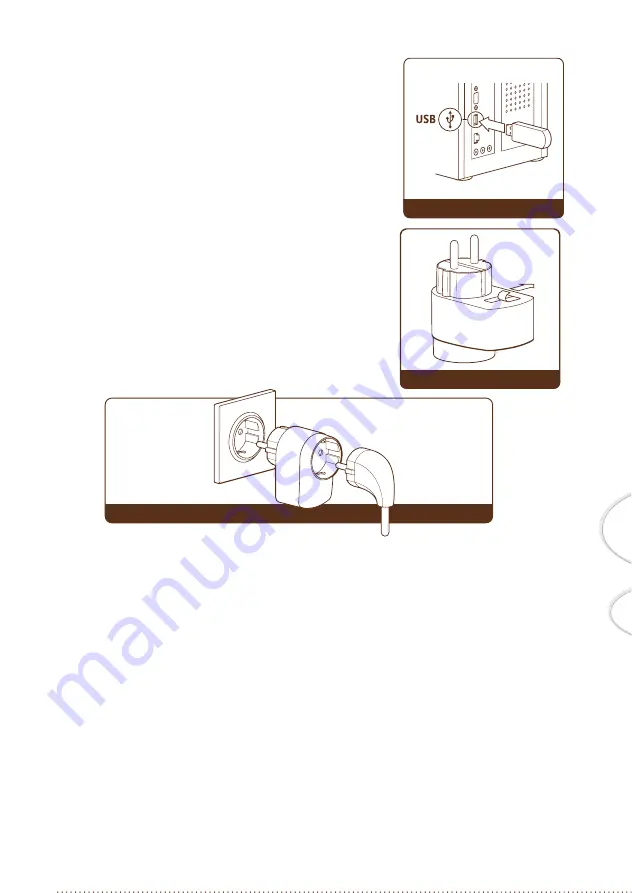
Connect the Stick to your computer. (See Fig. 1) Wait
until a ‘tick’ appears next to the Stick, before proceeding with
the .
Pick up the plug (recognizable by the grey back), the
1.
supplied installation list and a pen.
Choose an appliance, located in the vicinity of the Computer to
2.
be connected to the .
Two stickers are attached to the back of the plug. Tear off
3.
one of the stickers and stick it on the reserved spaceon the
installation list. Leave the other sticker on the plug (See Fig.
2)
Write on the installation list (next to the sticker) the name of
4.
the Appliance connected to the plug and the room or location
of the plug.
Insert the plug in the socket and connect the appliance to the
5.
plug (See Fig. 3)
fig. 3
fig. 2
fig. 1
D
selec
is di
St
wh


