3
4
1
2
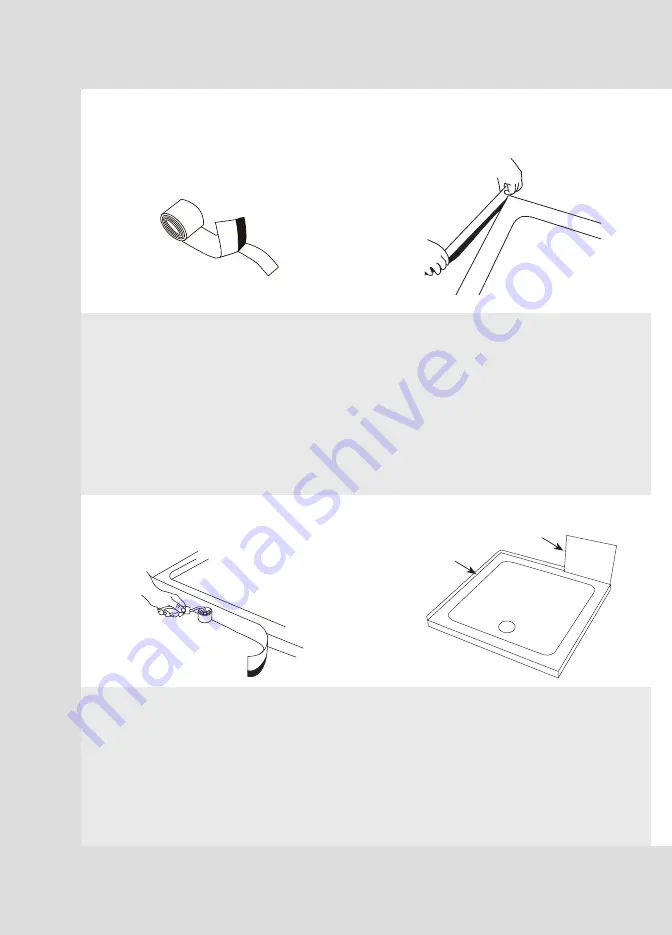
Using a small roller or other appropriate tool roll
the seal strip so that it attaches firmly to the edge
of the tray removing any bubbles or creases,
paying particular attention to the corners.
Gradually remove the cover strip in sections and
roll on the seal so it attaches firmly and square
to the edge of the tray, making sure there are no
gaps between tray and seal strip. Trim off any
excess strip.
Install the shower tray in the correct position and
tile in front of the seal strip.
Put a protective bead of silicone or other suitable
flexible sealant between the tray and the tile,
ensuring it does not come into contact with the
adhesive material on the flexi seal strip.
Wipe the surfaces clean where the strip will be
attached first with a clean damp cloth, allow to
dry and then wipe with the IPA wipe supplied in
the kit.
Determine the length of strip required to seal
around the shower tray and cut to length with
scissors. (Ensure you cut at least 20mm longer
than needed).
Peel back approximately 20cm of backing from
the adhesive strip.
Attach to the edge of the shower tray so that it
is square and the edge protrudes at least 20mm
above the edge of the tray.
Make sure the adhesive strip is positioned so
that it will not come into contact with any silicone
sealer used later.
Note! If applying to a cut or trimmed tray,
ensure that the adhesive edge follows the top
edge of the tray and any material below the
base of the tray should be removed with a
sharp knife.
Installation – Flexi Seal Strip
seal strip
tile over
seal strip
This product is intended as a flexible tiling upstand and should be fitted to the side of
the tray adjacent the walls only.


