Automist Smartscan
®
Handbook v1.2.3
Plumis Ltd Copyright © 2017. All Rights Reserved.
Page 41 of 64
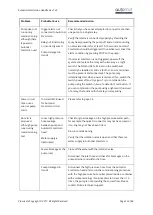
S MA RT SC AN
®
Only a single spray head can be used with each Automist Smartscan pump.
IMPORTANT!
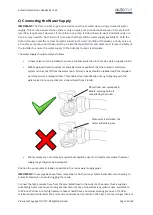
To enable a consistent pressure and seal for all low pressure water interface washers, the
correct amount of torque should be applied to each low pressure connection. This can be accomplished in
2 ways (with the washers and mating surfaces kept dry):
i)
Apply 6Nm using a calibrated torque wrench
OR
i)
Hand tighten the hose.
ii)
Using a conventional wrench, apply another 1/2 turn clockwise to guarantee a reliable seal.
D) Other Electrical Connections
This section describes general electrical connection arrangements for Automist Smartscan.
IMPORTANT!
The Automist Smartscan pump should be positioned in a safe and dry location where it is
easily accessible, the button will not be pushed accidentally, and the front panel remains visible when the
access door is open. For installations that require a wireless relay receiver, position the relay base on the
wall next to the Automist Smartscan pump unit, as close as possible to the front of the cupboard door.
IMPORTANT!
Connecting the power requires a suitably qualified & competent person. Switch off electricity
at the mains before working on existing circuits.
IMPORTANT!
Follow the detection/relay guidance on page 33.
IMPORTANT!
The relay must be set to continuous, not pulse mode, if applicable.
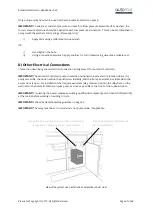
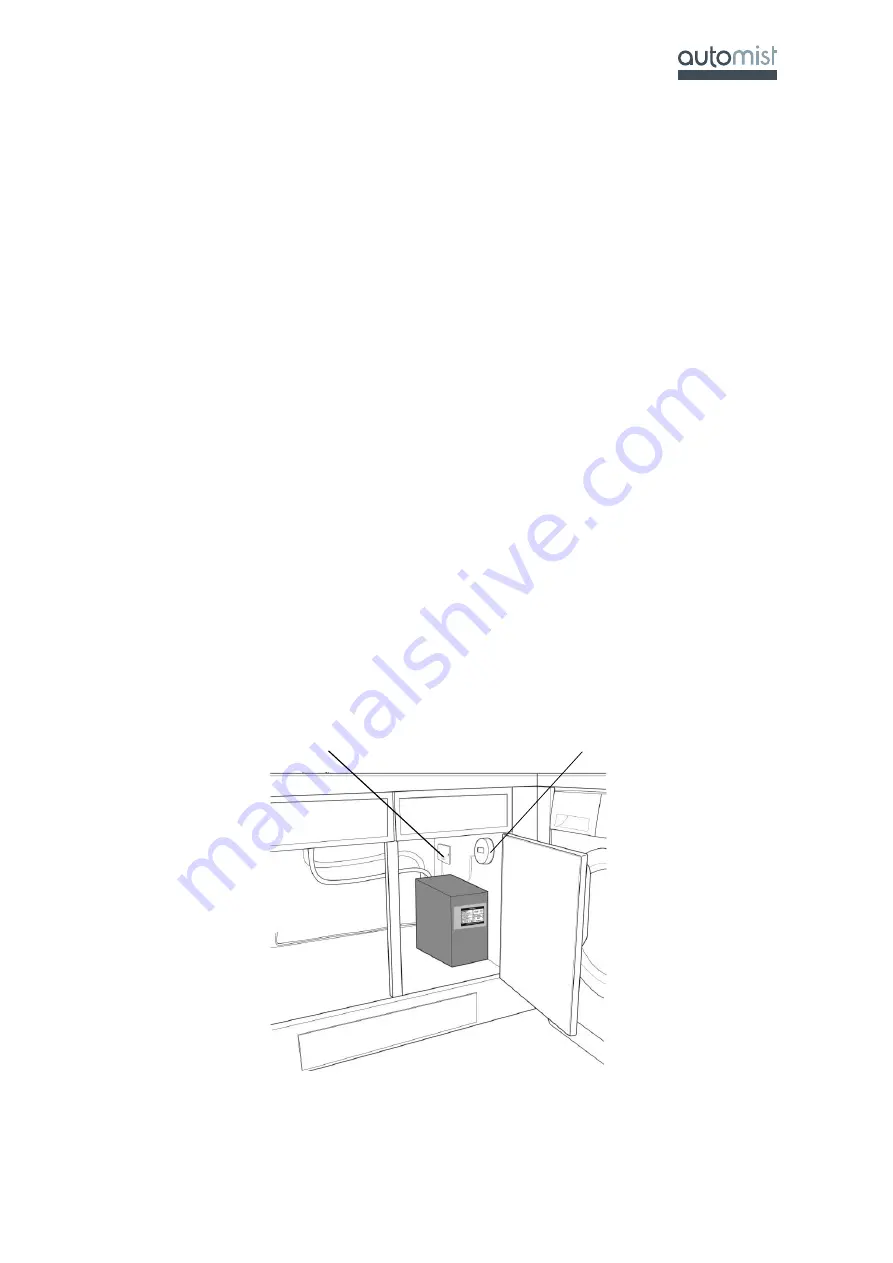
View of the system upon installation completion (under sink)
Pump
Non-switched fused connection unit (Nb. a second spur
is required for Hard wired relay / Heat Alarms)
relay base (typical for wireless heat
alarm installations)


