Automist
®
Fixed Wall Head Handbook v1.2.3
Plumis Ltd Copyright © 2017. All Rights Reserved.
Page 31 of 41
S MA RT SC AN
®
4.
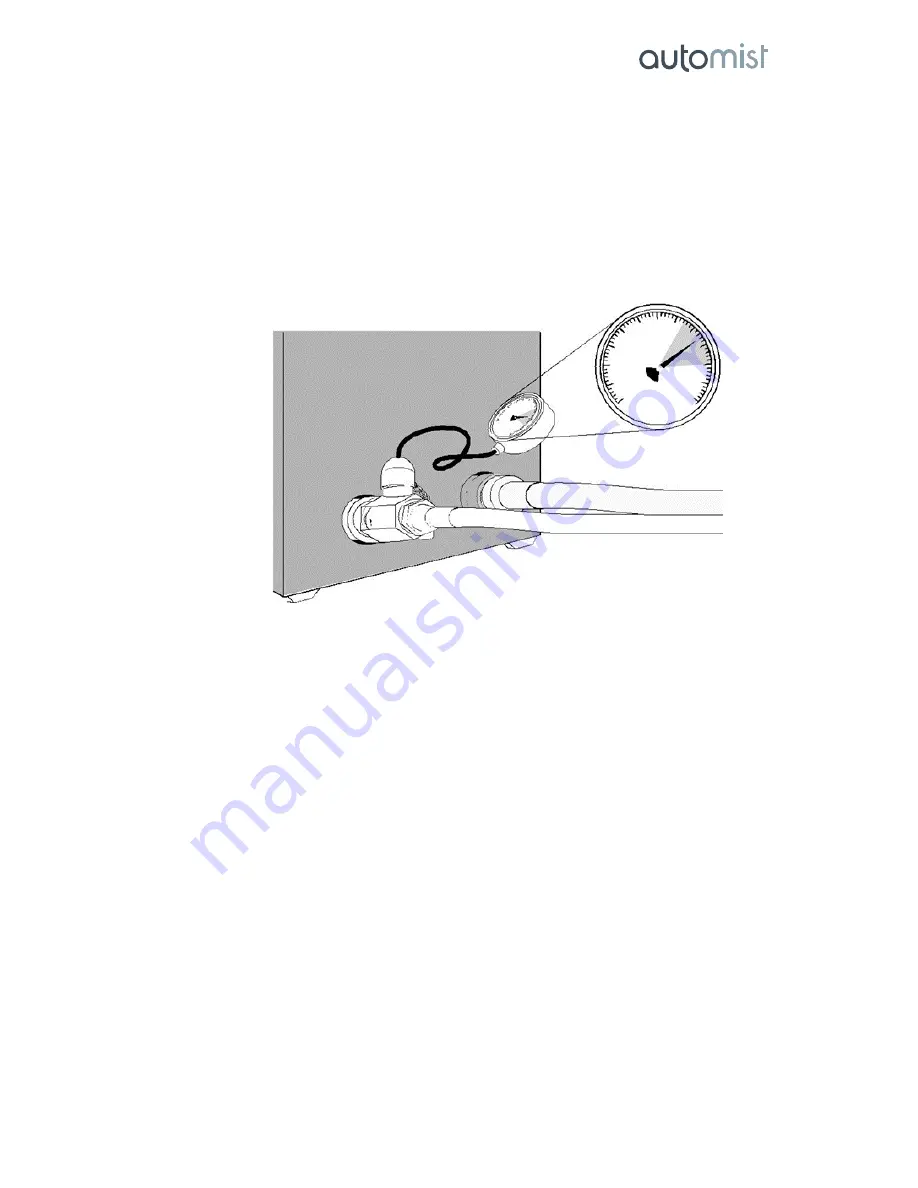
Check the gauge and ensure that the output pressure reaches a stable 75 to 100 bar. You may
have to run the pump continuously for 30 seconds prior to commissioning to remove trapped
air in the line.
IMPORTANT!
The pump features a cut-out which will disable it if the pressure becomes
excessive, so it is critically important not to leave an installed system with a high out-of-spec
pressure. By leaving an installed system with pressures outside the specified range, you might
become liable for deaths or injuries. If the achieved output pressure is outside the specified
range, refer to the commissioning troubleshooting guide (see page6) and contact Plumis on
020 7871 3899 if the situation cannot be resolved.
5.
Make sure you replace the mist head with the active nozzles pointing into the centre of the room.
Slight dripping from the head assembly itself may occur during testing. This need not be
addressed but may be remedied with silicone sealant under the head if desired.
6.
Once you have successfully commissioned your unit, complete the online commissioning form
and attach a layout diagram.
7.
Place the two warning stickers and the commissioning label:
•
Label the separate circuit on the circuit breaker
•
Label the heat alarm that triggers Automist, preferably near the test button
•
Complete the installer commissioning label and affix to your Automist unit
•
Complete the user manual with the relevant information for the occupier
IMPORTANT!
Record the output pressure from the commissioning gauge on the Installer Label (as shown
below) and keep a note of the details for the online commissioning form.
75
100


