E-11
Draw on the Sheet Surface
Please draw with the dedicated markers that have been
supplied.
If anything other than the dedicated markers or eraser are
used, it may be impossible to erase the sheet or the sheet
could get dirty.
To move the sheet manually, see “Moving the sheet surface
manually” on page E-17.
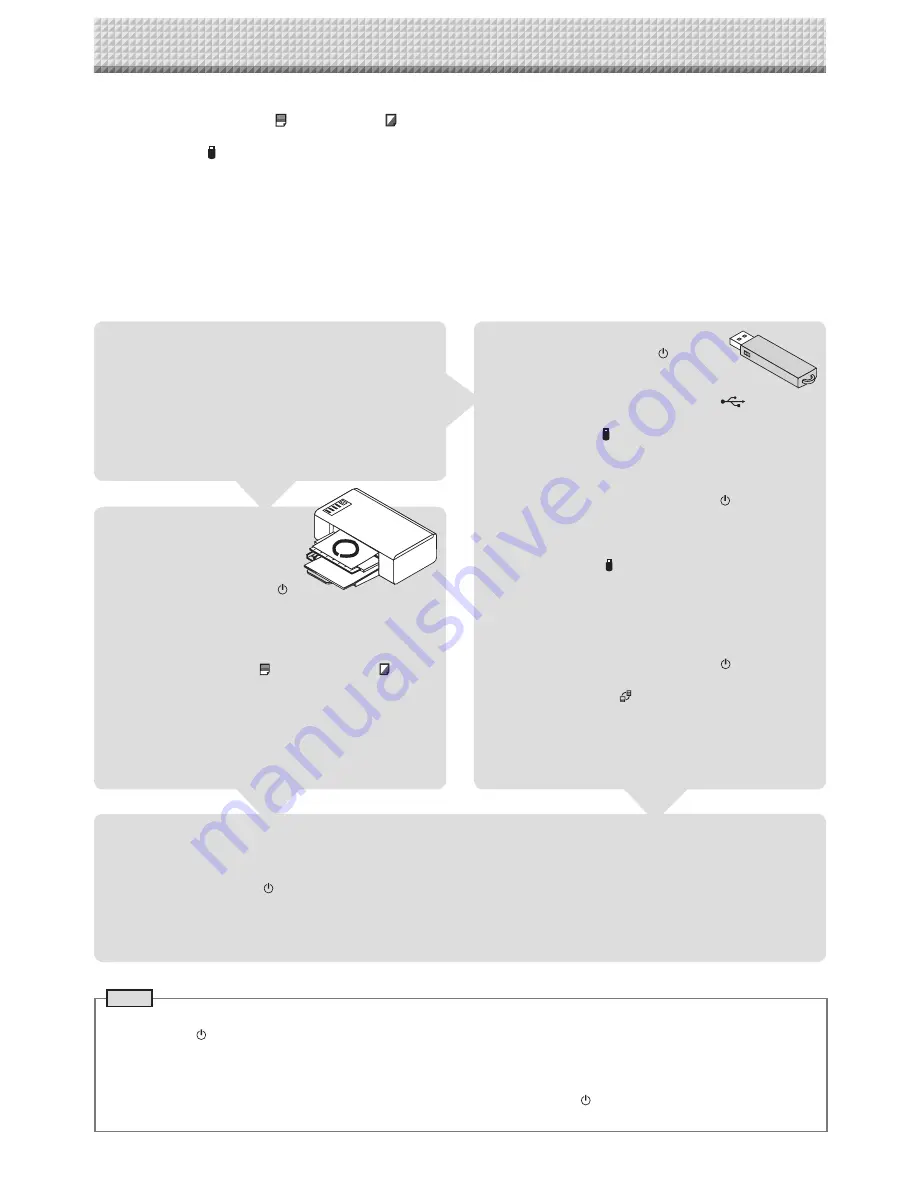
Printing
(1) Set A4 or letter size paper.
Do not set anything other
than A4 or letter size paper.
(2) Press the ON/Standby
button of the copyboard and switch on the power.
(3) Switch on the printer power.
For instructions on operating the printer, see the
printer’s operating instructions.
(4) Press the Color Print
or the B/W Print
button.
The copyboard will move a one-screen portion of
sheet, read the image, and start the copy operation*.
See “Printing” on Page E-14.
Saving to USB Memory
(1) Press the ON/Standby
button
of the copyboard to switch on the
power.
(2) Insert USB memory into the Memory
port (USB A
port) of the copyboard.
(3) Press the Save button.
See “Using USB Memory” on Page E-19.
Saving on a computer
(1) Press the copyboard’s ON/Standby ( ) button to turn
the power on.
(2) Connect the copyboard to the computer using the PC
dedicated USB port.
(3) Press the Save ( ) button.
(4) The image is saved on the computer.
Using a network (via LAN)
(1) Check that the copyboard is connected to a LAN port
on the network.
(2) Press the copyboard’s ON/Standby button to turn
on the power.
(3) Press the Network button.
See “Using the Copyboard Connected to a Network”
on page E-25.
Operation Steps
The copyboard uses an image scanner to scan characters or diagrams drawn using special markers (four col-
ors). When the Color Print
or B/W Print
button is pressed, the image on the screen is printed out to the
printer. When a USB memory device or computer is connected, the image on the screen is saved as image data
when the Save
button is pressed. (For the memory for computer storage, one sheet’s worth of data is
saved, overwriting previously saved data.)
Furthermore, when network settings are made, image files can be saved on the copyboard or FTP server.
Preparation
• Set up the newly purchased copyboard and connect a printer.
See a separate manual titled “Assembly and Setup Manual.”
• Plug the AC power plugs of the copyboard and printer into wall power outlets.
• After purchase, be sure to set the copyboard’s clock. If not, the proper date and time will not be displayed on prints
or in image files. See page E-12.
When Not Using the Copyboard
(1) By all means, cleanly erase the drawing from the sheet surface with the dedicated eraser. (Leaving the drawing for a long
period will make it harder to erase.)
(2) Press the ON/Standby button of the copyboard and switch off the power (standby mode).
The power cannot be switched off while the USB memory remains installed. (This is a prevention function against forget-
ting to unplug the USB memory.)
(3) Switch off the printer power.
Note
• When turning on the power, wait about 5 seconds or more after the power plug has been connected before pressing the
ON/Standby button.
• The color of the images when printed in color or when saved in USB memory will differ somewhat from the marker colors.
• Blurred characters, thin lines, overlapping of markers and other factors can cause colors to differ in places and can also
result in portions that cannot be scanned successfully.
• The data in the memory for computer storage is deleted when the ON/Standby button is turned off (standby mode) or
the connection with the computer is cut. The data in the memory for network storage is not deleted.
Summary of Contents for N-204
Page 54: ...26 4606 11C...


