E-22
Using the Network board Connected to a Network
When connecting to the network the first time
(1) Make the settings of the IP address, etc., required for connecting the network board to the network. See “Simple Network
Settings (via USB)” (page E-4).
(2) Use a commercially available LAN cable (10Base-T or 100Base-TX straight cable) to connect the network board’s LAN termi-
nal to the LAN port on a hub, etc.
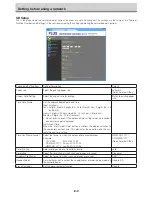
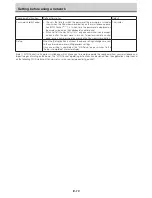
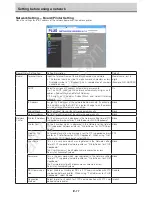
(3) Make the network board’s network settings or FTP server settings from a web browser. (See “Making Detailed Settings (via
LAN)” on page E-6.)
If you plan to store image files on an FTP server, create the folder for storing the files on the FTP server. Ask your network
administrator for instructions on settings and creating the folder.
Notice
• Be sure to transfer important image files stored on the network board itself to a computer (data backup). If the network
board should for some reason malfunction, depending on the malfunction the stored data may be lost or become impos-
sible to transfer. Note that PLUS will accept no responsibility whatsoever for loss of data, etc.
• The network board will not operate properly if the firewall is activated.
The following explanation assumes that the LAN cable has been connected and the various network settings
have been completed.
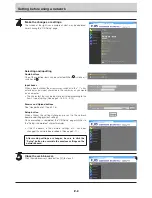
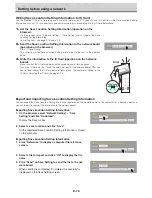
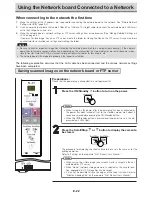
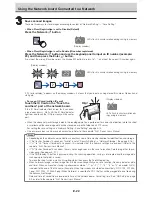
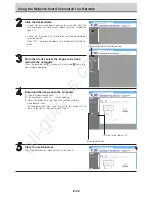
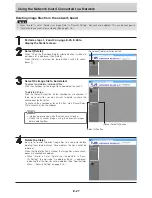
Saving scanned images on the network board or FTP server
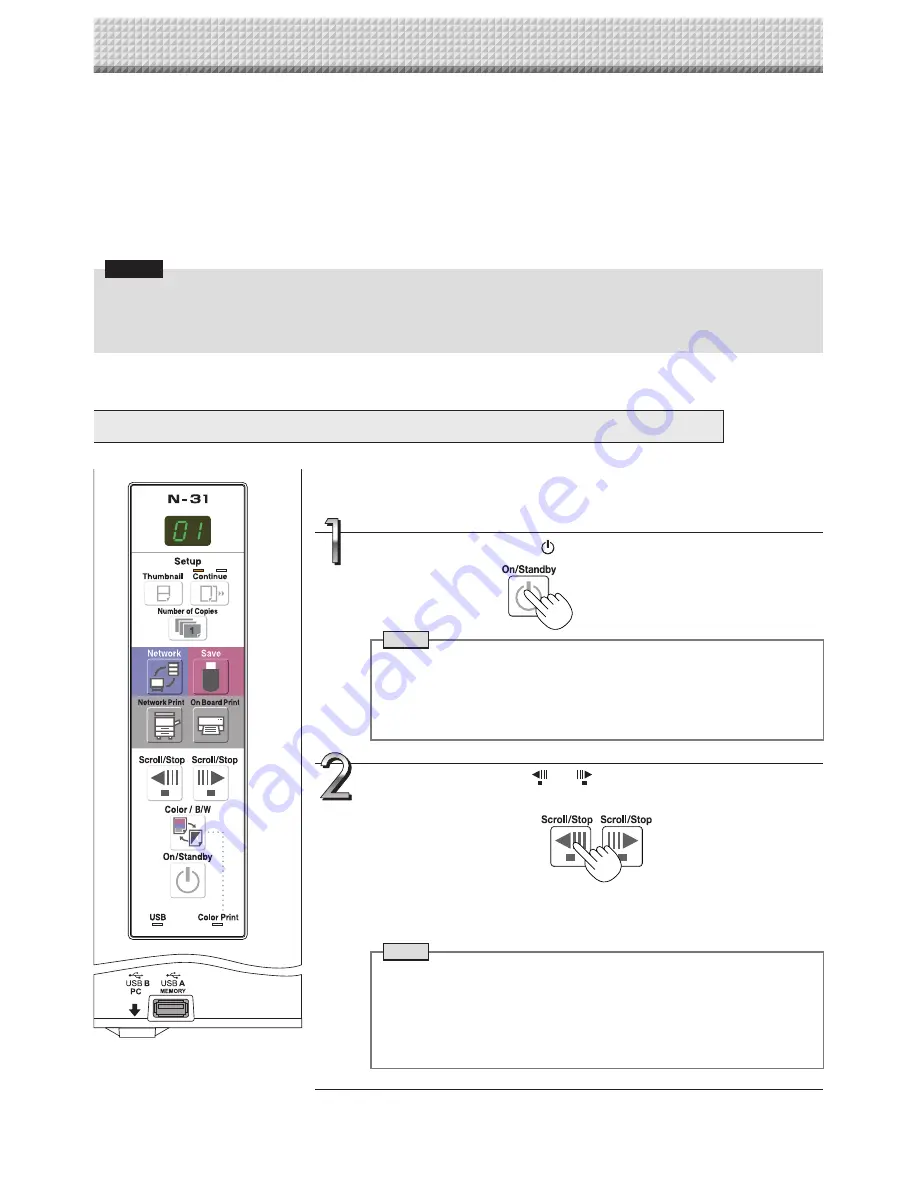
Press the Scroll/Stop
or
button to display the screen to
be stored.
The procedure for displaying the sheet surface to be save is the same as for the
printing operation.
Refer to “Printing” on the separate “N-31 Series User’s Manual”
Note
• When saving, the visible image (one screen’s worth) is saved on the net-
work board or FTP server.
• When “Board” (network storage memory) is selected as the save to loca-
tion, approximately 100 image files can be saved.
• It may not be possible to save the edges of the sheet surface. Refer to
“Effective Reading Size” on the separate “N-31 Series User’s Manual”.
Press the ON/Standby
button to turn on the power.
Note
• When turning on the power after the power plug has been connected or
the power has been turned off (set to the standby mode), wait about 5
seconds or more before pressing the ON/Standby button.
• When the ON/Standby button is pressed and the power turns on, the dis-
play window’s LEDs light.
Preparations :
Check that the power plug is connected to a wall power outlet.
All manuals and user guides at all-guides.com

