background image

E-4

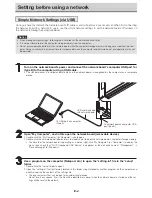
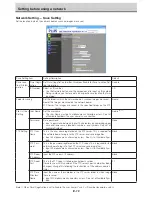
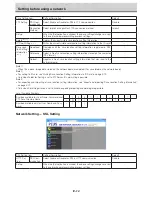
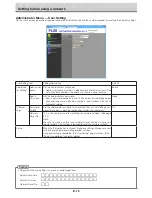
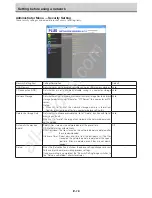
Simple Network Settings (via USB)

Upon purchase (by default), the network board’s IP address and subnet mask are not yet set. When first connecting 

the network board to a network to use it, use the simple network settings to set the network board’s IP address on 

the network following the procedure below.

Notice

•  When making network settings, following the instructions of the network administrator.
•  It is not possible to format the computer storage memory from the computer.
•  Do not press operation buttons on the network board while the computer storage memory is being accessed from the com-

puter. Doing so will result in increased time for response between the computer and network board, and operations may not 
be possible.

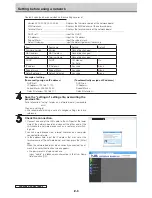
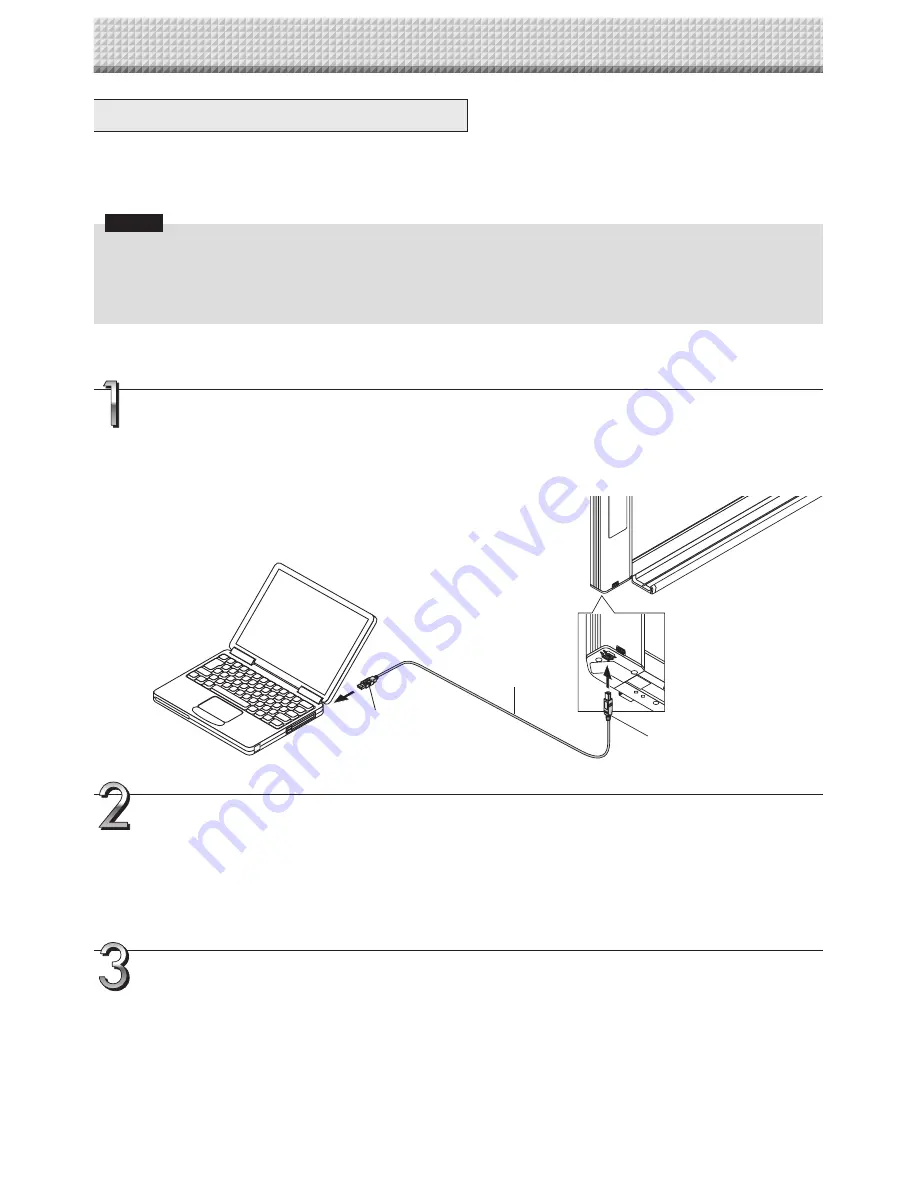
Turn on the network board’s power and connect the network board’s computer USB port for 

(type B) to the computer using a USB cable.

•  The standard driver is installed automatically and the network board is recognized by the computer as a removable 

device.

Open “My Computer”, and in this open the network board (removable device).

1  Double-click the “My Computer” (or “Computer”) icon to open.
2  Double-click the network board (display refers to model name) to open the network board’s computer storage memory.

•   To check that the network board is operating as a device, right-click “My Computer” (or “Computer”) to display the 

menu, then check that “PLUS Copyboard USB Device” is displayed as the disk drive name at “Management” 


“Device Manager” for Windows 7.

Use a program on the computer (Notepad, etc.) to open the “setting.ini” file in the “setup” 

folder.

1  Double-click the “setup” folder to open it.
2  Open the “setting.ini” file (text format) located in this folder using Notepad or another program on the computer and 

directly overwrite the contents of the settings file.
•  The only characters that can be input are numbers and periods.
  Do not insert any spaces. If so, the file will be identified as corrupt when the network board is started and the set-

tings will be reset to the defaults.

To USB port on computer 

(type A)

USB cable included 

with network board

To network board’s computer USB 

port (type B)

Setting before using a network

All manuals and user guides at all-guides.com

Summary of Contents for N-31 Series

Page 1: ...Series Network Manual carefully before use to take full advantage of the functions of this product Also read the separate User s Manual as appropriate After you have finished read ing the manuals plea...

Page 2: ...responsibility whatsoever for malfunctions due to combinations with connected devices or the software used nor for damages arising from hang up etc Trademarks and copyrights Microsoft and Windows are...

Page 3: ...ia USB E 4 Making Detailed Settings via LAN E 6 Basic Setting Operations E 7 CB Setup E 9 Network Setting Board Printer Setting E 11 Network Setting Save Setting E 13 Network Setting SSL Setting E 14...

Page 4: ...y Computer and in this open the network board removable device 1 Double click the My Computer or Computer icon to open 2 Double click the network board display refers to model name to open the network...

Page 5: ...Gateway 192 168 11 1 To automatically assign an IP address DHCP on IP Address Subnet Mask Default Gateway Save the setting ini settings file overwriting the previous file Save to location setup folder...

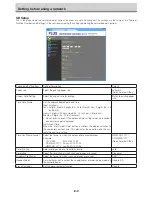
Page 6: ...Authority Levels Menu Item Some Setting Items Administrator Authority File List Browsing Authority CB Setup Network Setting Board Printer Setting Save Setting Board File List Preview and Download Dele...

Page 7: ...is set upon purchase Input admin in alphanu meric characters in the User Name field and click OK Note The user name and password are case sensitive Be sure to input them properly The account is locke...

Page 8: ...you would on a computer The characters that can be input are restricted according to the item s type of setting See page E 13 E 14 E 15 Browse and Upload buttons See Header Footer Page E 18 Setup butt...

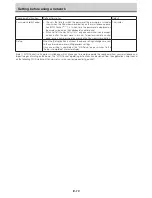
Page 9: ...ime setting values are incorrect an error message is displayed Get Current Time When the Get Current Time button is clicked the display switches to the computer s current time This eliminates the need...

Page 10: ...ord by pressing the Show password button 15 minutes Setup When the Setup button is clicked the above settings changes are sent to the network board overwriting previous settings Once overwriting is co...

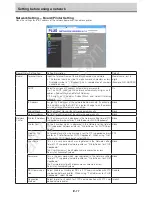
Page 11: ...ield of FTP supported network printer or PrinterServer for PLUS Copyboard Blank Printer Port Set port number which is displayed in the Network setting field of FTP supported network printer or Printer...

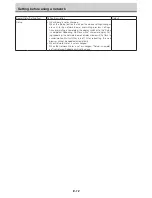
Page 12: ...completed the display switches to the Setup is completed Rebooting Wait for a while character display Dur ing rebooting the network board s display window LEDs flash in circular motion Wait until the...

Page 13: ...e alphabets numbers and symbols See List of Available Symbols None FTP Setting FTP User Name This is the user name registered on the FTP server This is required for the network board to log in to the...

Page 14: ...ote 1 When this is done image data stored on the network board are deleted For save folder on the network board Note 2 For writing to IC card see Writing Save Location Setting Information to IC Card o...

Page 15: ...set tings Password Validity Set the validity date for Admin Password and File List User Setting Pass word To use days select the radio button for day and input days Off Network Reset No This is the nu...

Page 16: ...sable the file list Delete function with file list browsing authority When set to Invalid the image files stored on the network board can not be deleted Valid Automatic file erase on board Deletes fil...

Page 17: ...ge memory used in percent age Disk Check When the Disk Check button is clicked checking of the network stor age memory starts When checking is completed the results of the check are displayed If a war...

Page 18: ...owse When the Browse button is clicked the computer s Browse Files screen opens Select the image then click the OK button to set it Upload This uploads the selected header or footer image to the netwo...

Page 19: ...ch the IC Card on the Touch the card here part of the network board After you hear a blip sound the IC Card indicator lights green This completes writing to the IC Card For using the IC card see page...

Page 20: ...00 flashes on the display window 2 Press the Network Print Increase or On Board Print Decrease button to display the network reset number The network reset number can be viewed when Administrator Menu...

Page 21: ...e images input characters etc to create the image When saving save in JPEG format with a size within the maximum size Registering created images on the network board Example Here we explain how to reg...

Page 22: ...will not operate properly if the firewall is activated The following explanation assumes that the LAN cable has been connected and the various network settings have been completed Saving scanned imag...

Page 23: ...s interrupted and the image data scanned up to that point is saved To move the sheet surface wait until scrolling stops then press the Scroll Stop button When network storage is done image files will...

Page 24: ...s scrolled and the image is output to the network printer connected to a network The thumbnails and consecutive printing which is possible on the printer connected to the network board is also possibl...

Page 25: ...network Downloading is possible even when the network board is in the standby mode but not if the network board s power is not connected to a power outlet Launch the web browser on the computer and lo...

Page 26: ...checked and a pre view image is displayed Close the web browser Click the web browser s close button X to close it Download the image onto the computer 1 Click the Download button 2 The computer s Sa...

Page 27: ...cked Check the scanned images using their preview images before deleting them Delete the file s Be sure to transfer important image files to a computer before deleting them data backup Once deleted th...

Page 28: ...driver separately Output to a printer is referring to output to a printer spool Actual printing operation depends on the PC and the printer or the connection status of the PC and the printer Operating...

Page 29: ...on of the Printer Server for PLUS Copyboard Cautions On Installation When the included CD ROM is first installed on a computer the message below may appear If so be sure to select Install and install...

Page 30: ...ograms or Applications this will differ depending on the OS to display the Add or Remove Programs Properties screen Select Printer Server for PLUS Copyboard among the list displayed and click Change R...

Page 31: ...E 31 All manuals and user guides at all guides com a l l g u i d e s c o m...

Page 32: ...26 4695 14A All manuals and user guides at all guides com...

Reviews: