E-42
Image Options
Noise Reduction
Use this to reduce noise that causes roughness of the
picture or muddiness of colors.
Use the SELECT
buttons to select the noise reduction
mode.
Off .............. Noise reduction is turned off.
Low, Medium and High
................... Select the strength of the noise reduction of the bright-
ness signal in one of three steps.
Position/Clock
Use this to adjust the picture’s display position and the phase of analog RGB signals.
Normally these settings are adjusted automatically when the source is selected. Ad-
just them if they have not been sufficiently adjusted with the automatic adjustment.
For RGB sources, if “Auto Adjust” is set, this is displayed in white characters and cannot be
selected. Switch to the manual mode. See “Auto Adjust (RGB only)” on page E-53.
Use the SELECT
▲▼
buttons to select the item, then use the SELECT
buttons to
adjust.
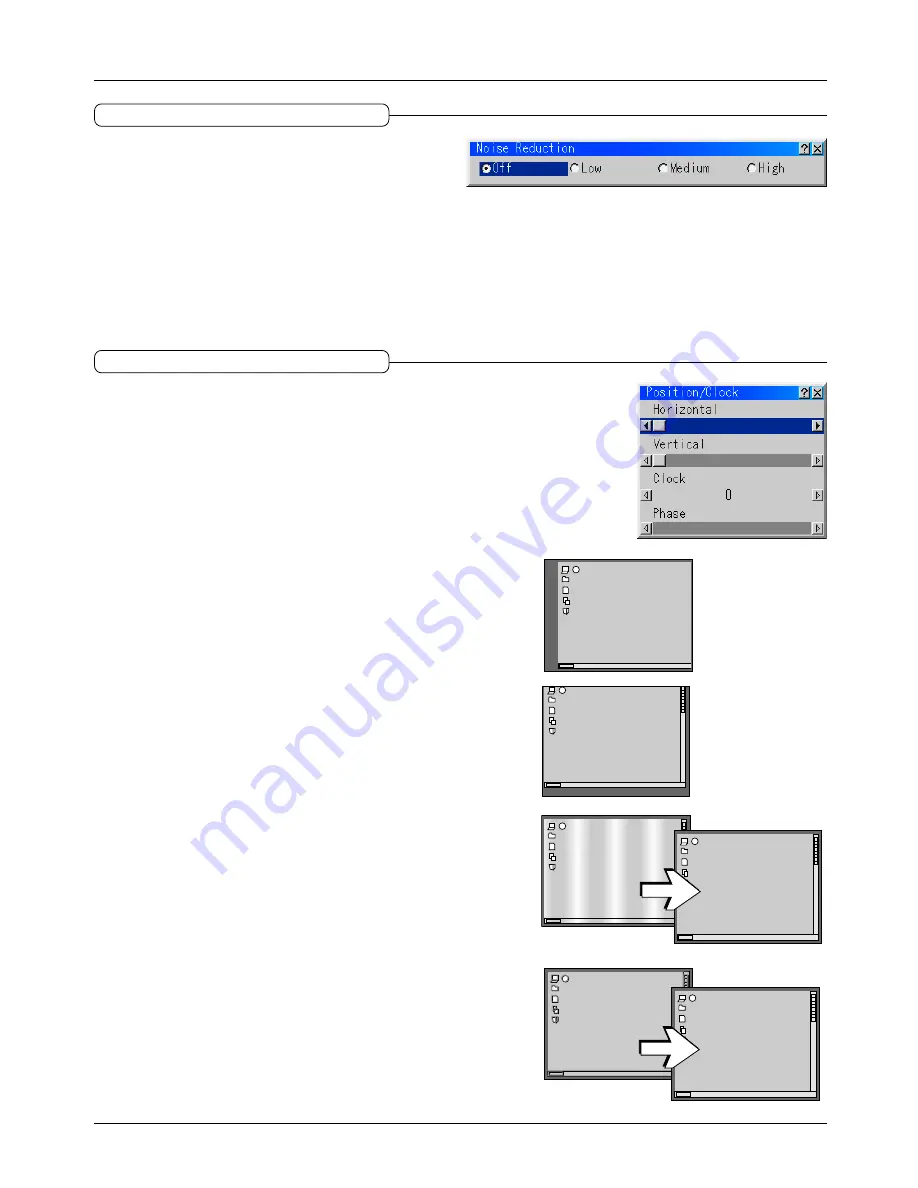
Horizontal
Use this to adjust when the image is off-centered to the left or right.
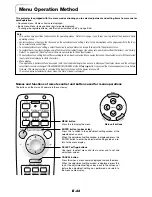
Vertical
Use this to adjust when the image is off-centered upwards or downwards.
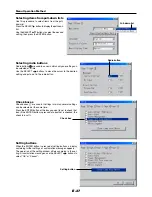
Clock
Adjust this if there are light and dark vertical stripes on the picture.
Adjust so that the vertical strips disappear and the picture’s brightness is
uniform.
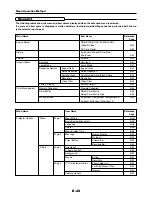
Phase
Adjust this if the picture’s colors are out of phase or the picture is flickering.
Adjust so that the colors appear normal and the picture stops flickering.


