background image

9

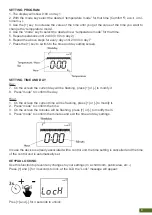
SETTING PROGRAM

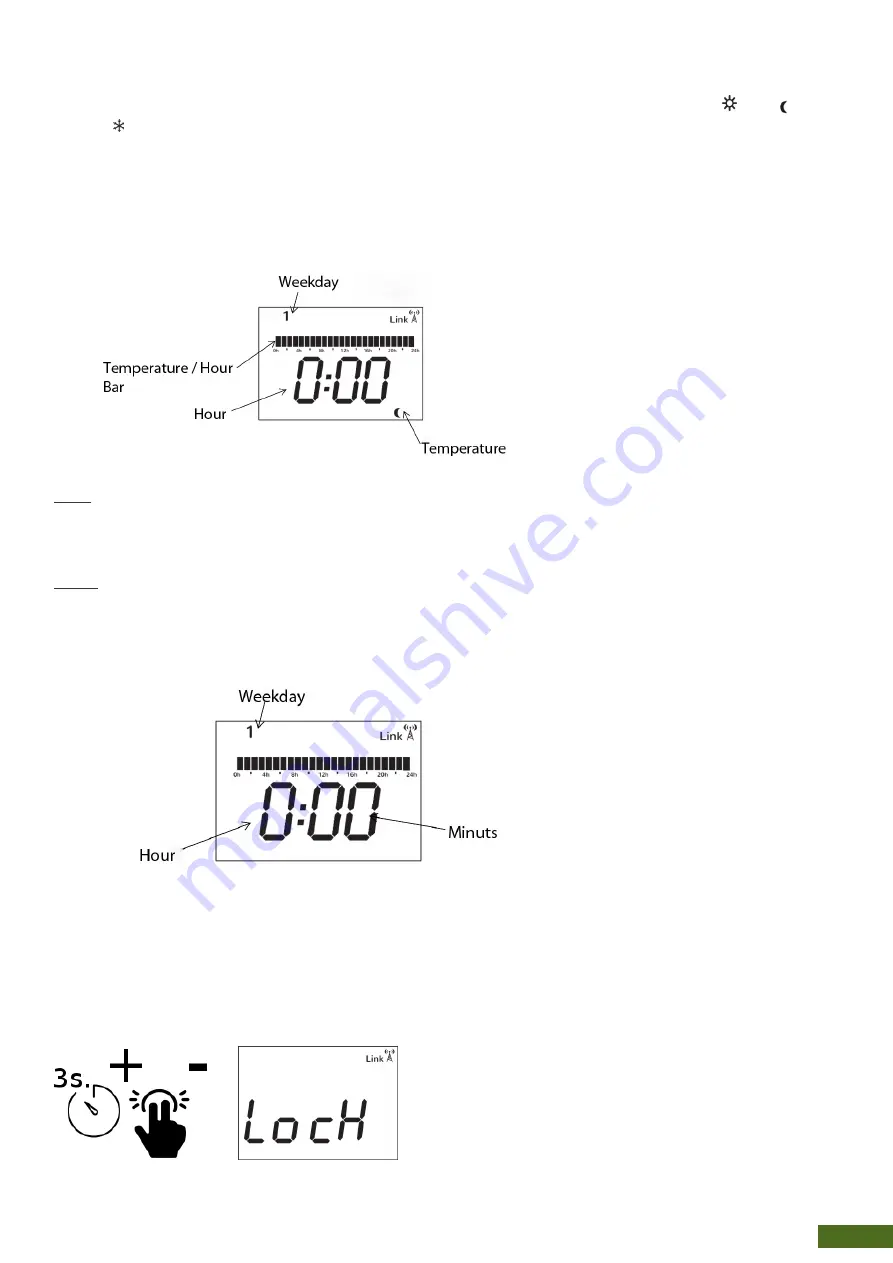
1. The display will show 0:00 on day 1.

2. With the mode key select the desired “temperature mode” for that time (Comfort  , eco  o mí-

nimum   ).

3. Use the [+] key to increase the value of the time until you get the value of the time you want to 

change the “temperature mode”.

4. Use the “mode” key to select the desired new “temperature mode” for that time.

5. Repeat operations until 24:00 (0:00 on day 2)

6. Repeat the above steps for every day until 23:00 on day 7

7. Press the [+] key to switch to the time and day setting screen.

SETTING TIME AND DAY

Day:

7. 

On the screen the current day will be flashing, press [+] or [-] to modify it

8. 

Press “mode” to confirm the day.

Hour:

1. 

On the screen the current time will be flashing, press [+] or [-] to modify it.

2. 

Press “mode” to confirm the time.

3. 

On the screen the minutes will be flashing, press [+] or [-] to modify them.

4. 

Press “mode” to confirm the minutes and exit the time and day settings.

In case the device is already associated with a control unit, the time setting is cancelled and the time 

of the control unit is automatically set.

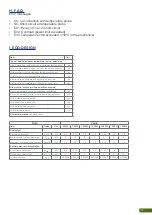
KEYPAD LOCKING

Use this function to prevent any changes to your settings (In a child room, public area, etc...)

Press [+] and [-] for 3 seconds to lock, at the LCD the “Lock” message will appear:

Pres [+] and [-] for 3 seconds to unlock.

Summary of Contents for WiFi Series

Page 1: ...MST WiFi radiator Installation and User Manual ...

Page 2: ...ing signs to confirm the non use of traditional disposal methods For more information contact your local authority or the store where you purchased this device C IMPORTANT SAFETY NOTES The installation of the heating device must be chosen correctly and must be carried out according to the rules and in accordance with the installation guides included in the manual The equipment should be kept away ...

Page 3: ...an cause overheating and cau se a fire risk However in case of using an extension cord the cable must be the minimum size 14 AWG and with a power no less than 2500w The connecting cables of the heater itself must not come into contact with the surface of the appliance and in the event that they can come into con tact with each other they must be protected with an insulating cover having an adequat...

Page 4: ... person in the bathroom or in the shower VERY IMPORTANT Read the installation manual before assembling the equipment Read the user manual to operate the equipment Observe the warnings carefully Install the equipment in a place where the air can fully circulate It is advisable to be assembled by an individual with DIY skills or qualified electrician ELECTRIC CONNECTION If you decide to remove the 3...

Page 5: ...nimum distances required around the emitter 2 Use the guide included in the box to help It is necessary to previously perforate the template in the marks 3 Using the holes as a guide mark the necessary holes We suggest you use a level to ensure that the radiator is positioned correctly 4 Using a drill make the holes for the plugs appropriate to the type of wall 5 Screw the fixing brackets to the w...

Page 6: ...ent temperature 0 C 45 C Temperature selection range 5 C 35 C Weekly schedule Each 1h Maximum load resistive only 16A TRIAC 8 A 2000W Supply voltage 230 Vac 10 50 Hz RF 868Mhz Operating temperature 70ºC Consumption error measurement 3 Norms and directives The thermostat has been designed in accordance with the following European standards and directives EN 60730 1 2013 EN 61000 6 1 2007 EN 61000 6...

Page 7: ...stomizable programming based on 3 temperatures operation as programmable thermostat chronothermostat The bars report the temperature that is programmed for each hour Manual The setpoint temperature remains fixed depending on the user s choice operation as digital thermostat OFF The radiator stays off Press mode to change the operation mode In Manual mode press the key and to change the temperature...

Page 8: ...ature to with the mode key Comfort eco o mínimum Change the temperature with the key or Press mode to modify other temperature modes or press Prog to exit SETTING PROGRAM TIME AND DATE The radiator allows the creation of a weekly programmed schedule assigning to each hour one of the 3 available temperatures The program for each day can be different Use Comfort temperature for the hours that you ar...

Page 9: ... TIME AND DAY Day 7 On the screen the current day will be flashing press or to modify it 8 Press mode to confirm the day Hour 1 On the screen the current time will be flashing press or to modify it 2 Press mode to confirm the time 3 On the screen the minutes will be flashing press or to modify them 4 Press mode to confirm the minutes and exit the time and day settings In case the device is already...

Page 10: ...red temperature according to the programmed schedule so the user do not need to take into account the time needed to heat the room Maximum anticipation time 24h Indicated with the symbol C7 ON OFF Pilot thread activation 4 To select one of the three advanced settings C1 to C5 use the keys 5 Choose the required mode by pressing mode 6 Press buttons to change 7 Press mode or Prog to confirm and exit...

Page 11: ...at output elmin kW 0 0 0 0 0 0 0 In standby mode elSB kW 0 00095 0 00095 0 00095 0 00095 0 00095 0 00095 0 00095 Item Unit Type of heat output room temperature control select one Single stage heat output and no room temperature control no Two or more manual stages no room temperature control no With mechanic thermostat room temperature control no With electronic room temperature control no Electro...

Page 12: ......

Reviews: