10
Step 3. Testing the Scanner
The following test procedure checks to see if the scanner is properly functioning
with your computer and the scanning software. Before testing your scanner, double
check to make sure that all connections are securely fastened.
To properly test your scanner, please perform the following steps:
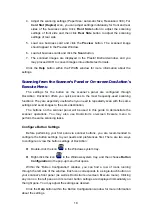
1. Do one of the following to open the Button Configuration window:
Double-click the DocAction icon
in the Windows system tray.
Right-click the DocAction icon
in the Windows system tray, and then
choose
Button Configuration…
in the pop-up menu that opens.
2. Clicking the
Scan
icon on the left pane in the Button Configuration window
displays its current button settings on the right pane. In the Button
Configuration window, choose from the dropdown list of Button Template to
select “File Utility”, and keep in mind the default saving folder show in the
“Saving folder” dropdown list.
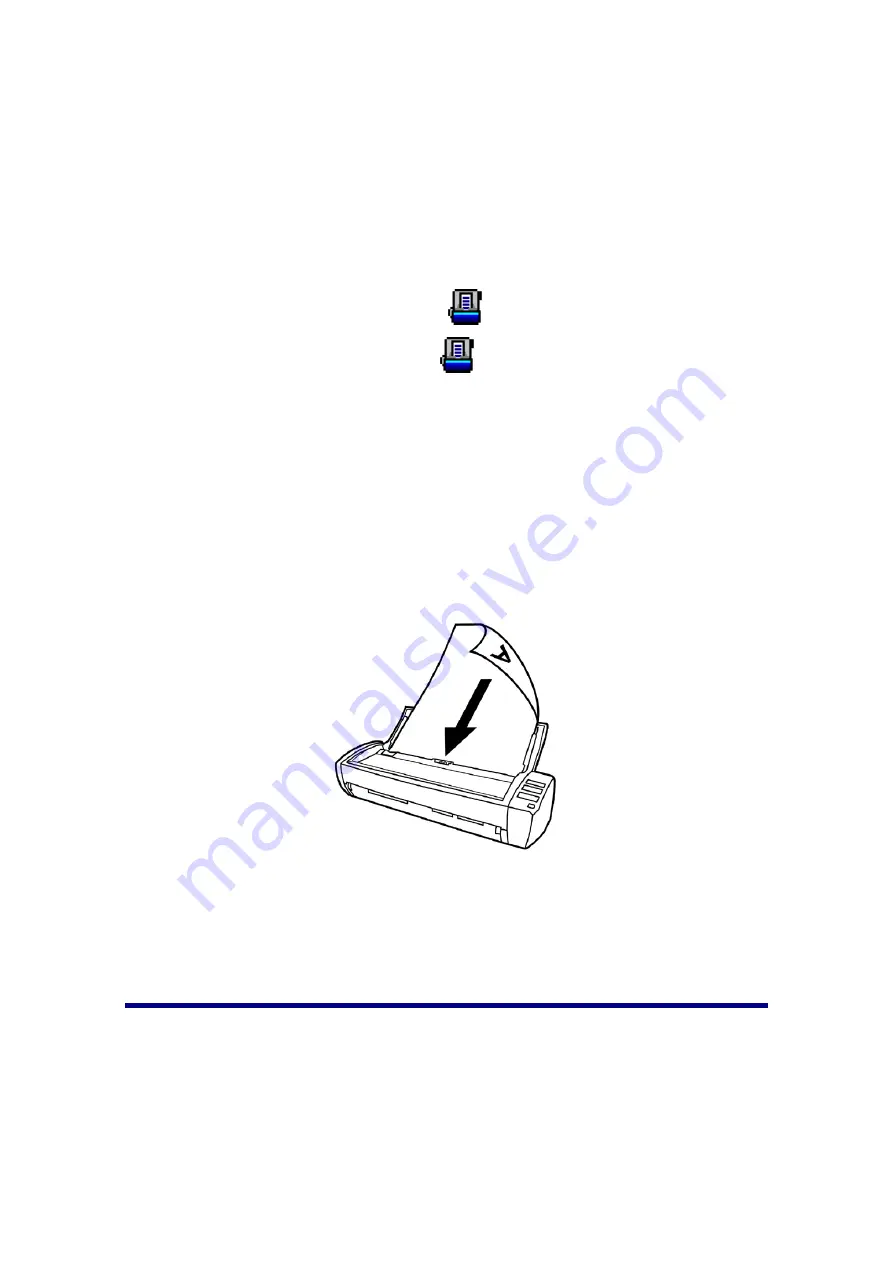
3. Load a document headfirst and face down into the ADF with the text side facing
the paper chute. (For detailed instructions on loading paper into the ADF,
please refer to the “Loading Documents” section of this guide.)
4. Press the
Scan
button on the scanner and the scanning starts immediately.
After the scanner pulls through the paper, you’ll see a scanned image of the
document in the default saving folder; your scanner is working properly.
I
NSTALLING
A
DDITIONAL
S
OFTWARE
Your scanner is TWAIN compliant and functions with virtually all available TWAIN
compatible software. If you purchase additional software to be used with your scanner,
please make sure that it conforms to the TWAIN standard.


