11
The DocAction program, seamlessly integrating the operation of your scanner with
your computer and other peripherals, provides a quick and convenient way to perform
various scanning functions. With DocAction, you don't need to adjust settings every
time you scan. Simply press any button on the scanner's front panel or click any
scanning menu item of DocAction on the screen. The scanner starts to scan your paper
documents and transfer them to your assigned destination. The destination can be a
printer, your E-mail program, files on your disk drives, an image-editing program, etc.
Please refer to the online help of each program to guide you through any questions
you may have while scanning within that program.
Using the Scanner Buttons
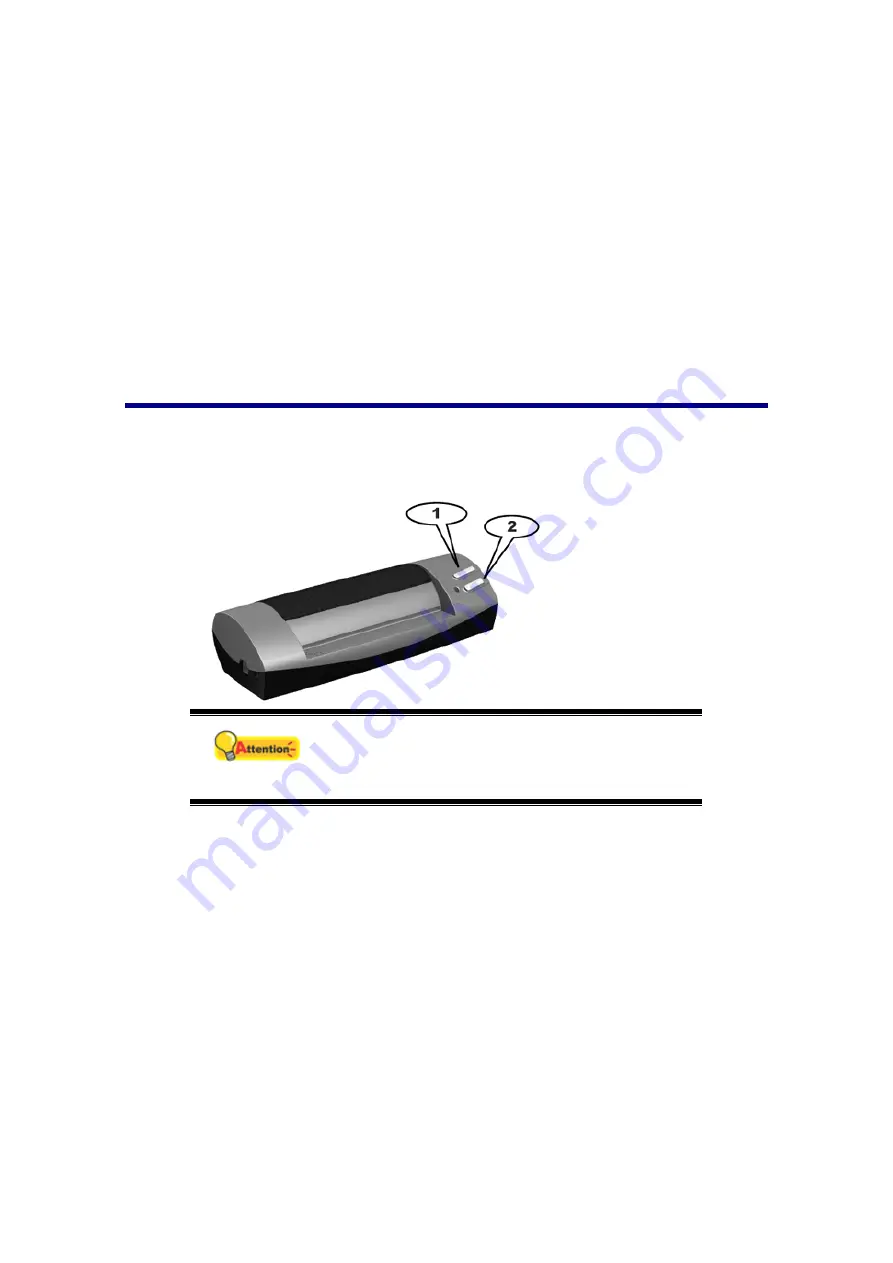
Your scanner is equipped with two function buttons designed to make your
scanning experience more convenient and efficient. With simply one touch of the
button, you can scan to file, copy, OCR, BCR or e-mail.
Attention
To use the buttons, ensure you have installed the
relevant software (e.g., the printer driver is
required for using the copy function) beforehand.
SCAN Button
The SCAN button can automate a scanning and proceed saving the scanned
image(s) to a destination file path, depending on the settings you have defined for the
SCAN button in the DocAction window.
To use the SCAN button, please follow the steps:
1. Please change the button setting from the DocAction window.
2. Insert the document or image face up into the scanner. Align the paper to the
arrow sign on the left of the scanner.
1. SCAN
Button
2. Custom
Button


