12
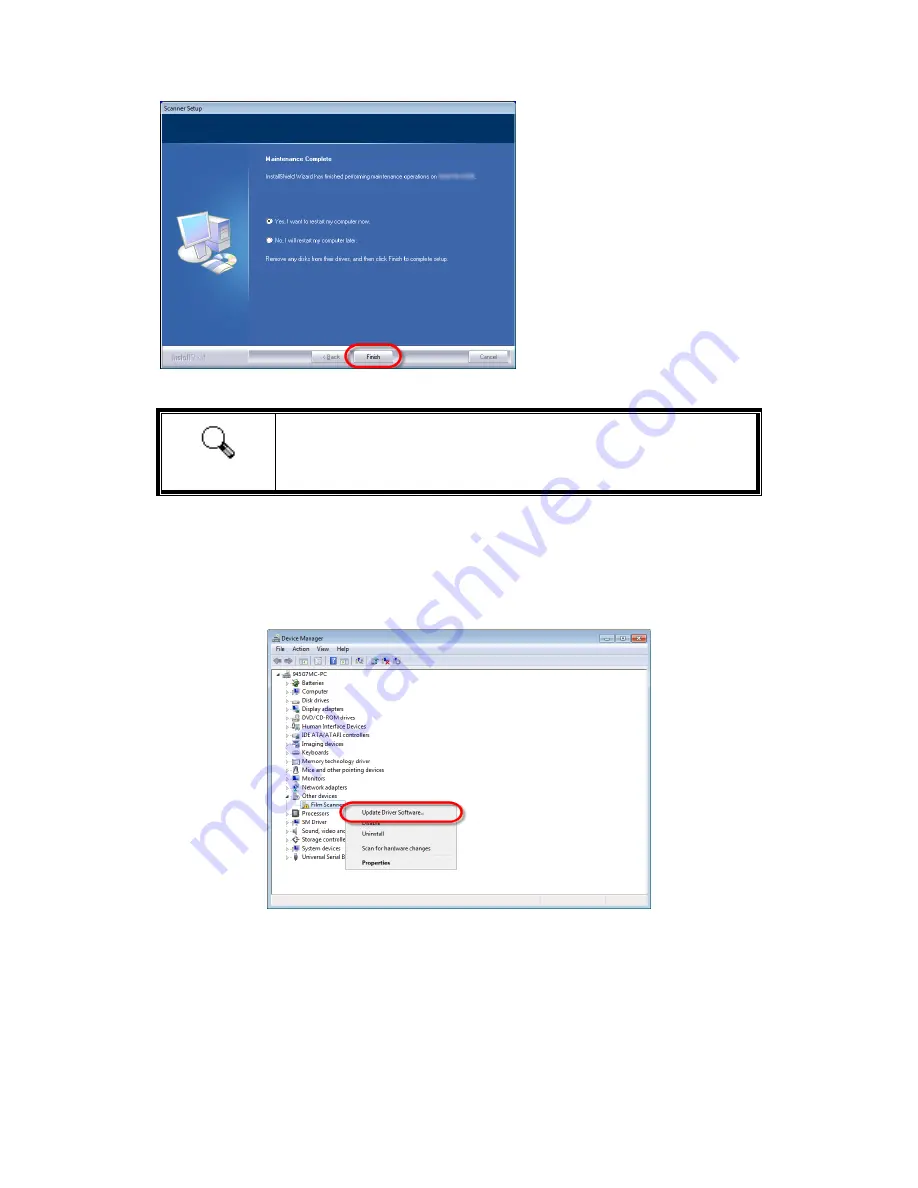
4. After the software is installed,
close all open applications and
click on the [Finish] button to
restart your computer.
Attention
For Windows XP / Vista, please follow the on-screen installation
instructions after connecting the scanner.
Manually Installing the Software
1. Please open [Start] > [Control Panel] > [System] > [Hardware] > [Device Manager].
(from FAQ) In the [Device Manager] window, right-click on this scanner under [Other
devices] and select [Update Driver Software] from the pop-up menu.
2. Click [Browse my computer for driver software] in the window that appears, and
click the [Browse] button. In the [Browse For Folder] window, select the folder or the
CD-ROM drive that contains this scanner’s driver and click the [OK] button to return to
the previous screen. Click the [Next] button and click [Install this driver software
anyway] if the [Windows Security] window appears.
3. Browse your CD-ROM drive and manually run the [install.exe] file. Click on the
[Yes] button if the [User Account Control] dialog pops up. Follow the on-screen
instructions to install all software that your new USB scanner requires.


