QuickScan Plus Help
14
All rights are reserved.
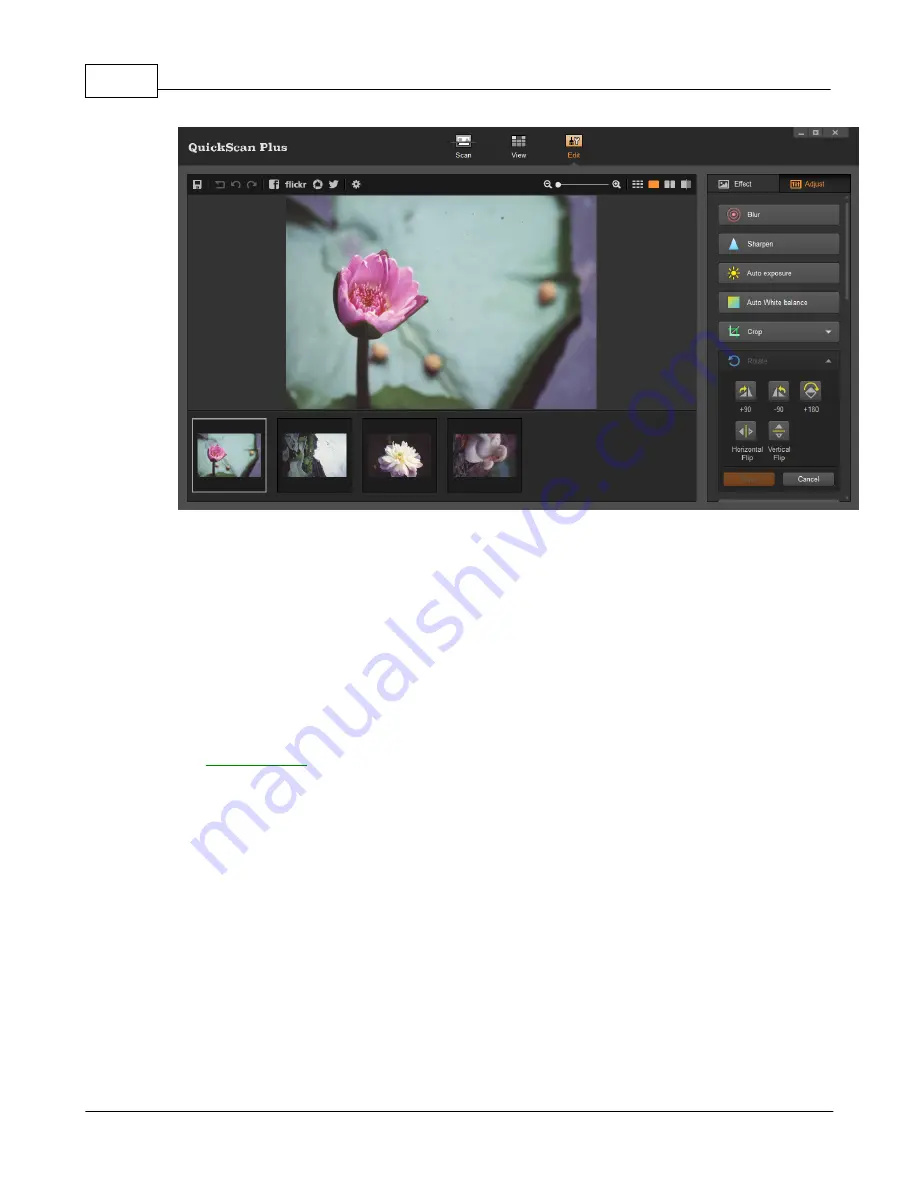
Click on the
Adjust
tab to view all available adjustments you can apply to your images.
Click on any adjustment to apply it to the currently selected image. If the adjustment has
sub-items you can select, it will be expanded when you click on it. Select the desired
adjustments and click on the
Apply
button to apply the adjustment or click on the
Cancel
button to close the adjustment sub-items.
3
Working with this program
This section covers the most frequent how-tos you may want to know with this program.
We'll walk you through these practical applications step by step.
·
: Scan and save one or more images without processing them. The
scanned images will be saved in the file format and folder of your choice.
3.1
Scan Images
Follow the steps described below:
1.
To launch the program, you can do one of the following:
For Windows OS:
·
Click on the
QuickScan Plus
shortcut from the Windows
Start
menu >
All
Programs
>
Your Scanner Model Name
folder. (For Windows 8.1 users: Point
your mouse cursor to the upper or lower right corner of your screen to open the
Charm
bar. Click on the
Start
charm, then click on the downwards arrow button
in the lower left corner of the screen. The
Apps
screen will be shown. Move
your cursor to the right edge of the screen to scroll right until you find
Your
Scanner Model Name
, and then click on
QuickScan Plus
.)


