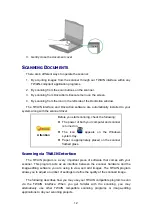
14
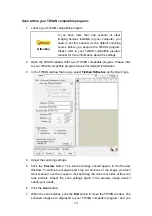
may perform the image editing tasks.
Click the
Help
button within the TWAIN window for more information about the
settings.
Scanning from the Scanner’s Panel or On-screen DocAction's
Execute Menu
The settings for each button on the scanner's panel are configured through
DocAction. DocAction offers you quick access to the most frequently-used scanning
functions. They are especially useful when you need to repeatedly scan with the same
settings and send images to the same destination.
Buttons on the scanner panel will be used in this guide to demonstrate the scanner
operations. You may also use DocAction's on-screen Execute menu to perform the
same scanning tasks.
Configure Button Settings
Before performing your first scan via scanner buttons, you are recommended to
configure the button settings to your needs and preferences first. There are two ways
to configure or view the button settings of DocAction:
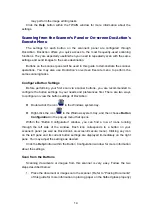
Double-click the icon
in the Windows system tray.
Right-click the icon
in the Windows system tray, and then choose
Button
Configuration
in the pop-up menu that opens.
Within the “Button Configuration” window, you can find a row of icons running
through the left side of the window. Each icon corresponds to a button on your
scanner's panel (as well as DocAction's on-screen Execute menu). Clicking any icon
on the left pane and its current button settings are displayed immediately on the right
pane. You may adjust the settings as desired.
Click the
Help
button within the Button Configuration window for more information
about the settings.
Scan from the Buttons
Scanning documents or images from this scanner is very easy. Follow the two
steps described below:
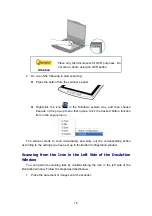
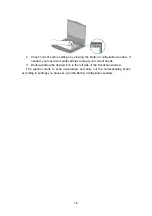
1. Place the document or images onto the scanner. (Refer to “Placing Documents”
of this guide for more information in placing paper on the flatbed glass properly.)

