12
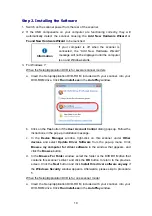
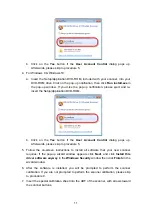
8. Follow the on-screen instructions to complete the scanner calibration. After the
calibration is complete, click
OK
and then click
Finish
.
9. After the installation is complete, close all open applications and click the
Finish
button to restart your computer.
Attention
Save the Setup/Application DVD in case you
need to reinstall the driver and software in
the future.
Save the Calibration Sheet in case you need
to calibrate the scanner in the future.
Step 3. Install the Extended Paper Width Slider
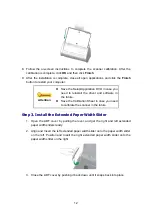
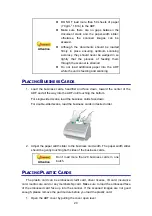
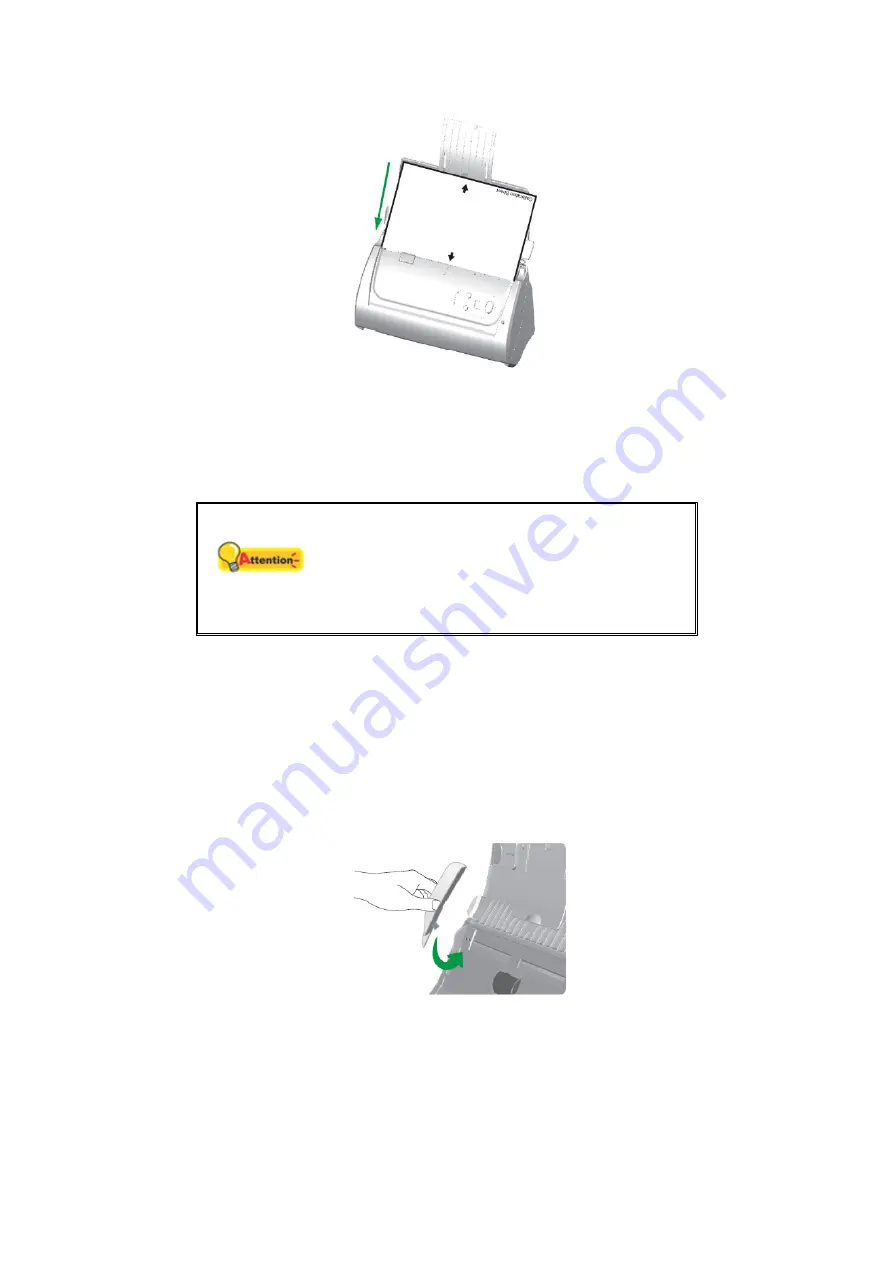
1. Open the ADF cover by pulling the lever, and get the right and left extended
paper width sliders ready.
2. Align and Insert the left extended paper width slider onto the paper width slider
on the left. Position and Insert the right extended paper width slider onto the
paper width slider on the right.
3. Close the ADF cover by pushing it back down until it snaps back into place.
Summary of Contents for SmartOffice PS286 Plus
Page 2: ...Scanner User s Guide SmartOffice ...
Page 44: ...40 Dimensions W x D x H 263 x 128 x 148 mm 10 36 x 5 02 x 5 83 ...
Page 48: ...9 The TWAIN Interface 9 Scan Settings 9 How to Scan ...
Page 92: ...9 Program Window Overview 9 Configure Scan Profiles 9 Scan Images with Scan Profiles ...
Page 123: ...9 Scanner Connection 9 Standby Mode ...
Page 128: ...Scanner User s Guide SmartOffice ...
Page 162: ...32 Net Weight 1 66 Kgs 3 66 Lbs Dimensions W x D x H 263 x 128 x 148 mm 10 36 x 5 02 x 5 83 ...
Page 166: ...9 Button Configuration Window Overview 9 Common Scan Parameters 9 Using the Scanner Buttons ...

