ELECTRICAL
10.23
6.
Check specific gravity of each cell with a
hydrometer to assure each has a reading of 1.270
or higher.
BATTERY
TERMINALS/TERMINAL BOLTS
Use Polaris corrosion resistant Nyogel
t
grease (PN
2871329) on battery bolts. See Battery Installation.
CONVENTIONAL BATTERY
INSPECTION/REMOVAL
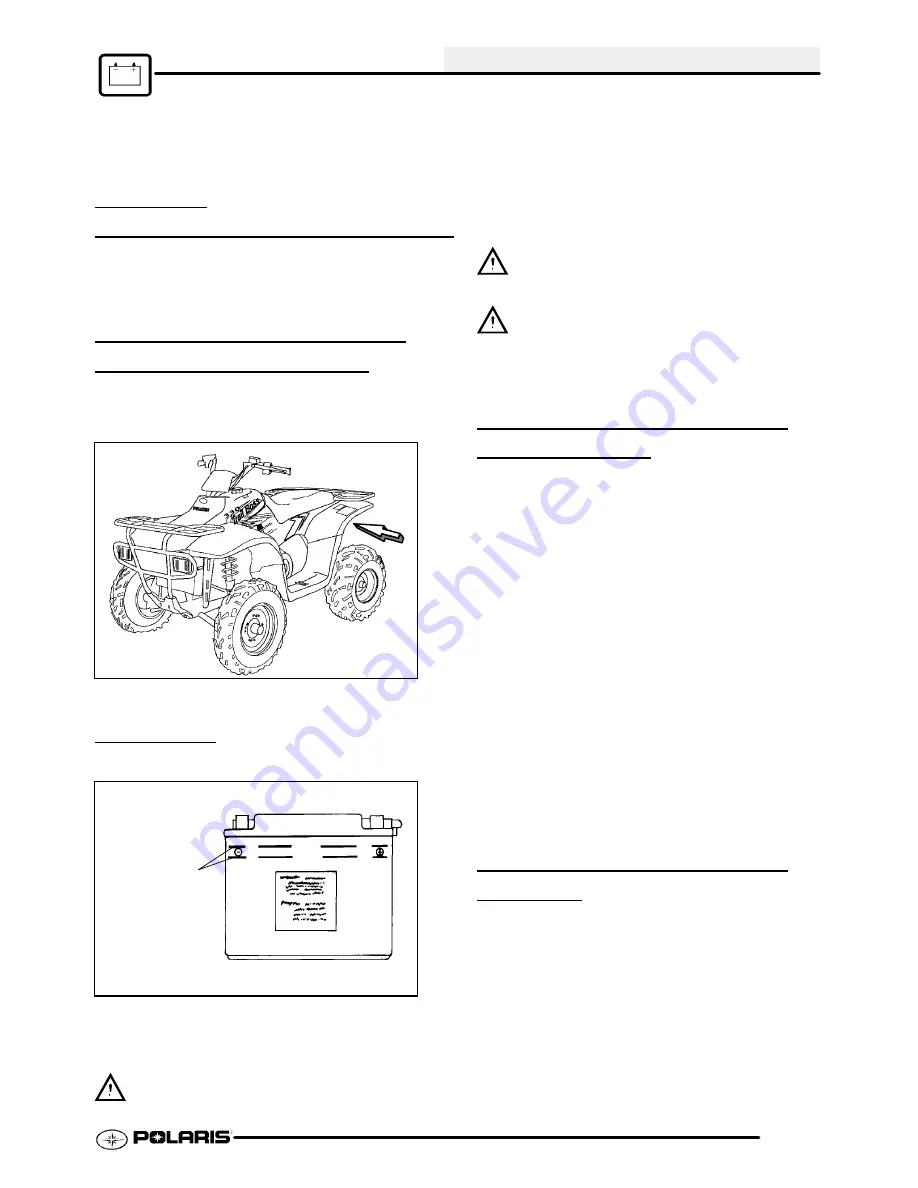
The battery is located under the seat and the right rear
fender.
Battery
Location
Inspect the battery fluid level. When the battery fluid
nears the lower level, remove the battery and fill with
distilled water only to the upper level line. To remove
the battery:
Maintain
between upper
and lower level
marks
1.
Disconnect holder strap and remove covers.
2.
Disconnect battery negative (-) (black) cable first,
followed by the positive (+) (red) cable.
CAUTION
Whenever removing or reinstalling the battery,
disconnect the negative (black) cable first and
reinstall the negative cable last!
3.
Remove the battery.
4.
Remove the filler caps and add distilled water
only as needed to bring each cell to the proper
level. Do not overfill the battery.
Refill using only distilled water.
Tap water
contains minerals which are harmful to a battery.
Do not allow cleaning solution or tap water inside
the battery. Battery life may be reduced.
5.
Reinstall the battery caps.
CONVENTIONAL BATTERY
INSTALLATION
1.
Clean battery cables and terminals with a stiff wire
brush. Corrosion can be removed using a solution
of one cup water and one tablespoon baking soda.
Rinse well with clean water and dry thoroughly.
2.
Route the cables correctly.
3.
Reinstall battery, attaching positive (+) (red) cable
first and then the negative (-) (black) cable. Coat
terminals and bolt threads with Nyogel
t
Grease
(PN 2871329).
4.
Install clear battery vent tube from vehicle to battery
vent. WARNING: Vent tube must be free from
obstructions and kinks and securely installed. If not,
battery gases could accumulate and cause an
explosion.
The vent tube should be routed away
from frame and body to prevent contact with
electrolyte. Avoid skin contact with electrolyte, as
severe burns could result. If electrolyte contacts the
vehicle frame, corrosion will occur.
5.
Reinstall the holder strap.
CONVENTIONAL BATTERY
TESTING
Whenever a service complaint is related to either the
starting or charging systems, the battery should be
checked first.
Following are three tests which can easily be made on
a battery to determine its condition:
OCV Test,
Specific Gravity Test and Load Test.
PartShark.com
877-999-5686
Summary of Contents for 2009 Trail Blazer 330
Page 94: ...ENGINE 3 48 NOTES P a r t S h a r k c o m 8 7 7 9 9 9 5 6 8 6 ...
Page 110: ...FUEL SYSTEM CARBURETION 4 16 NOTES P a r t S h a r k c o m 8 7 7 9 9 9 5 6 8 6 ...
Page 124: ...BODY STEERING SUSPENSION 5 14 NOTES P a r t S h a r k c o m 8 7 7 9 9 9 5 6 8 6 ...
Page 196: ...ELECTRICAL 10 4 REVERSE LIMIT SYSTEM P a r t S h a r k c o m 8 7 7 9 9 9 5 6 8 6 ...
Page 226: ...ELECTRICAL 10 34 NOTES P a r t S h a r k c o m 8 7 7 9 9 9 5 6 8 6 ...
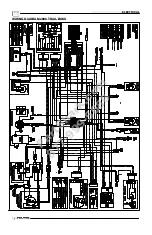
Page 227: ...ELECTRICAL WIRING DIAGRAM 2009 TRAIL BOSS P a r t S h a r k c o m 8 7 7 9 9 9 5 6 8 6 ...
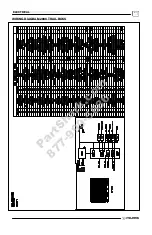
Page 228: ...ELECTRICAL WIRING DIAGRAM 2009 TRAIL BOSS P a r t S h a r k c o m 8 7 7 9 9 9 5 6 8 6 ...
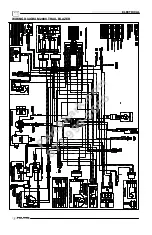
Page 229: ...ELECTRICAL WIRING DIAGRAM 2009 TRAIL BLAZER P a r t S h a r k c o m 8 7 7 9 9 9 5 6 8 6 ...
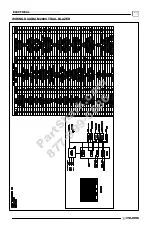
Page 230: ...ELECTRICAL WIRING DIAGRAM 2009 TRAIL BLAZER P a r t S h a r k c o m 8 7 7 9 9 9 5 6 8 6 ...


