6.31
CLUTCHING
6
9924125 - 2013
RANGER
RZR / RZR S / RZR 4 Service Manual
© Copyright 2012 Polaris Sales Inc.
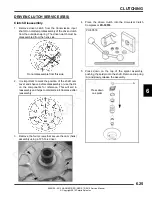
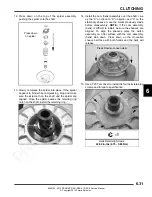
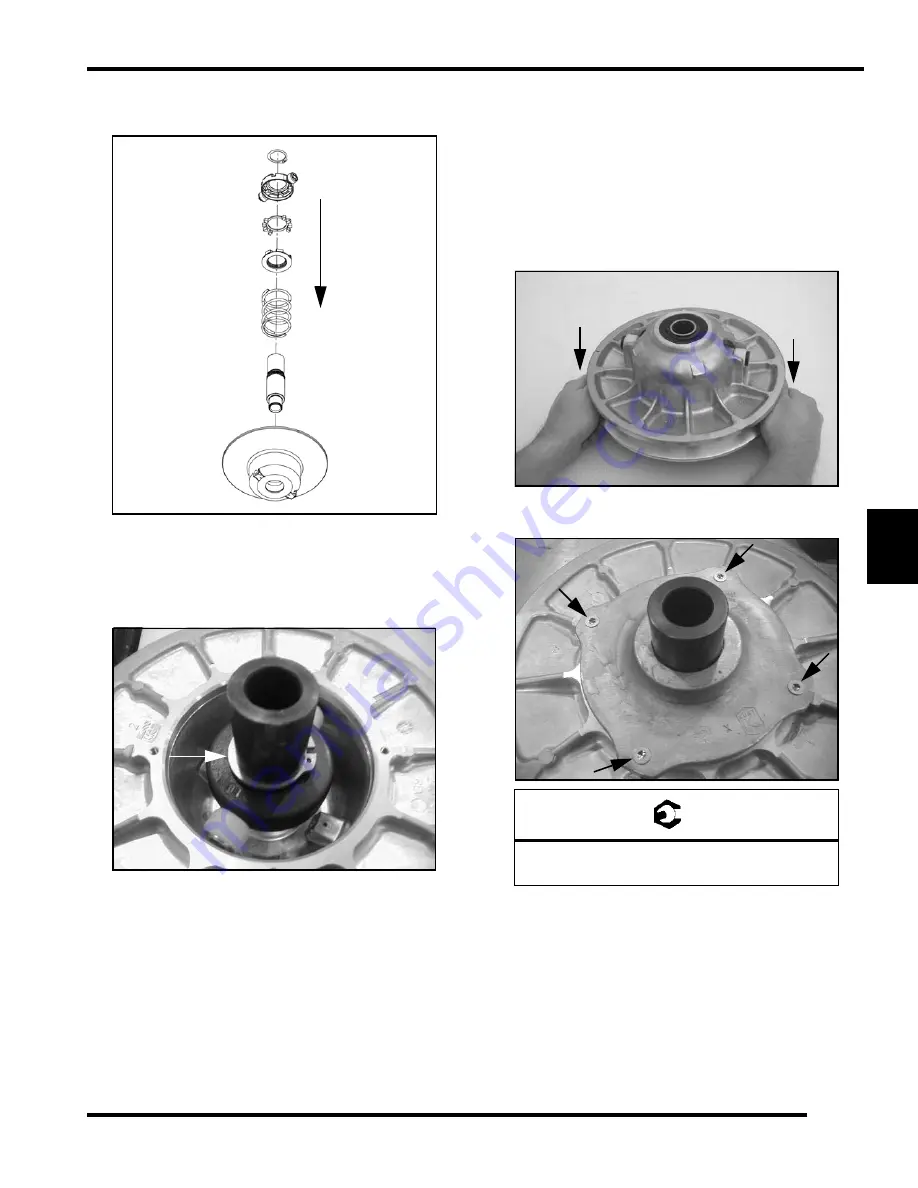
12. Press down on the top of the spider assembly,
pushing the spider onto the shaft.
13. Slowly compress the spider into place. If the spider
appears to bind while compressing, stop and make
sure the skip-tooth on the shaft and the spider are
aligned. Once the spider passes the retaining ring
notch on the shaft, install the retaining ring.
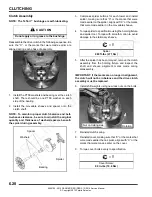
14. Install the cam (helix) assembly over the shaft. Line
up the “X” on the cam, “X” on spider, and “X” on the
stationary sheave or use the marks previously made
before disassembly.
NOTE:
If the cam assembly
(helix) is difficult to install, be sure the sheaves are
aligned. To align the sheaves place the clutch
assembly on a flat surface with the cam assembly
(helix) side down. Press down on the moveable
sheave belt face with both hands and the helix will
release.
15. Use a T25 Torx driver to install the four helix retaining
screws and torque to specification.
Press down
on spider
=
T
Helix Retaining Screws:
42-52 in-lbs (4.75 - 5.88 Nm)
Press Down to Loosen Helix
PRELIMINARY
VERSION
Summary of Contents for 2013 RANGER RZR
Page 417: ...2013 RANGER RZR 800...
Page 418: ...2013 RANGER RZR 800...
Page 419: ...2013 RANGER RZR 800 EPS...
Page 420: ...2013 RANGER RZR 800 EPS...
Page 421: ...2013 RANGER RZR S 800...
Page 422: ...2013 RANGER RZR S 800...
Page 423: ...2013 RANGER RZR S 800 INT L...
Page 424: ...2013 RANGER RZR S 800 INT L...
Page 425: ...2013 RANGER RZR 4 800...
Page 426: ...2013 RANGER RZR 4 800...
Page 427: ...2013 RANGER RZR 4 800 EPS...
Page 428: ...2013 RANGER RZR 4 800 EPS...

