9928487 R01 - 2018 RANGER XP 1000 Service Manual
© Copyright Polaris Industries Inc.
3.93
WATER PUMP REMOVAL
1. Allow engine and cooling system to cool down.
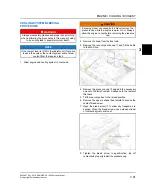
CAUTION
Be sure the engine has cooled and no pressure is built
up in the cooling system before removing the pressure
cap. The coolant may be hot and could cause severe
injury or burns.
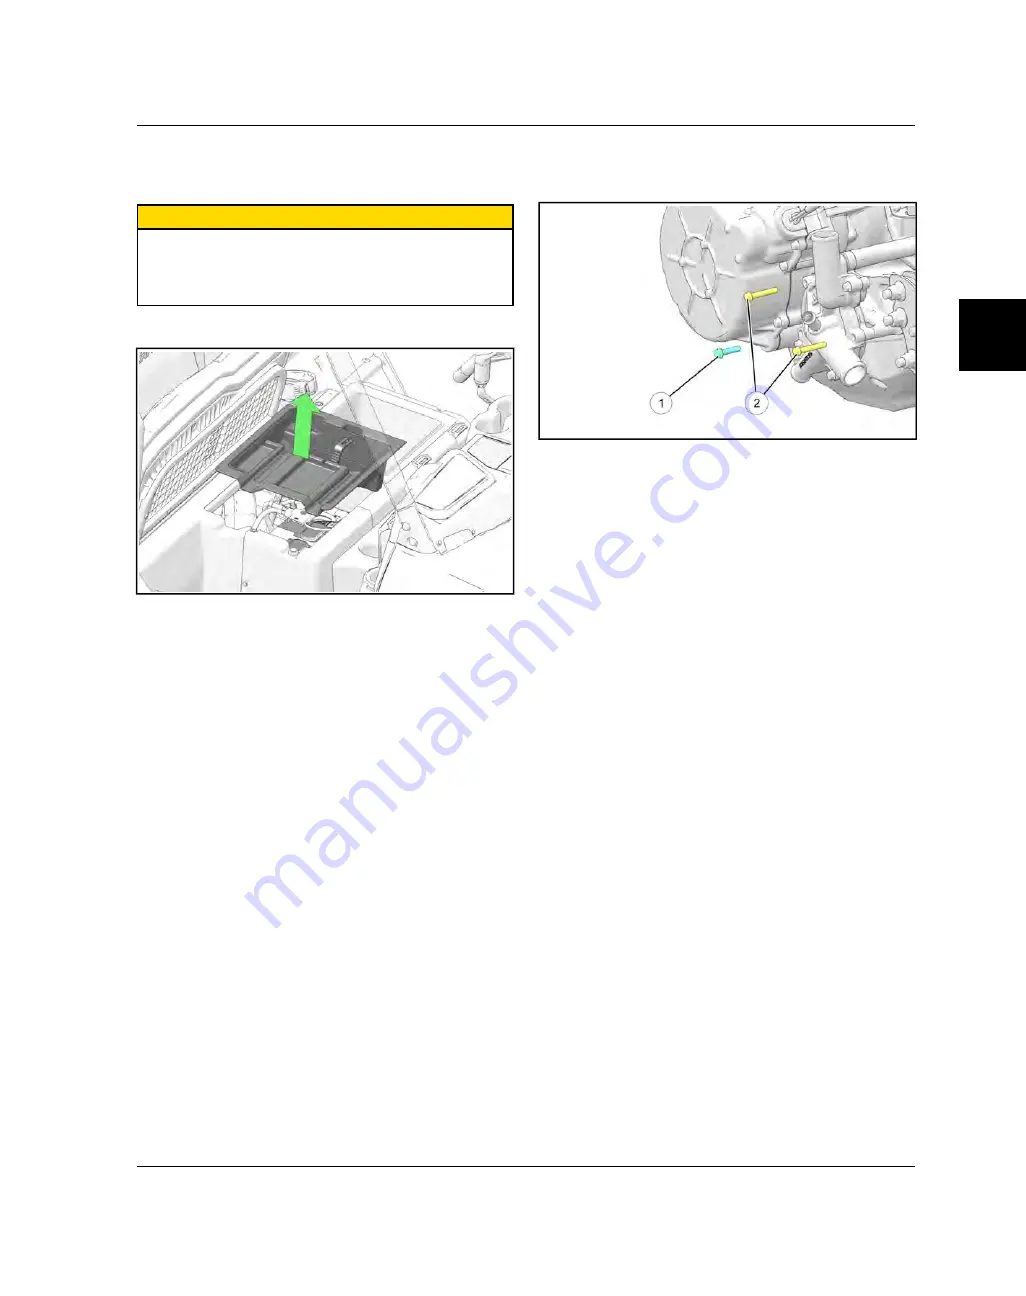
2. Flip up passenger seat and remove battery cover.
3. Disconnect the (-) negative battery cable.
4. Remove all debris and thoroughly clean water pump
area and right-hand side of engine block.
5. Remove the hood.
6. Remove the pressure cap from the filler neck.
7. Drain cooling system as outlined in this chapter.
8. Elevate the rear of the vehicle off the ground using a
suitable ATV lift and remove the right rear wheel.
9. Remove the right rear shock lower mounting bolt.
Discard the nut. Swing and support right rear shock
rearward to gain access to water pump area.
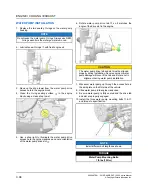
10. Remove the five coolant hoses that are attached to
the water pump. Note location and routing for
installation. Be sure to catch and dispose of coolant
properly.
11. Remove the three bolts
q
&
w
retaining water pump
to engine block. Note different bolt lengths for
installation.
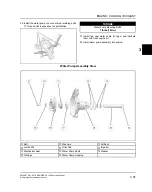
12. Remove water pump from engine by gently twisting
and rocking the water pump housing while pulling
outward.
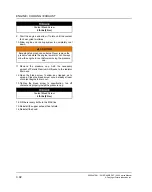
13. Maneuver water pump downward and remove it
through the access hole in the skid plate.
14. Plug the water pump drive access hole in the engine
block with a clean shop towel.


