9928487 R01 - 2018 RANGER XP 1000 Service Manual
© Copyright Polaris Industries Inc.
4.27
ECU REPLACEMENT
Although the need for ECU replacement is unlikely, a
specific replacement procedure is required to ensure that
all essential data contained within the original ECU is
transferred to the replacement ECU.
NOTE
Refer to this procedure and carefully follow all
instructions provided in Digital Wrench®.
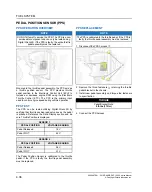
1. The diagnostic connector is located under the
passenger seat connected to a sealed plug. To
access the diagnostic connector lift up the passenger
seat and remove the divider.
2. Connect the Vehicle Interface Cable to the Digital
Wrench® diagnostic connector. Go to the Special
Tests menu and select ECU Replacement. Carefully
follow the ECU replacement instructions.
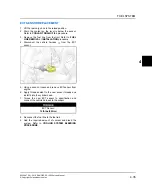
3. Tilt the cargo box to access the ECU.
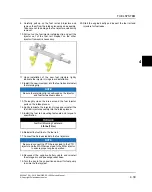
4. Remove the four T-25 Torx head screws retaining
ECU to the back of cab.
5. With the ignition turned off, disconnect the wire
harness from the ECU. Lift the connector locking
lever and rotate it up until the connector is free from
the ECU.
NOTE
Upon removing the ECU connector, you should hear a
“click” when the connector is fully open.
6. Remove the ECU from the vehicle.
7. To reinstall, reverse this procedure and tighten the
mounting screws to specification.
NOTE
Upon installing the ECU connector, you should hear a
“click” when the connector is fully closed.
TORQUE
ECU Retaining Screws:
24 lb-in (2.7 Nm)
ETC LEARN PROCEDURE
IMPORTANT
This procedure MUST be performed on the vehicle
whenever the ECU is replaced or reflashed or the
throttle body is replaced.
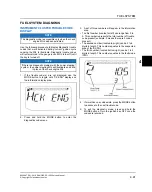
1. After the reflash / ECU replacement / throttle body
change, leave the key on (engine not running) for 60
seconds. Do NOT crank the engine during this time.
2. Turn the key off and wait 3 minutes. During this time,
the ECU will write values into memory and then
completely shut down.
3. Turn key back on and start the vehicle. The vehicle
should operate normally.
4. If the procedure was interrupted at any time, start
back at step 1.


