9928487 R01 - 2018 RANGER XP 1000 Service Manual
© Copyright Polaris Industries Inc.
8.19
REAR UPPER A-ARM INSTALLATION
WARNING
The locking agent on the existing bolts was destroyed
during removal. DO NOT reuse old hardware. Serious
injury or death could result if fasteners come loose
during operation.
1. Install
the
upper
A-arm
onto
the
frame
by
maneuvering the shock and stabilizer link into the A-
arm. Torque new fasteners to specification.
2. Attach the upper A-arm to the bearing carrier. Torque
new fastener to specification.
TORQUE
Upper A-Arm Fasteners:
40 lb-ft (54 Nm)
3. Attach the lower portion of the rear shock to the lower
A-arm. Torque new fastener to specification.
TORQUE
Shock Mounting Bolts:
40 lb-ft (54 Nm)
4. Attach the lower stabilizer bar link to the lower A-arm.
Torque new fastener to specification.
5. Attach the stabilizer bar to the frame. Torque
fasteners to specification.
TORQUE
Stabilizer Bar Fasteners:
17 lb-ft (23 Nm)
6. Install wheel and torque wheel nuts to specification.
TORQUE
Wheel Nuts (Steel):
60 lb-ft (81 Nm)
Wheel Nuts (Aluminum):
120 lb-ft (163 Nm)
WARNING
Upon A-arm installation completion, test vehicle at low
speeds before putting into service.
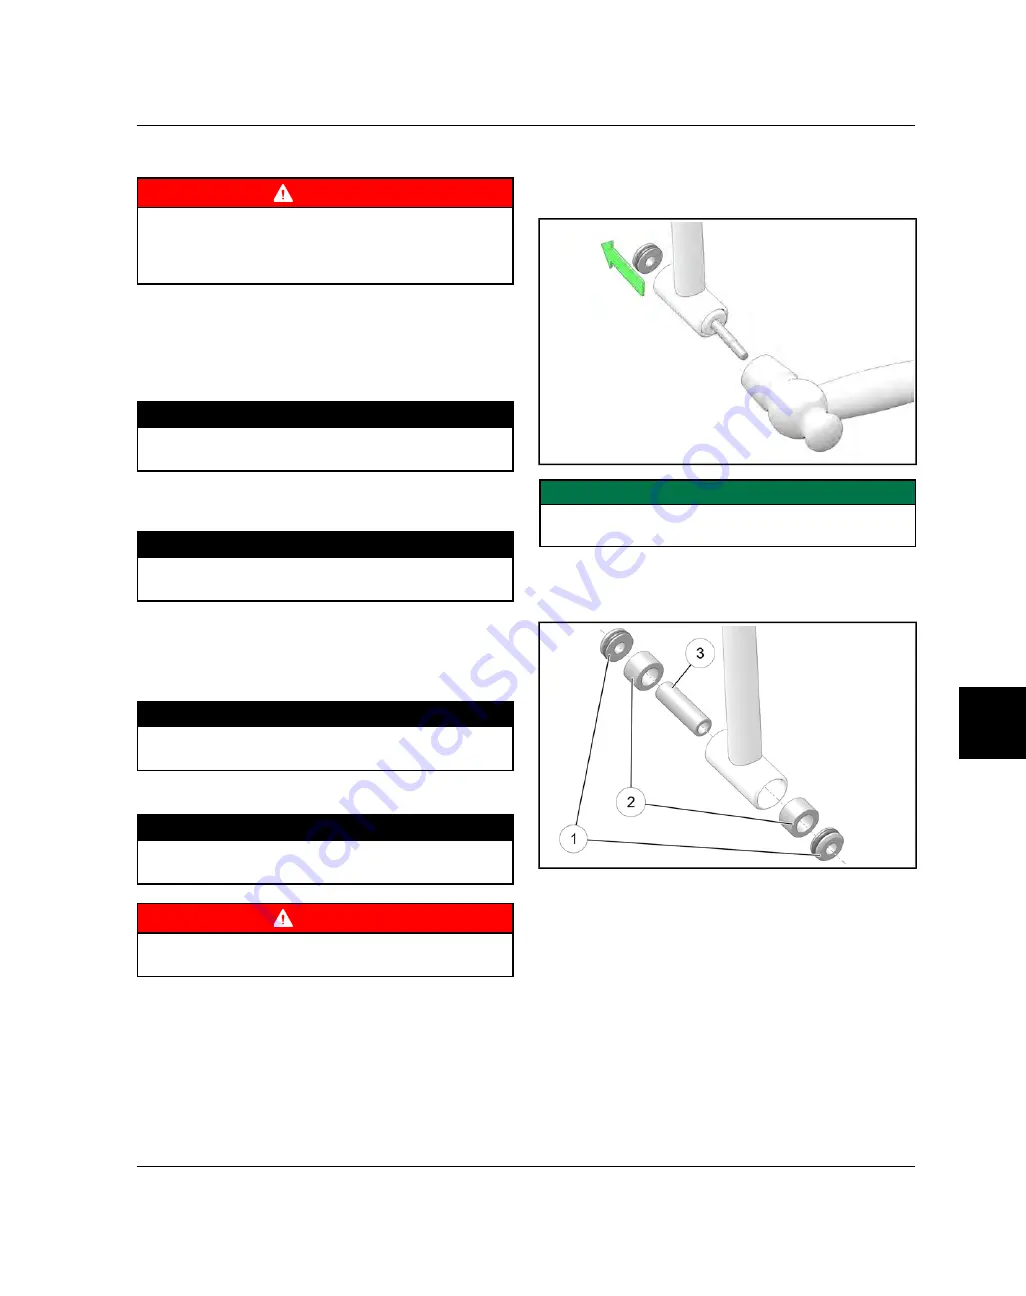
A-ARM BUSHING REPLACEMENT
1. Place a small punch in the opening of one Pivot Cap
and drive the opposite Pivot Cap out.
IMPORTANT
Be careful not to damage the A-Arm while using the
punch and hammer.
2. Install new Pivot Cap
q
, Bushings
w
, and Pivot Shaft
e
into new A-arm. A light press force may be
needed..


