System Setup
16
SETUP MENU-DATE/TIME
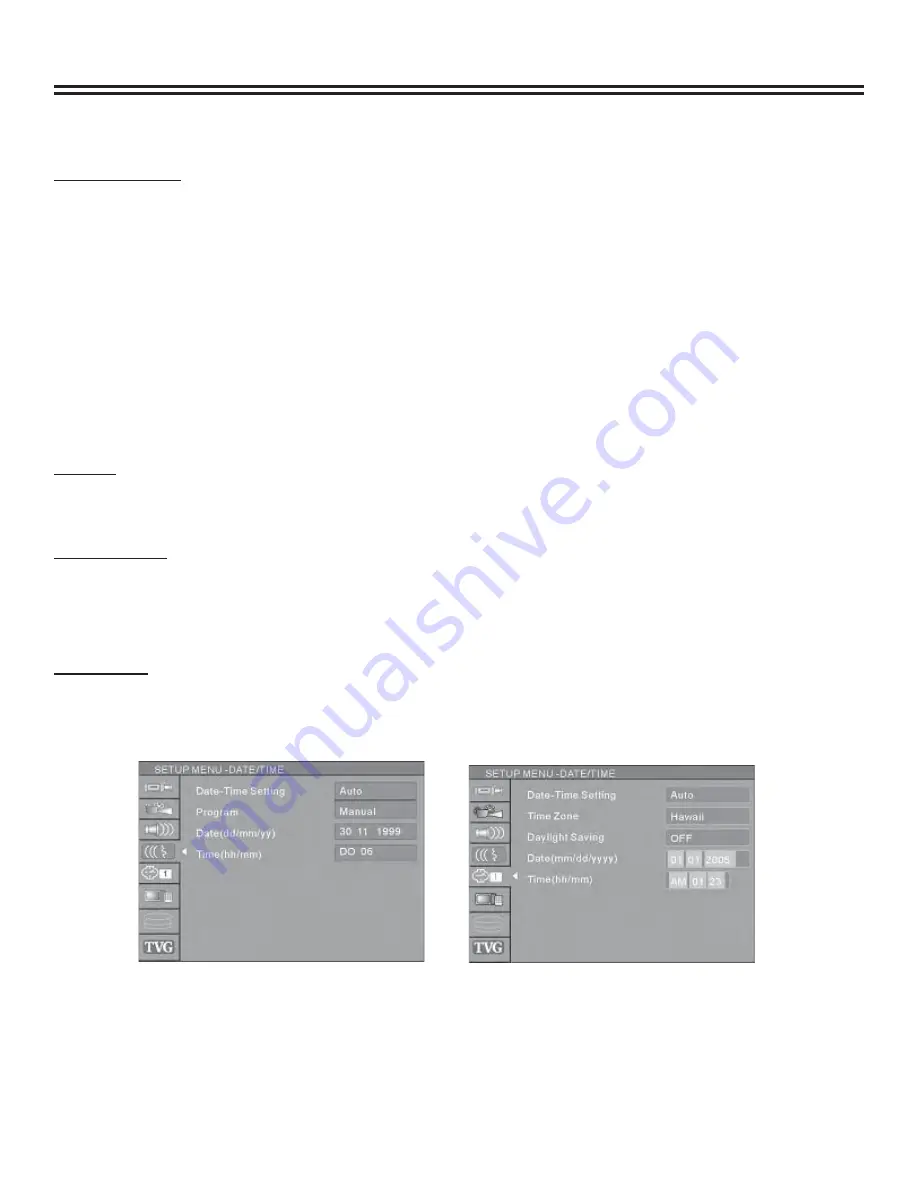
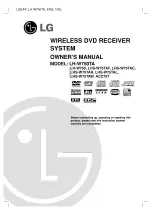
Date-Time Setting
The time and date have to be set before a timed recording can be set. There are two ways to set the product clock: AUTO
setting and MANUAL setting.
1. Press the “INPUT” button on the remote control to display the SYSTEM SET-UP MENU.
2. Use the CURSOR buttons to highlight Date-Time Setting bar and press the “OK” button.
3. Use
the
▲
or
▼
buttons on the remote control to move the highlighted bar to Date-Time setting and press the
“OK” button to select Auto or Manual.
•
Auto:
If a Public Broadcasting Station (PBS channel in USA) is available in your area, the clock may set
itself automatically by tuning to this channel.
•
Manual:
If the clock does not automatically set itself, the clock will need to be manually set.
Notes:
•
Make sure the antenna or cable box connections are correct.
•
Change the channel to the local PBS station.
Program
If you select Auto in the Date-Time setting optical bar, you must select a Public Broadcasting Station
(PBS channel in USA) which is available in your area, the clock will set itself by tuning to this channel.
Date(dd/mm/yy)
1. Press the “INPUT” button on the remote control to display the SYSTEM SET-UP MENU.
2. Use the CURSOR buttons of the remote control to select the Date (dd/mm/yy) and press the “OK” button to
confi rm.
3. Enter the correct date in mm/dd/yy format (Month/Day/Year) using the 0…9 keys.
Time(hh/mm)
1. Use the CURSOR button of the remote control to select “TIME” and press “OK” to confi rm.
2. Enter the correct time in hh:mm:ss format (Hour: Minute: Seconds) using the 0...9 keys.
3. After the date and time have been entered, press the “SETUP/EXIT” button on the remote control to exit.


