


Summary of Contents for THOR 190 HF
Page 33: ......
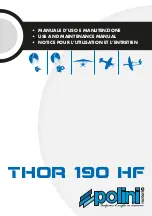
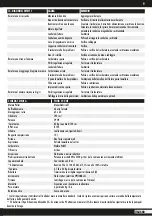
The Polini THOR 190 HF is a powerful and reliable engine designed for various types of aircraft. Ensure optimal performance and longevity by referring to the comprehensive Use And Maintenance Manual. Access the manual for free download from our website, providing step-by-step instructions and vital information for hassle-free operation and maintenance.
Page 33: ......


