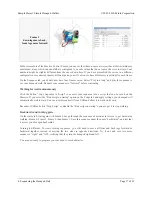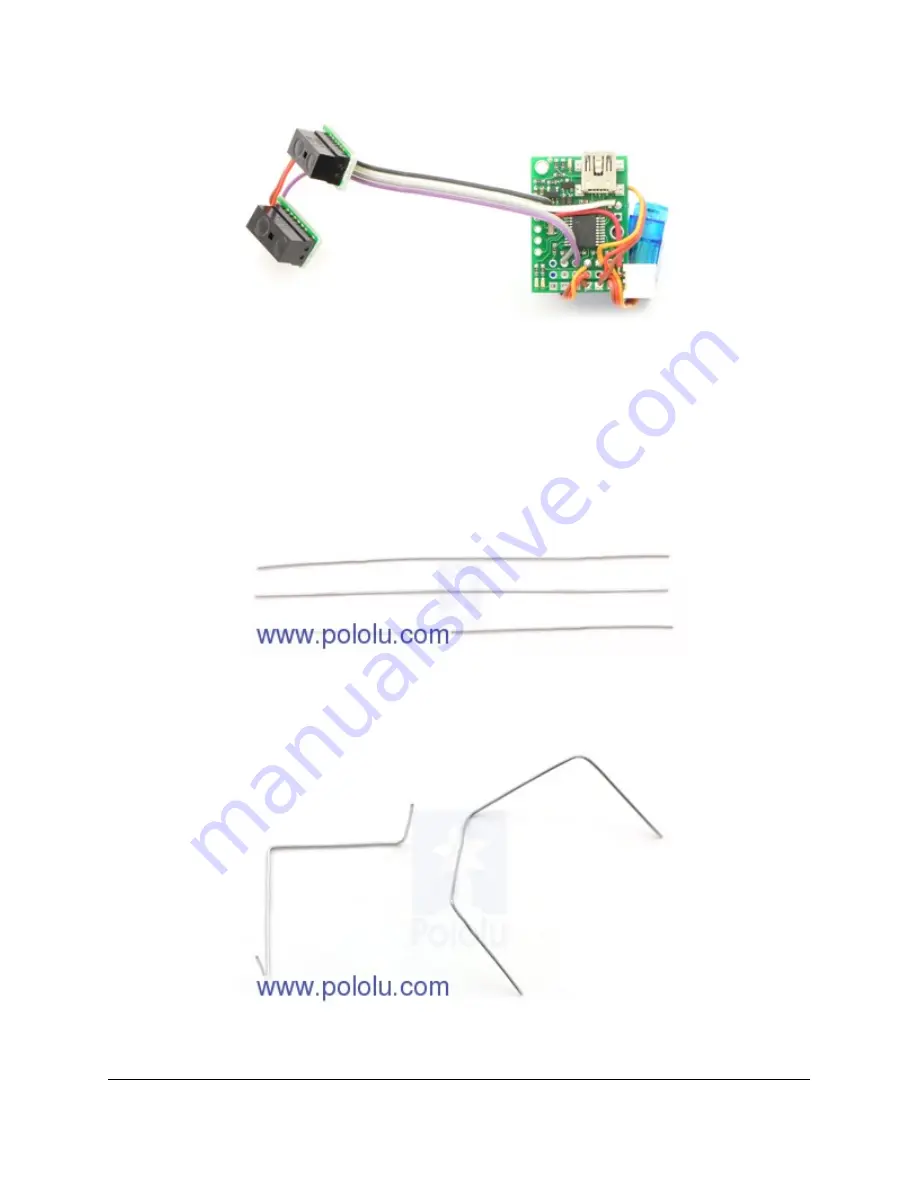
Soldering the sensor cable on to the Maestro.
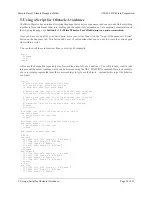
You now have a complete electrical assembly. Plug in the batteries, and the sensors should become active, turning
on their red LEDs whenever they detect an object within 10 cm. With the Maestro control center, you should be
able to see the input value change from 255, when no object is present, to a low value of 40 or so, when an object
is detected. If the LEDs are always on, you probably forgot to set the ports to inputs in Step 3.
Step 6: Construct the legs.
Unfold the paper clips into straight pieces of wire. Pliers make ugly dents in the metal, so try to use your fingers
and the edge of a table to do this.
Straighten the paper clips as much as possible.
The wires should be six inches long. To make the front and back legs, fold two of them into 1.5" sections, with
90° angles between the sections, like this:
The front and back legs of the hexapod. The segments at the end
should be 1.5" in length.
Sample Project: Simple Hexapod Walker
© 2001–2010 Pololu Corporation
3. Construction
Page 9 of 21


