5. Getting Started
5.a. Installing Windows Drivers
If you use Windows XP, you will need to have either
Service Pack 3
[http://www.microsoft.com/
downloads/details.aspx?FamilyId=68C48DAD-BC34-40BE-8D85-6BB4F56F5110]
or Hotfix KB918365
installed before installing the drivers for the Orangutan SVP. Some users who installed the
hotfix have reported problems using the programmer which were solved by upgrading to
Service Pack 3, so we recommend Service Pack 3 over the hotfix.
Before you connect your Pololu Orangutan SVP robot controller to a computer running Microsoft
Windows, you must install its drivers:
1. Download and install the
Pololu AVR Development Bundle
[https://www.pololu.com/file-redirect/
avr-development-bundle]
(~6MB exe)
. This includes the drivers for the Orangutan SVP, along
with the Pololu AVR C/C++ Library and the drivers for the Pololu USB AVR Programmer.
If you are not sure which of these components you need, it is OK to install all of them.
If you only need to install the drivers for the Orangutan SVP, you can download those
separately:
Orangutan SVP Windows Drivers
[https://www.pololu.com/file/0J488/orangutan-svp-
win-121115.exe]
(53k exe).
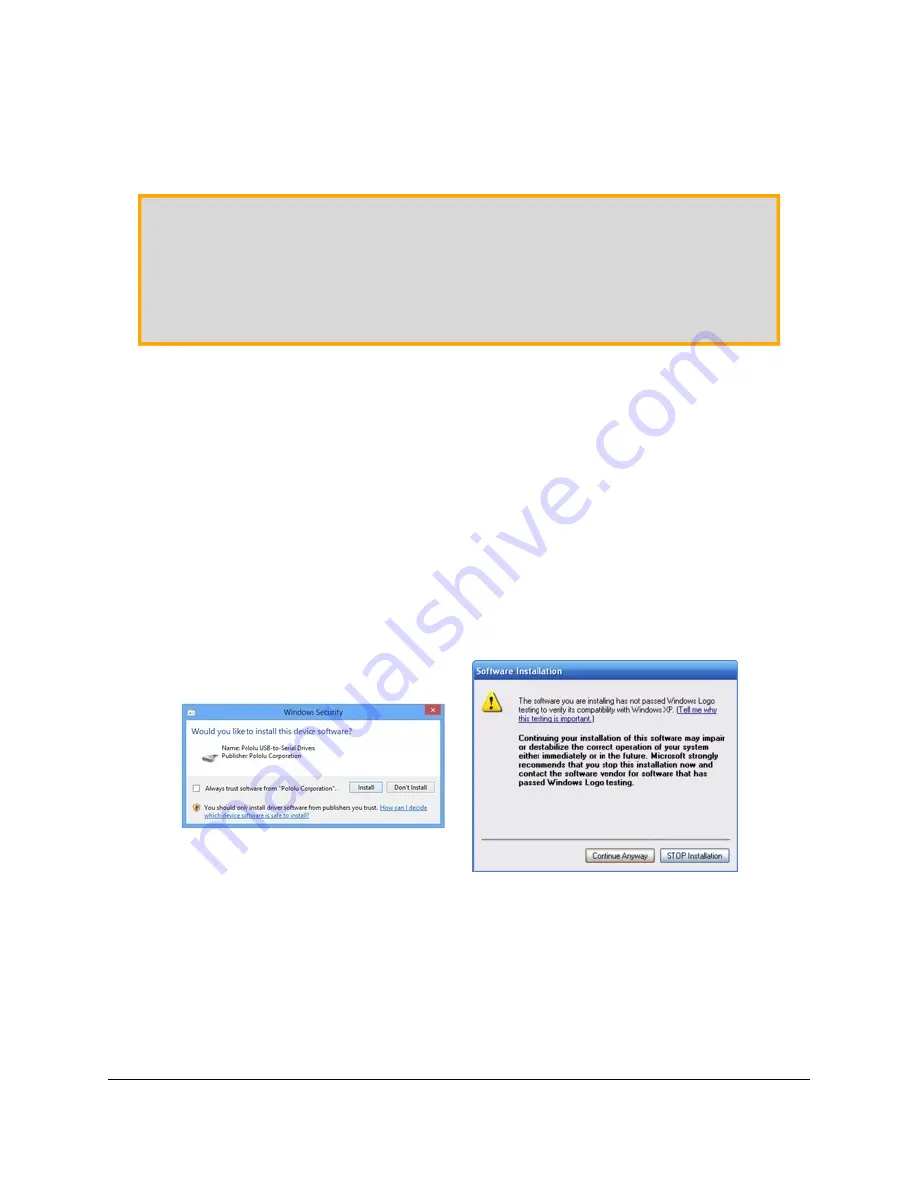
2. During the installation, Windows will ask you if you want to install the drivers. Click “Install”
(Windows 7, 8, and Vista) or “Continue Anyway” (Windows XP).
Windows 10, Windows 8, Windows 7, and Windows Vista users:
After the installation is complete,
your computer should automatically install the necessary drivers when you connect an Orangutan
SVP, in which case no further action from you is required.
Windows XP users:
After the installation is complete, follow steps 3-7 for each new Orangutan SVP
you connect to your computer.
Pololu Orangutan SVP User’s Guide
© 2001–2019 Pololu Corporation
5. Getting Started
Page 16 of 43


