Chassis and shield
To assemble the chassis with the Zumo Shield, you should use the two-piece acrylic
spacer plate that is included with the shield. You will not need the one-piece mounting
plate that is included with the Zumo chassis.
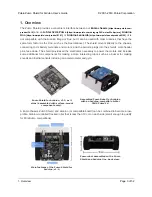
11. Place an M3 nut in each of the two side slots near the rear of the chassis. The slots are sized
so that nuts will not be able to rotate within them. (These nuts will be used to mount the idler
sprockets later.)
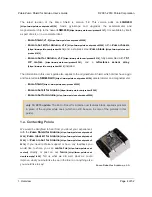
12. If you want, peel the protective paper masking off both sides of the acrylic spacer plate
pieces. Alternatively, you can leave the masking on for additional thickness. If you leave the
masking on, it will be mostly concealed when the robot is fully assembled.
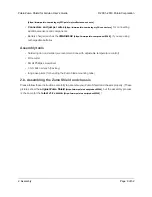
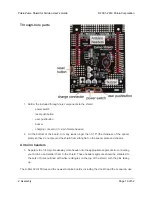
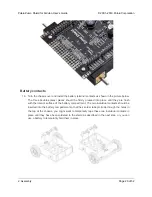
13. Cover the chassis and motors with the spacer plate pieces and then the Zumo shield. The
Pololu Zumo Shield for Arduino User’s Guide
© 2001–2019 Pololu Corporation
2. Assembly
Page 16 of 52


