PolyCom EX User Manual
Aug. 18, 2004 v 1.1
Page 6 of 13
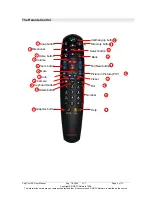
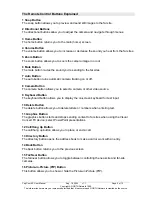
17 Preset Button
The preset button allows you to store camera positions (when followed by a number) or
delete all stored camera positions.
18 Dot Button
The dot button allows you to manually enter a period in an IP address.
19 Number Buttons
The number buttons allow you to enter in numbers or move the camera to a stored preset.
20 Help Button
The help button allows you to access online help; access the Network Status screen if you
are in a call.
21 Select Button
Use the directional buttons to locate what you want to do then press the select button to
choose it.
TURNING THE POLYCOM EX SYSTEM ON & OFF
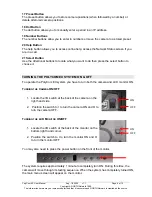
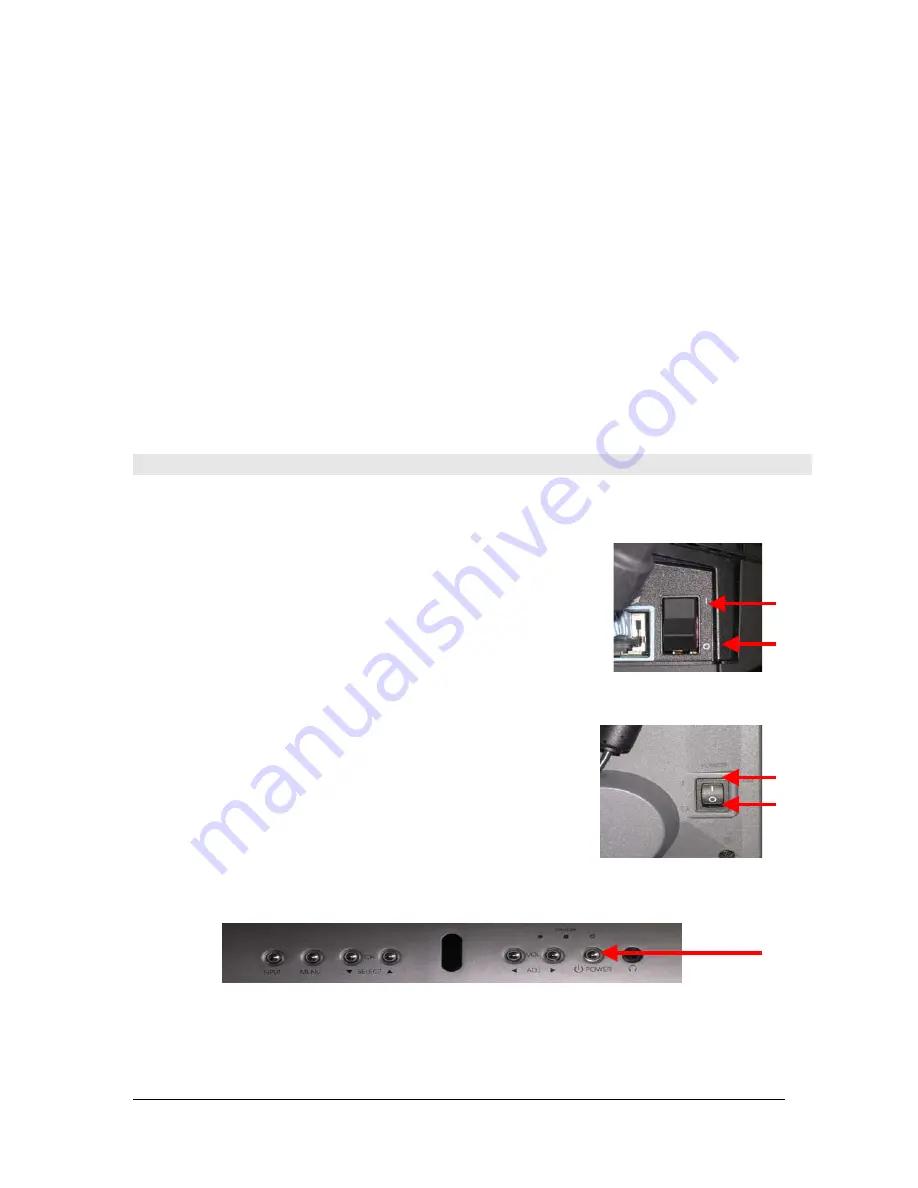
To operate the PolyCom EX system you have to turn both the camera and LCD monitor ON.
T
URNING THE
C
AMERA
ON/OFF
1. Locate the I/O switch at the back of the camera on the
right hand side.
2. Position the switch to I to turn the camera ON and O to
turn the camera OFF.
T
URNING THE
LCD M
ONITOR
ON/OFF
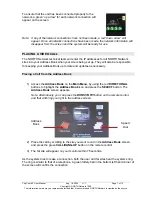
1. Locate the I/O switch at the back of the monitor on the
bottom right hand corner.
2. Position the switch to I to turn the monitor ON and O
to turn the monitor OFF.
You may also need to press the power button on the front of the monitor.
The system requires approximately 1 minute to completely turn ON. During this time, the
camera will move through its testing sequence. When the system has completely turned ON,
the main menu screen will appear on the monitor.
ON
OFF
ON
OFF
Copyright © NORTH Network 1998.
The information herein may be reproduced provided that it is accurate and NORTH Network is credited as the source.


