Designing your layout
Designing the ideal room layout for an MHP installation and
selecting the required products couldn’t be simpler.
Follow the steps below or use the online product selector tool
at
www.ufch.com/mhp
Select panel width
Step 1:
The spacing of joists and the available gap will determine which
MHP panel width will be most suitable for each project. Select the
MHP width nearest to the gap width, ensuring that this does not
encroach on the space for other services.
The 490mm width panel will normally be fitted in the wider joist
spacing used by composite joists and ‘I’ beams.
Select panel length
Step 2:
The span of the joists in each room will determine which MHP panel
length should be selected. The span is defined as the free space
from wall to wall that needs to remain uninterrupted by trimmers
or other services. Ideally, install MHP panels prior to other services
whenever possible.
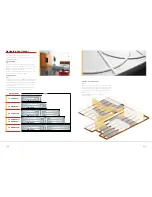
Use the table below as a quick guide to suitable arrangements
of MHP panels leaving a 200mm gap for pipe connections.
24
25
Planning your room arrangement
Step 3:
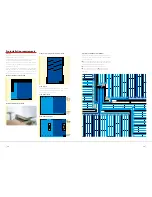
Calculating the amount of floor area to be covered by MHP will be
based on the required heat output (see our heat output tables on
page 27) and will take into account areas of the floor that do not
require heating, such as under built-in wardrobes, baths and
shower cubicles.
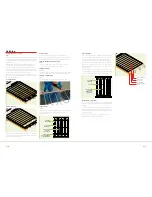
The diagram below illustrates a typical layout that
might be considered.
1 x 1.3m Panel
Span
Arrangement
1 x 2.0m Panel
2 x 1.3m Panels
1 x 1.3m Panel +
1 x 2.0m Panel
2 x 2.0m Panels
1.4m to 2.2m
2.2m to 2.8m
2.8m to 3.5m
3.5m to 4.2m
4.2m to 5.0m


