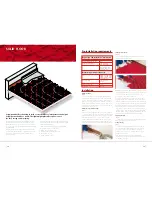
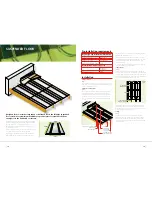

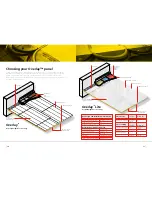
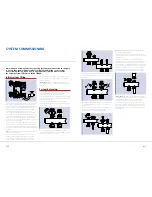

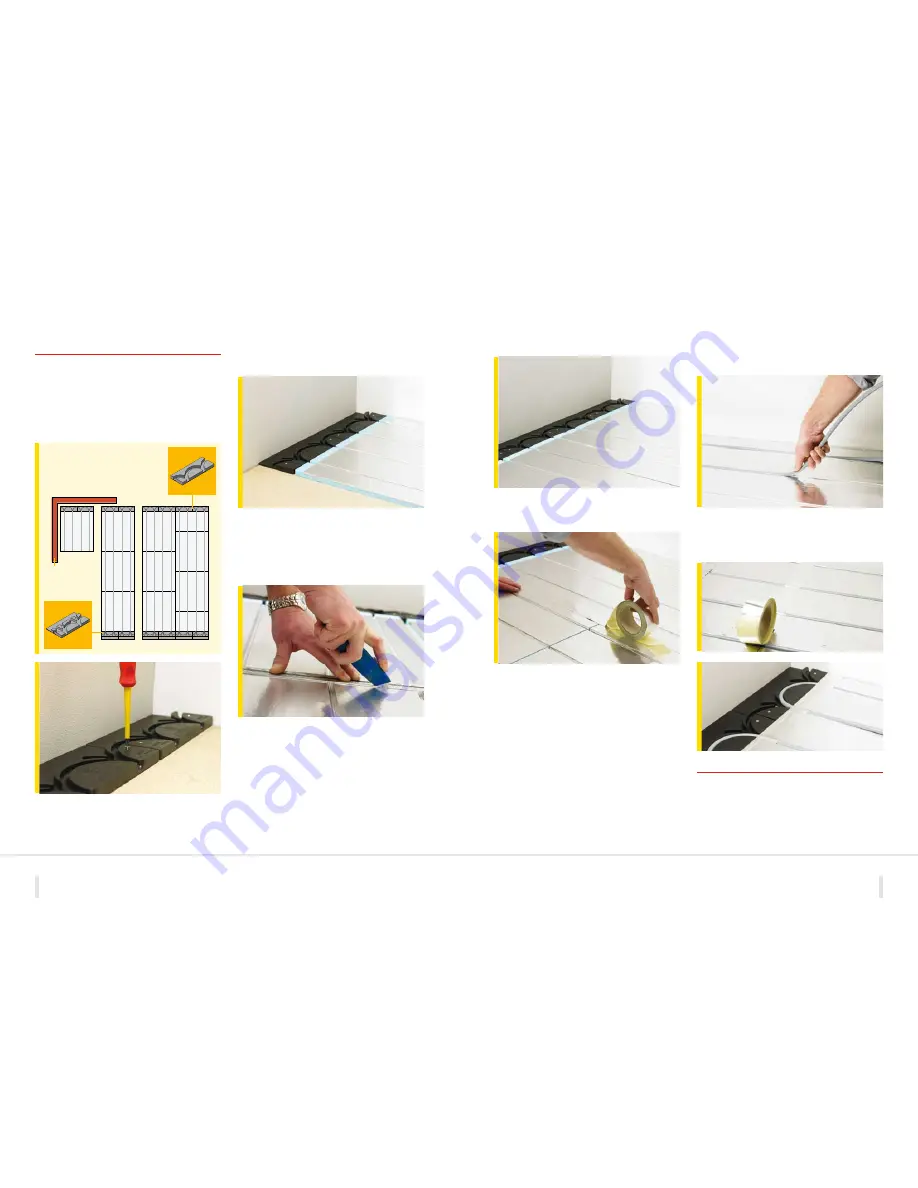
Step 4:
Once you have completed the first row begin the process again with
the second row, staggering the panels in a brickwork pattern.
Step 5:
Use the self adhesive foil tape along the long panel joints to securely
fix the panels to the adjacent row.
Step 6:
Now continue this process, completing the whole room.
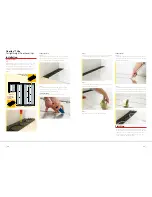
Laying the pipe
Step 7:
Starting from your manifold position and, allowing enough pipe for
connections, lay the pipe into the grooves of the Overlay™ Lite panel
in accordance with your plan.
Step 8:
Once you have finished laying the pipe use the self adhesive foil tape
to secure the panels and pipe, running across all the panel joints, and
do the same across the joints where the panels meet the end returns.
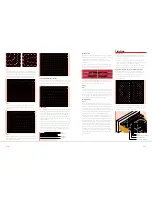
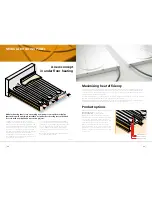
Finishing
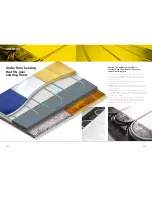
Laminate and engineered wood can be laid directly over Overlay™
Lite panels. Where carpet or vinyl is being fitted, first fix a 6mm layer
of plywood using a contact adhesive, then continue to lay the floor
covering as normal. It is advisable to mark out pipe positioning
to avoid stapling pipes when fitting carpets.
36
37
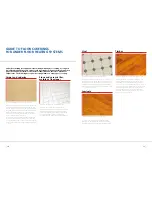
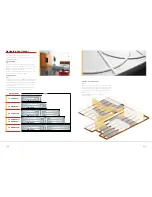
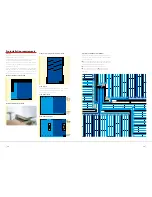
Overlay™ Lite
for lightweight floor coverings
Installation
Laying end returns
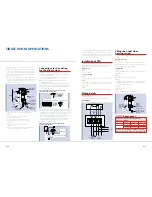
Step 1:
Start by fixing two end returns to the floor in a corner of the room.
(Remove the pipe panel if not required as per your floor plan).
This should be done by using suitable screws in the screw holes
of the end return panels when fixing to a wood floor or by using
Overlay™ adhesive (code PB777) to bond the end returns to
solid floors.
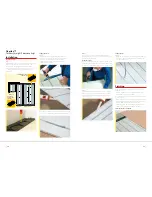
Laying the panels
Step 2:
Lay the panel ensuring you line up the grooves in the panel with
those in the end returns then continue to lay the first row of panels
using short lengths of pipe to help with panel alignment.
Step 3:
When you get close to end of the first row fit two end returns
against the wall as in step 1 and if necessary cut an Overlay™
Lite panel to fit and complete the first row.
Cutting the panels
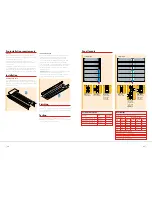
Panels can be cut using a sharp knife and a metal rule.
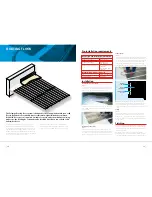
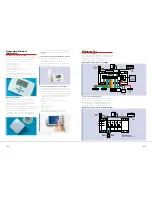
First panel
Room wall
Return bends
with pipe plate
remaining
Return bends with pipe
plate removed
First row
Subsequent row


