8
User Guide
Using
ē
no interactive whiteboards
To align the projected image with the
ē
no whiteboard:
1. Assure that at least half of the projected image is actually projected
onto the board.
2. Tap the projection mode icon on the control strip one time.
note:
NOTE:
If this is the first use of the
ē
no whiteboard, if the computer has just
rebooted, or if the PolyVision driver has just been launched, then tap the
whiteboard instead of the projection mode control icon.
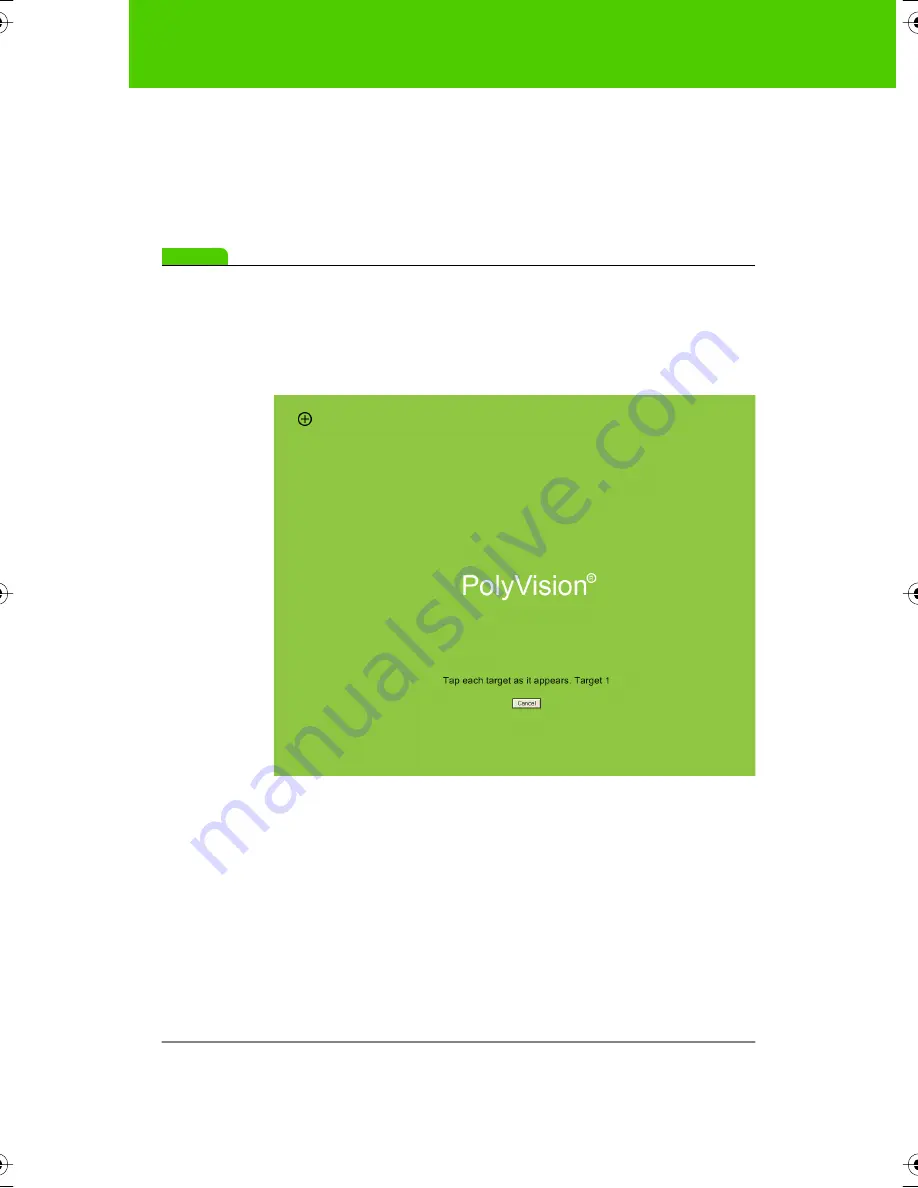
The alignment window projects from the computer to the
whiteboard.
3. Using the
ē
no stylus, touch exactly on each target projected on the
whiteboard, following instructions you see on the board. When
alignment is complete, you are ready to begin using your computer
and whiteboard in projection mode.
The alignment between your projector and the PolyVision product is
important. PolyVision offers three levels of alignment: good, better, best.
The default is “best” alignment. If you need to change the correspondence
between the position of the cursor and the point of contact when you tap
the whiteboard, refer to "Choosing alignment accuracy" on page 63.
9A67)DQQMHO2CIG(TKFC[,WPG#/


