[
键入文字
]
17
/
21
3. The upgrade process will last for about 3 minutes and please make sure NOT cut the
power while it is upgrading, otherwise the system will be damaged and the only way is
return to our factory for update.
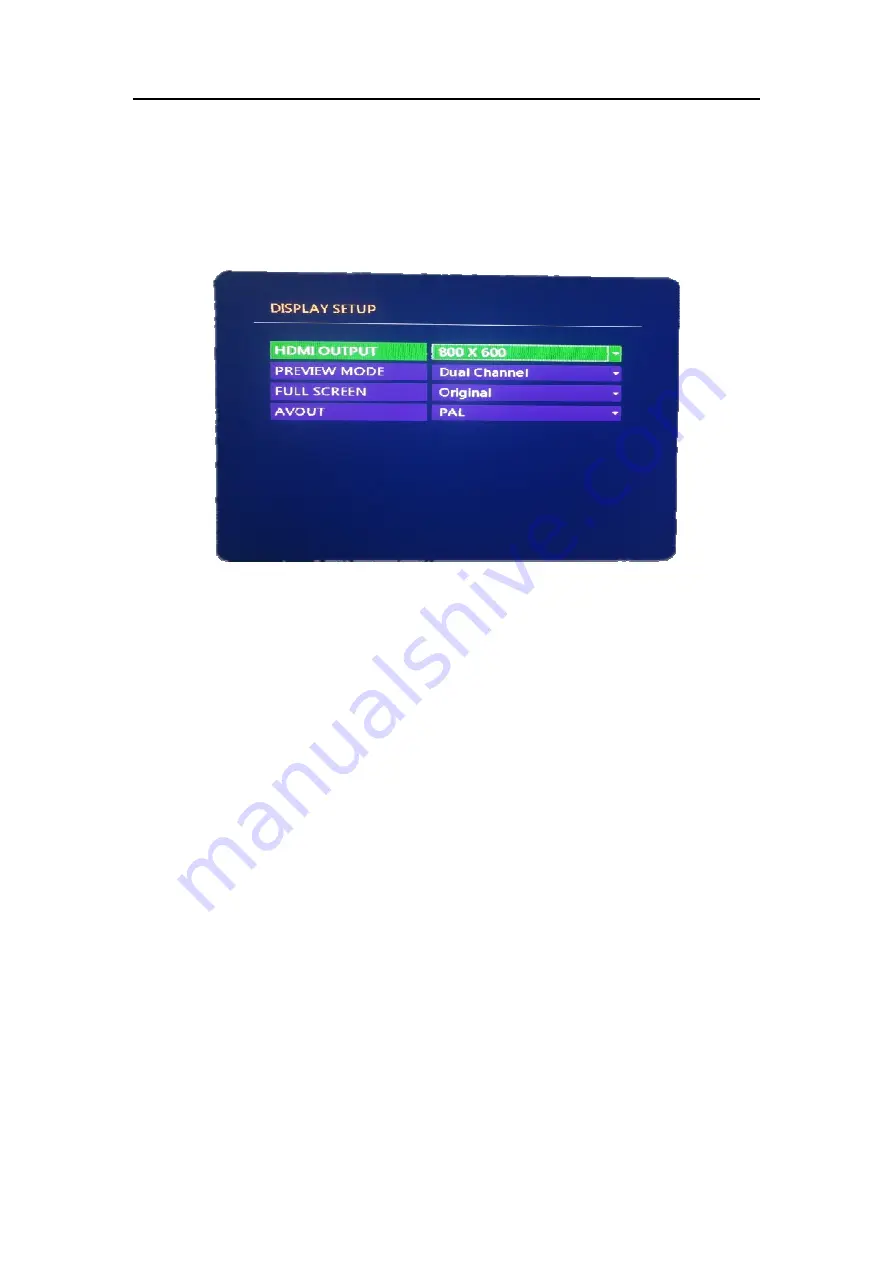
4.10 Display Setting
HDMI output
: use the HDMI according to your need, it supports 800X600
,
1024X768
,
1280X1024
,
1366X768
,
1440X900
,
1280X720
,
1920X1080.
Note
: the system supports CVBS and HDMI output as the same time, and the image
output from CVBS is compressed based on HDMI, so if you set the resolution very high for
HDMI, then the resolution for CVBS will be very small, including the fonts and menu text.
When it detects no HDMI input, the system will auto adjust to 800*600 to adapt with CVBS;
if you want to use HDMI as output, you need to connect to HDMI display first and then turn
on the DVR.
Channel Display Mode:
Dual channel-when the DVR turn on, it shows 2channel images by default.
Channel 1 mode: when the DVR turns on, it shows CH1 in full screen by default
Channel 2 mode: when the DVR turns on, it shows CH2 in full screen by default
Chanenl Full Screen Mode:
Left-Right Mode: the image of CH1 CH2 will be displayed in middle of the screen, image not
distorted.
Left-Right Extend Mode: the image of CH1 CH2 will be displayed in the middle of the
screen, but it will take up the full screen, so the image of each channel is distorted.
UP-DOWN Extend Mode: the image of CH1 CH2 will be displayed UP and DOWN of the
screen, but it will take up the full screen, so the image of each channel is distorted.
CVBS System: set the type for CVBS output


