5-24
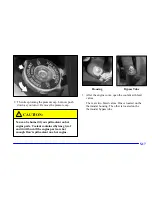
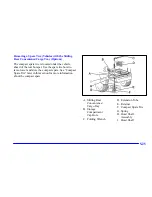
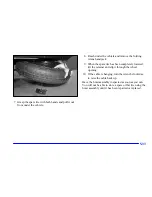
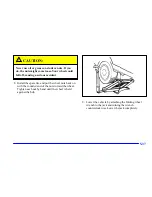
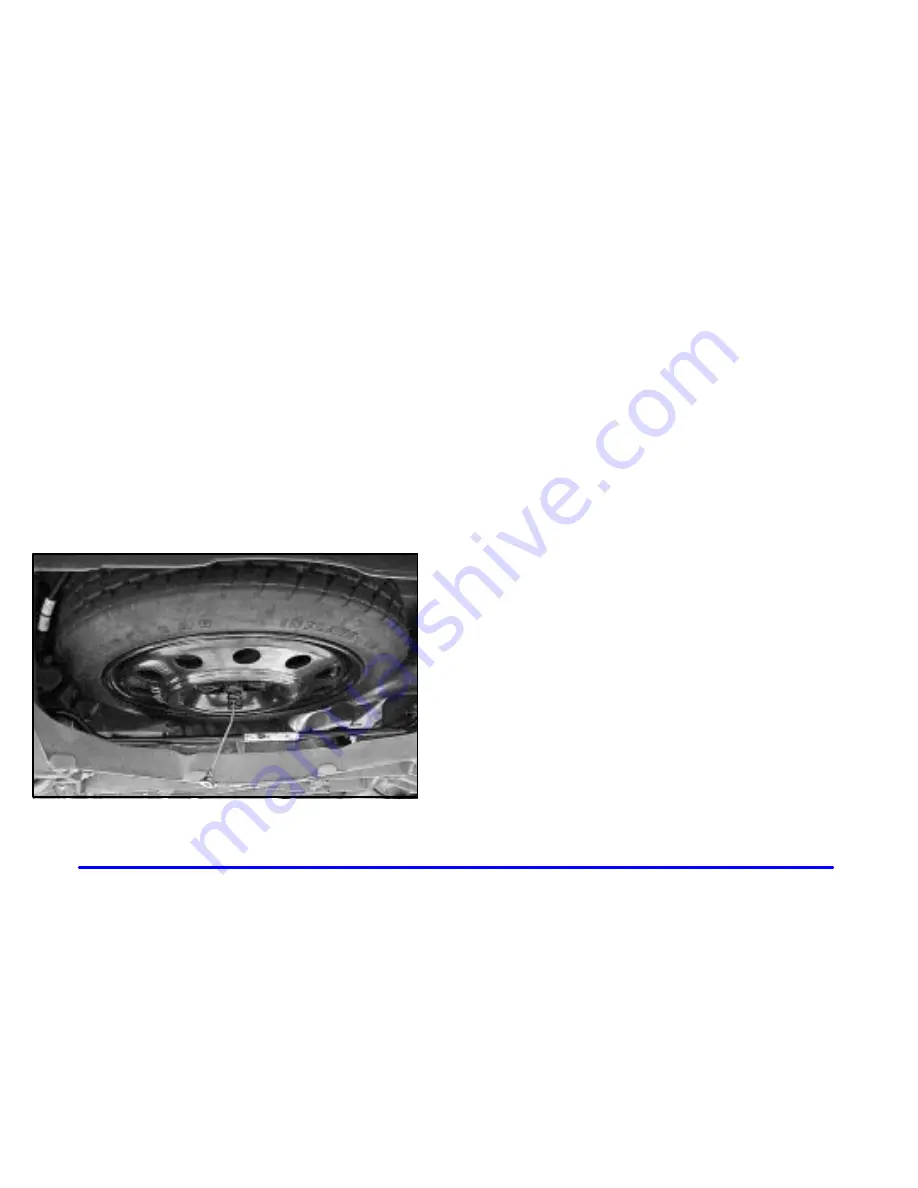
5. After removing the spare tire, turn the wrench
clockwise to raise the cable back up.
Do not store a full
-
size or a flat road tire under the
vehicle. See “Storing a Flat (Vehicles without the
Sliding Rear Convenience/Cargo Tray)” and
“Storing a Flat (Vehicles with the Sliding Rear
Convenience/Cargo Tray)” later in this section.
To continue changing the flat tire see “Removing the
Flat Tire and Installing the Spare Tire” later in this
section.
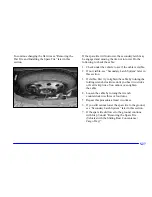
If the spare tire will not lower, the secondary latch may
be engaged and causing the tire not to lower. Do the
following to check the cable:
1. Check under the vehicle to see if the cable is visible.
2. If not visible, see “Secondary Latch System” later in
this section.
3. If visible, first try to tighten the cable by turning the
folding wrench clockwise until you hear two clicks
or feel it skip twice. You cannot over
-
tighten
the cable.
4. Loosen the cable by turning the wrench
counterclockwise three or four turns.
5. Repeat this procedure at least two times.
6. If you still cannot lower the spare tire to the ground,
see “Secondary Latch System” later in this section.
7. If the spare tire did lower to the ground, continue
with Step 4 under “Removing the Spare Tire
(Vehicles without the Sliding Rear
Convenience/Cargo Tray)”.
Summary of Contents for 2002 Aztek
Page 1: ......
Page 6: ...v These are some examples of vehicle symbols you may find on your vehicle...
Page 20: ...1 14 Put someone on it Get it up to speed Then stop the vehicle The rider doesn t stop...
Page 157: ...2 80 The Instrument Panel Your Information System...
Page 390: ...6 59 GM Vehicle Care Appearance Materials...
Page 408: ...Scheduled Maintenance 7 7...
Page 409: ...Scheduled Maintenance 7 8...
Page 426: ...7 25 Maintenance Record DATE ODOMETER READING SERVICED BY MAINTENANCE PERFORMED...
Page 427: ...7 26 Maintenance Record DATE ODOMETER READING SERVICED BY MAINTENANCE PERFORMED...


